
Bread Rolls: Is there anything more comforting than the smell of freshly baked bread rolls wafting through your kitchen? Whether you’re an experienced home baker or just starting out, there’s something magical about creating the perfect, fluffy bread roll from scratch. These soft, pillowy wonders are not only a crowd-pleaser but also incredibly versatile—perfect for everything from casual family dinners to gourmet sandwiches.
If you’ve tried your hand at baking bread rolls before and found them too dense, dry, or lacking that irresistible fluffiness, don’t worry. Baking truly fluffy bread rolls is part art and part science. With a little practice and the right tips, you’ll soon have those bakery-quality rolls that leave everyone asking, “What’s your secret?”
Why Bread Rolls Are a Must-Have for Home Bakers

Bread rolls are a staple in many kitchens for good reason—they fit into just about any meal or occasion. Whether slathered with butter, stuffed with deli meats, or served alongside soup, they’re endlessly adaptable. And when baked fresh, they’re miles ahead of anything store-bought in both taste and quality.
For healthy eaters, homemade bread rolls offer an added bonus. You have complete control over the ingredients—no unnecessary preservatives, artificial additives, or excessive amounts of sugar and salt that often come with pre-packaged rolls. Choosing whole-grain flours or adding seeds and herbs can elevate the nutritional value of your bread rolls without compromising on flavor.
What Makes Bread Rolls Fluffy?
The hallmark of a great bread roll is its fluffiness. Achieving that soft, airy texture boils down to a few key factors, all of which work together to create perfection.
- Yeast Power
Yeast is a living organism that ferments sugars in your dough, creating carbon dioxide bubbles
that make your rolls rise. The secret? Use fresh, active yeast and give it enough time to do its job. If your dough doesn’t rise enough, your rolls won’t achieve that light, airy texture.
- Kneading Technique
Kneading develops the gluten in your dough, creating the structure that traps those wonderful gas bubbles. A well-kneaded dough should feel smooth and elastic. If you’re kneading by hand, aim for about 8 to 10 minutes of steady work. If you’re using a stand mixer, 5 minutes on medium speed should suffice.
- Hydration Levels
A well-hydrated dough is crucial for producing soft bread rolls. Too much flour can make your dough stiff and dry, which leads to dense rolls. Don’t be afraid of a slightly sticky dough—it’s a good sign of proper hydration, which contributes to fluffiness.
- The Proofing Process
Proofing (or rising) allows your dough to develop flavor and texture. For the fluffiest bread rolls, make sure to proof your dough in a warm, draft-free environment. The first rise is about building volume, while the second rise (after shaping) is about setting the final texture of your rolls.
- Milk and Butter Magic
Adding milk, butter, or other fats to your dough can work wonders on its texture. These ingredients tenderize the dough and give your bread rolls that melt-in-your-mouth quality.
Tips for Perfect Homemade Bread Rolls
Want to take your bread roll game to the next level? These tips will help you consistently achieve bakery-quality results that will wow your family and friends. Whether you’re a beginner or an experienced baker, mastering these techniques can make all the difference.
- Choose Your Flour Wisely
The type of flour you use directly affects the texture of your bread rolls. Bread flour is your best bet—it has a higher protein content (gluten) than all-purpose flour, which strengthens the dough and gives your rolls that perfect chewy yet fluffy texture. If you’re aiming for a richer, heartier flavor, whole wheat flour can be a great addition. Keep in mind, though, that using only whole wheat flour might make the rolls denser, so it’s best to balance it by mixing with bread flour. Experiment with ratios to find the perfect combination for your taste.
- Measure Ingredients Accurately
Baking is all about precision, so measuring ingredients correctly is a must. For the best results, invest in a good-quality kitchen scale and weigh your ingredients rather than relying on measuring cups, which can be less accurate. Too much flour can lead to dense, tough rolls, while too little flour can produce sticky dough that’s hard to work with. Be just as careful with liquids—adding too much milk or water can throw off the balance of your dough, making it harder to shape and bake evenly.
- Use the Windowpane Test
Not sure if you’ve kneaded your dough enough? The windowpane test is a foolproof way to check. Take a small piece of dough and stretch it gently between your fingers. If it forms a thin, translucent “window” without tearing, your dough is properly kneaded and gluten development is complete. If it tears too easily, keep kneading for a few more minutes. This step ensures your rolls will have a smooth texture and rise beautifully in the oven.
- Don’t Skip the Egg Wash
An egg wash isn’t just for aesthetics—it can make a big difference in the final texture of your bread rolls. Before baking, brush the tops of your rolls with a mixture of one beaten egg and a tablespoon of milk or water. This gives them that signature golden, glossy finish and adds a slightly crisp surface that contrasts perfectly with the soft interior. Want to take it up a notch? Sprinkle sesame seeds, poppy seeds, or even a pinch of flaky salt on top after the egg wash for added flavor and visual appeal.
- Bake at the Right Temperature
Baking your bread rolls at the correct temperature is key to achieving the perfect rise and texture. Most recipes recommend baking at 375°F to 400°F (190°C to 200°C), which allows the rolls to rise quickly and set without over-drying. Make sure your oven is fully preheated before placing your rolls inside, as even a small drop in temperature can affect how they bake. If your rolls are browning too quickly, tent them with aluminum foil for the last few minutes to ensure even baking.
- Cool Them Right
The way you cool your rolls matters just as much as how you bake them. Once they’re out of the oven, transfer them to a wire cooling rack right away. This prevents steam from getting trapped underneath, which can make the bottoms soggy. Let them cool for at least 10–15 minutes before digging in—this helps the interior set properly and ensures the rolls stay fluffy and light. If you’re serving them warm, cover them with a clean kitchen towel to keep them soft while they cool slightly.
By following these tips, your bread rolls will rival those from any bakery, and you’ll impress everyone who takes a bite. Happy baking!
A Little Experimentation Goes a Long Way
One of the best things about making bread rolls from scratch is that there’s room for customization. Add herbs, cheese, or garlic to the dough for extra flavor. Brush the tops with melted butter and sprinkle on seeds, like sesame or poppy, for a finishing touch. Experiment with different flours or sweeteners like honey to suit your preferences or dietary needs.
Why Baking Bread Rolls is Worth Your Time
For many home bakers, the allure of making bread rolls isn’t just about taste. The process itself can be incredibly rewarding. There’s something deeply satisfying about watching your dough rise, shaping each roll with care, and then pulling a tray of golden, fragrant rolls from the oven.
Plus, the health and cost benefits of baking your own bread cannot be overstated. You’ll save money by avoiding store-bought options and gain control over exactly what goes into your rolls.
And perhaps most importantly, homemade bread rolls have a way of bringing people together. Serve them at dinners, share them with neighbors, or tuck them into lunchboxes for a little homemade love on the go.
Step Into the World of Homemade Bread Rolls
If you’ve never made bread rolls before, this is your sign to start. With the right techniques and a little practice, you’ll be whipping up fluffy, golden rolls that rival any bakery’s.
Looking for more tips, insights, or recipe inspiration? Stay tuned to our blog and start your baking adventure today—because there’s always room for fresh, homemade bread rolls in every kitchen!
Print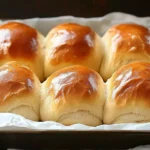
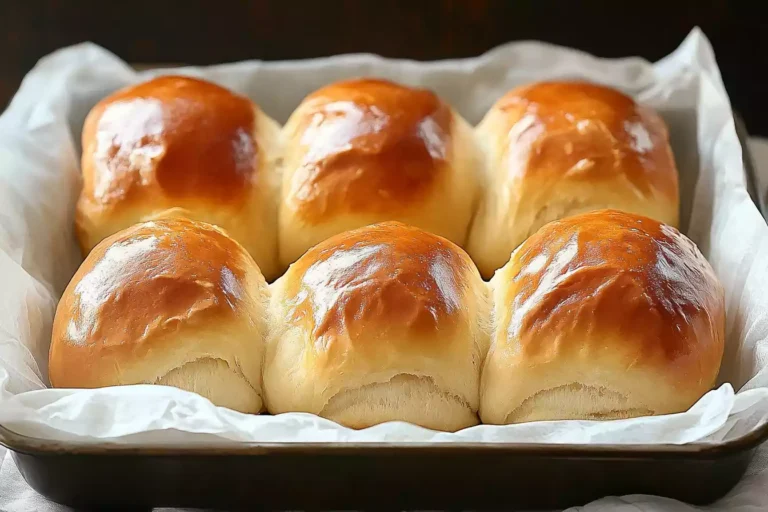
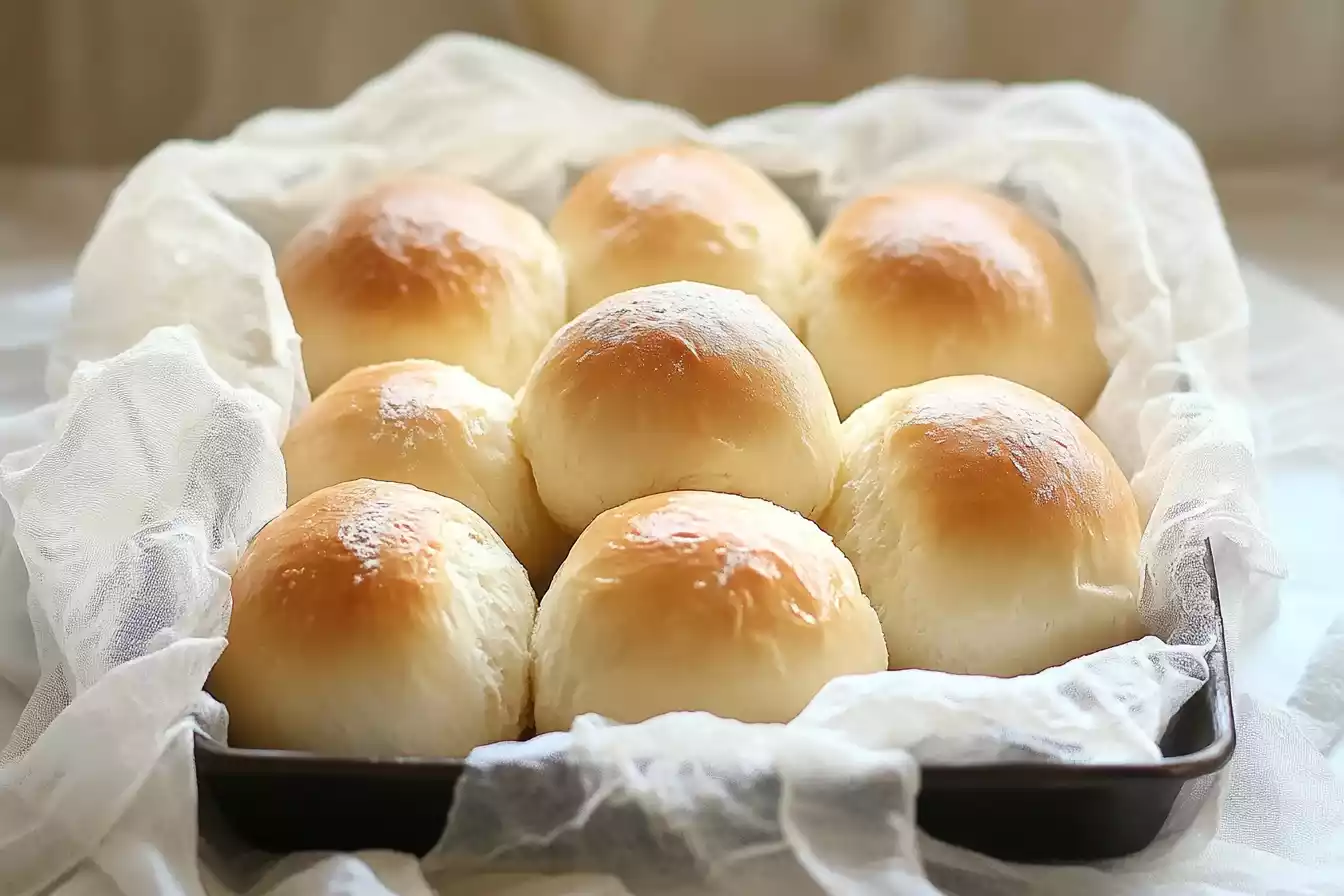
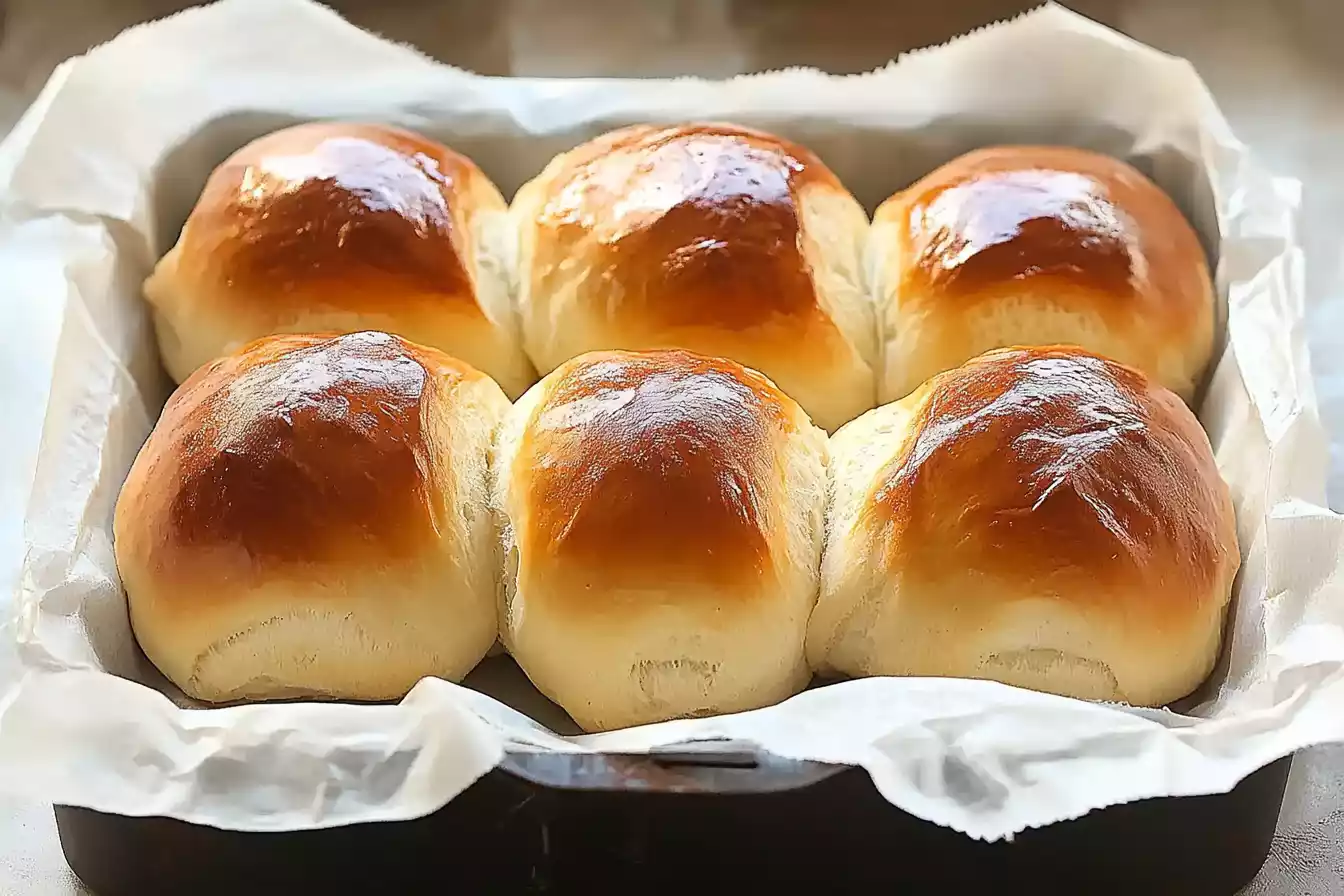
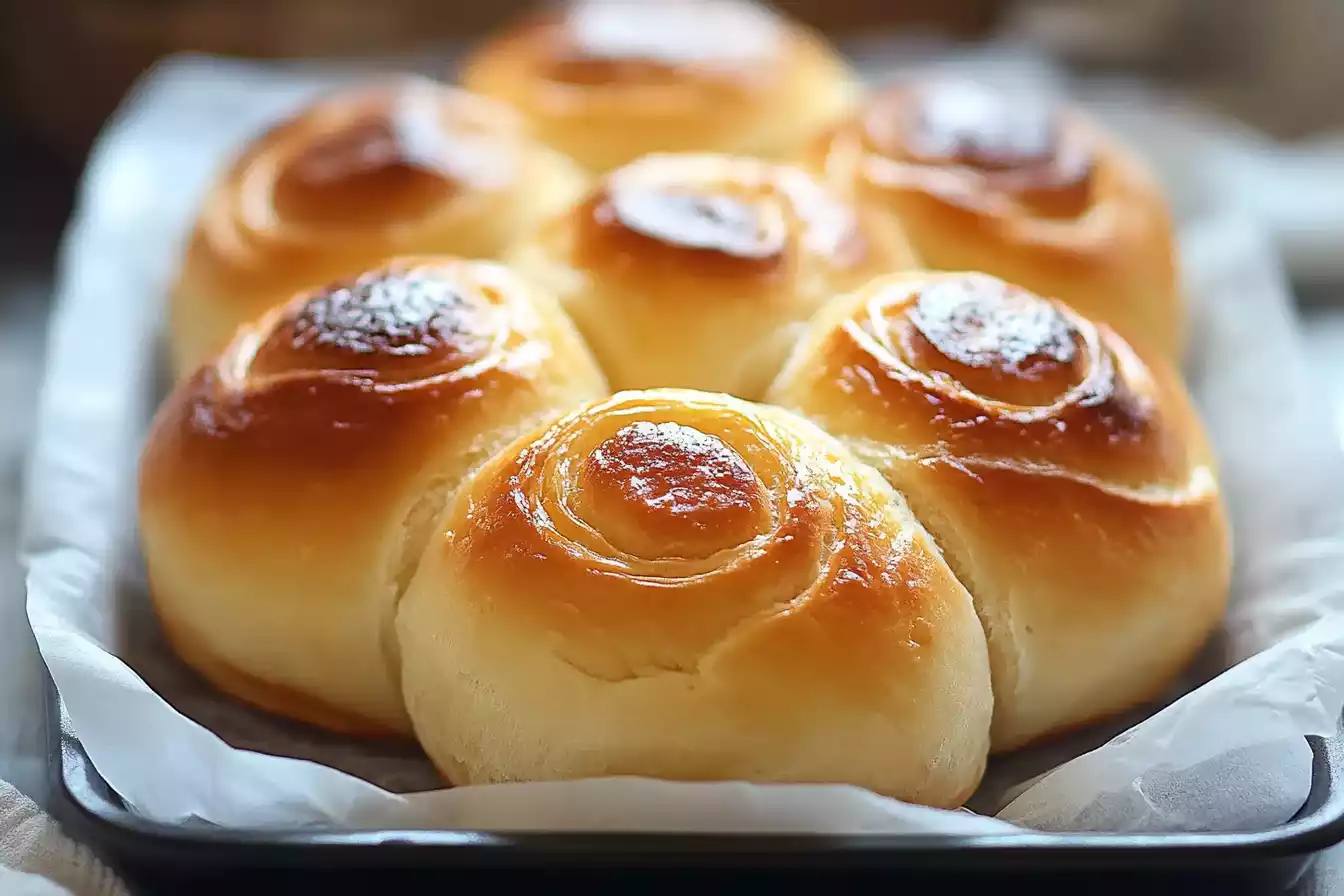
🍞🥐 Fluffy and Buttery Soft Rolls 🥖🧈
Description
Remember the aroma of freshly baked bread wafting through Grandma’s kitchen? These soft rolls will transport you back to those warm, comforting moments.
Ingredients
- 🌾 4 cups all-purpose flour
- 🍶 1 packet (2¼ tsp) active dry yeast
- 🍬 ¼ cup granulated sugar
- 🧂 1 teaspoon salt
- 🧈 ½ cup unsalted butter, melted
- 🥛 1 cup warm milk (about 110°F/45°C)
- 🥚 1 large egg
- 🧈 2 tablespoons unsalted butter, melted (for brushing)
Instructions
- Activate the Yeast:
- 🥄 In a small bowl, dissolve the yeast in warm milk with a pinch of sugar. Let it sit for about 5 minutes until foamy.
- Prepare the Dough:
- 🥣 In a large mixing bowl, combine flour, sugar, and salt.
- 🥄 Add melted butter, egg, and yeast mixture to the dry ingredients.
- 🍽️ Mix until a soft, slightly sticky dough forms.
- Knead the Dough:
- 💪 Transfer the dough to a lightly floured surface and knead for 5-7 minutes until smooth and elastic.
- First Rise:
- 🥡 Place the dough in a greased bowl, cover with a clean kitchen towel, and let it rise in a warm place for about 1 hour, or until doubled in size.
- Shape the Rolls:
- 👊 Punch down the risen dough to release air.
- 🔪 Divide into 12 equal portions and shape each into a smooth ball.
- 🏺 Place the dough balls in a greased 9×13 inch baking dish, leaving space between each.
- Second Rise:
- 🕰️ Cover with the kitchen towel and let them rise again for 30 minutes, or until doubled in size.
- Bake the Rolls:
- 🔥 Preheat oven to 375°F (190°C).
- 🍞 Bake the risen rolls for 15-18 minutes until golden brown on top.
- Finish with Butter:
- 🧈 Remove from oven and immediately brush tops with melted butter for added flavor and shine.
- Serve:
- 🍽️ Enjoy the rolls warm, on their own, with butter, or as a side to any meal.
Notes
Nutritional Information: Per roll (based on 12 servings) | Calories: ~220kcal | Carbohydrates: ~30g | Protein: ~5g | Fat: ~9g | Saturated Fat: ~5g | Sugar: ~5g | Fiber: ~1g | Sodium: ~200mg
👩🍳 Ready to fill your home with the irresistible scent of homemade bread? Try baking these soft rolls today and share the joy with your loved ones!
Pinterest: The Fluffiest Bread Rolls You’ll Ever Make
Post Disclaimer
The information contained in this post is for general information purposes only. The information is provided by Choco Fever Dream and while we endeavour to keep the information up to date and correct, we make no representations or warranties of any kind, express or implied, about the completeness, accuracy, reliability, suitability or availability with respect to the website or the information, products, services, or related graphics contained on the post for any purpose.