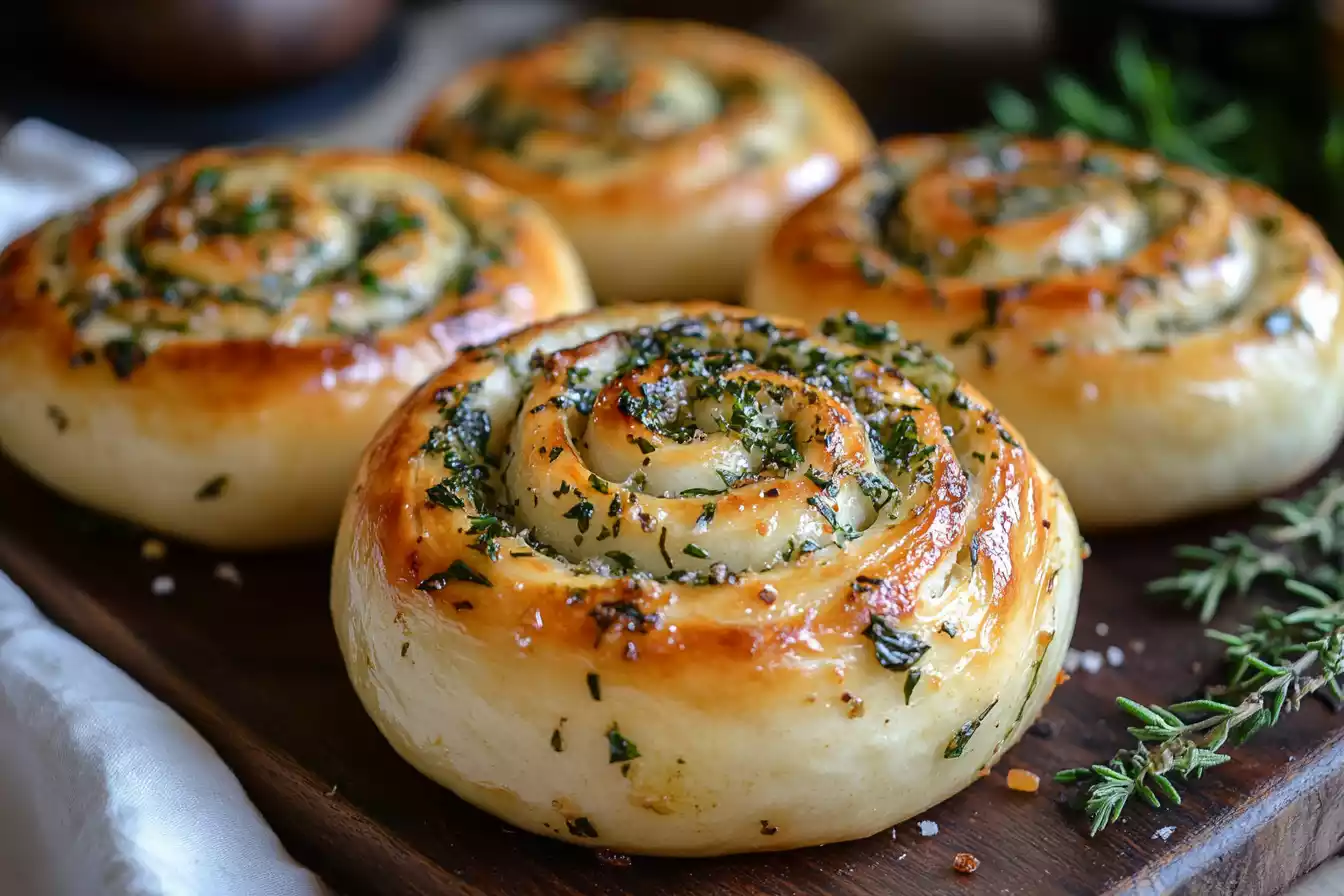
Golden, swirled with fragrant garlic butter, and impossibly soft, herb & garlic swirl rolls are everything a home baker dreams of. These rolls combine the simplicity of classic breadmaking with an elevated twist—the buttery garlic filling creates flavor-packed, flaky layers that wow both the baker and everyone lucky enough to snag a piece.
Today, we’re here to walk you through everything you need to know about herb & garlic swirl rolls. From breaking down the ingredients to sharing tips for fluffy perfection, this guide is for anyone eager to add a crowd-pleaser to their culinary repertoire. These savory rolls are quick to prepare—ready in just 45 minutes—and versatile enough for a holiday spread or a casual weeknight dinner.
By the end of this blog, you’ll be ready to bake up a batch of swirl rolls that will impress even the toughest critics. Got your apron ready? Let’s start rolling!
Why Herb & Garlic Swirl Rolls Stand Out
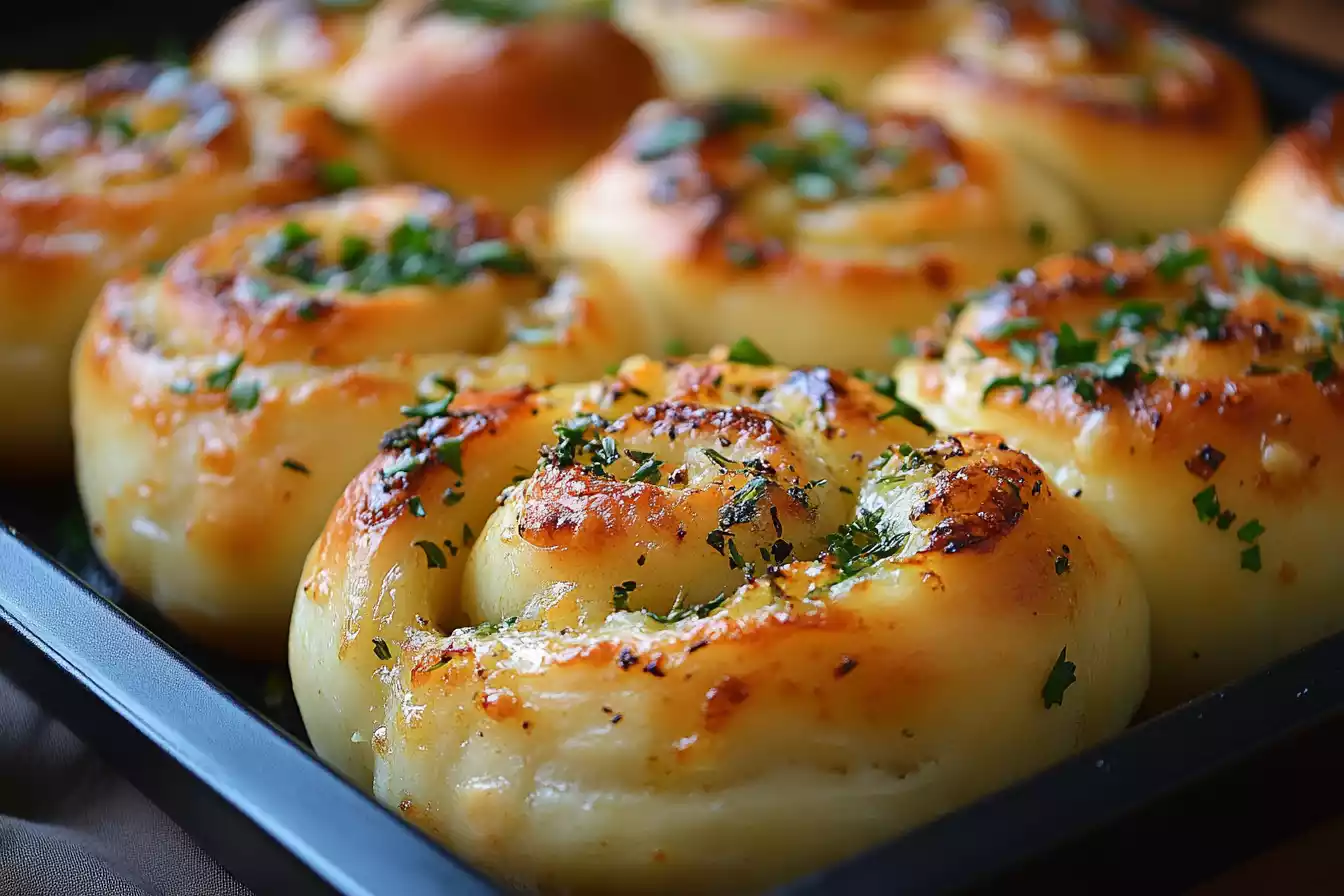
Herb & garlic swirl rolls are not just another bread recipe—they’re a whole sensory experience. Here’s what makes them so special:
- Layers of Flavor: Infused with fresh garlic, parsley, and a touch of parmesan, each bite is an explosion of buttery goodness.
- Aromatic Appeal: The smell of these rolls baking is enough to gather everyone around the table. Imagine the warm scent of garlic butter wafting through your home.
- Soft and Fluffy Texture: The dough is enriched with butter and eggs, creating a pillowy texture that melts in your mouth.
- Perfect Pairing: These rolls are as versatile as they come. Serve them alongside pasta, soups, or roasted chicken—or enjoy them solo with a pat of butter.
Whether you bake often or only for special occasions, this recipe is worth mastering.
What You’ll Need
Part of what sets this recipe apart is its use of simple, high-quality ingredients. Here’s what you’ll need to grab before you start baking:
Dough Ingredients
- 4 cups of all-purpose flour: The reliable base for soft, pillowy rolls.
- Fresh active dry yeast: Ensures a good rise for that fluffy texture.
- Unsalted butter: Use good-quality butter for a rich, creamy flavor (both melted for the dough and softened for the filling).
- Milk (110°F): Warm milk activates the yeast and adds moisture to the dough.
- Sugar (2 tbsp): Feeds the yeast and adds just a hint of sweetness to balance the garlic.
- Eggs (2 large): Bind the dough and contribute to its soft structure.
- Salt (1 tsp): Elevates the flavors for a well-rounded dough.
Filling Ingredients
- 6 large cloves of garlic, minced: The star of the show! Use fresh garlic for the boldest flavor.
- Fresh parsley (finely chopped): Adds brightness and a pop of color.
- Parmesan cheese (optional): For a cheesy twist, freshly grated parmesan takes these rolls over the top.
- Salt and black pepper: Just enough to enhance the filling’s flavor balance.
Tools You’ll Need
- Mixing bowls, a rolling pin, and a baking pan. Floss or a sharp knife for cleanly cutting the dough.
How to Make Herb & Garlic Swirl Rolls
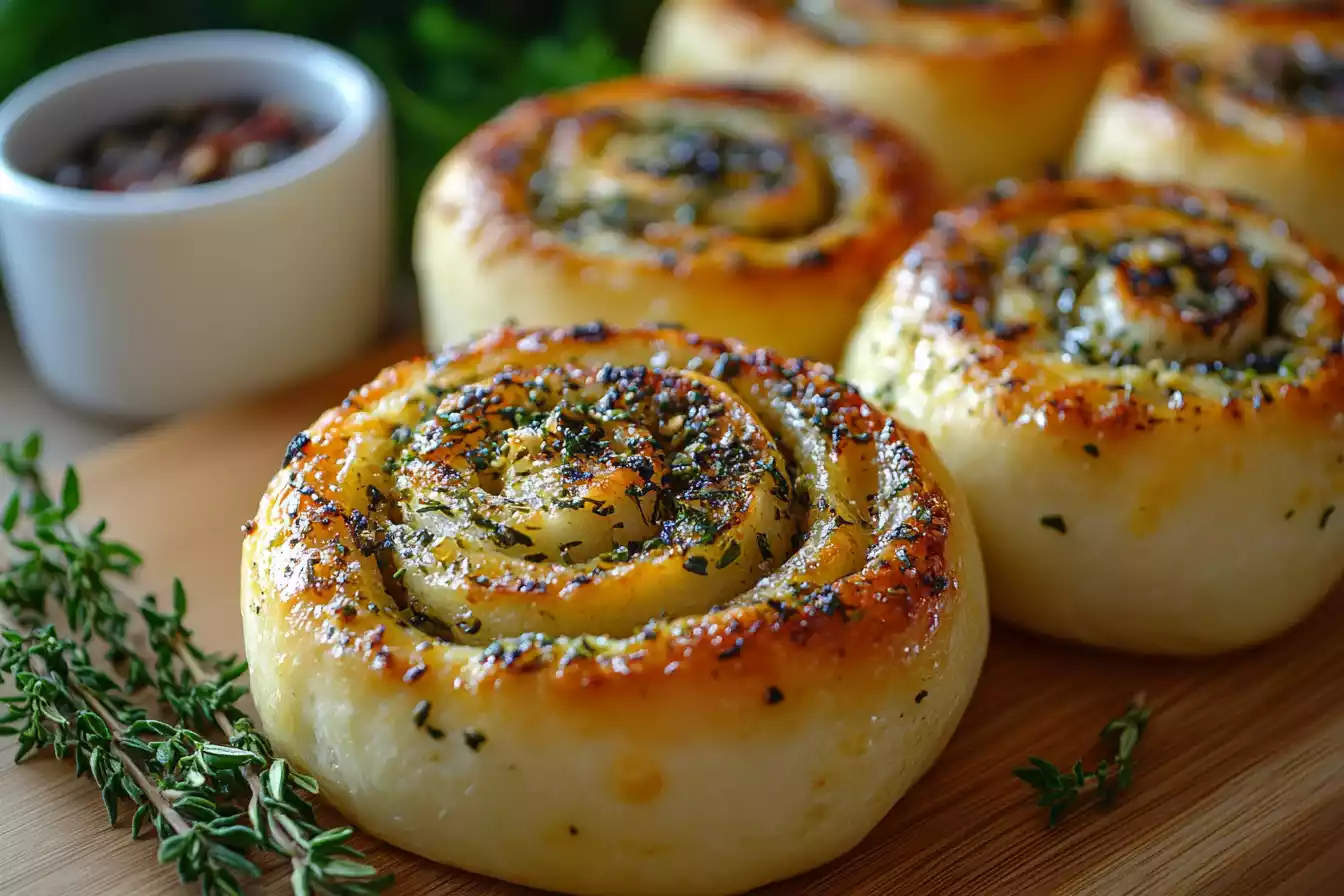
Step 1: Activate the Yeast
The first step is magical! Combine warm milk with sugar, sprinkle in the yeast, and watch it foam. If it doesn’t get frothy after 10 minutes, start fresh with new yeast—this step is critical for fluffy rolls.
Step 2: Mix and Knead the Dough
Add eggs, melted butter, and salt to the activated yeast. Gradually mix in the flour until the dough comes together. Knead on a floured surface for about 7-10 minutes. You’ll know you’re done when the dough feels smooth and elastic (like a satin pillowcase).
Step 3: Prepare the Garlic Butter Filling
While the dough rises, mix softened butter with minced garlic, parsley, salt, and pepper. The aroma alone will make you excited for what’s to come.
Step 4: Roll and Swirl
Once the dough has doubled in size (roughly 45 minutes), roll it into a rectangle on a floured surface. Spread the garlic butter filling evenly, leaving about an inch uncovered along the edges. Roll the dough tightly, like a jelly roll, and use unflavored dental floss (or a knife) to create even slices.
Step 5: Rise Again
Place the rolls in a greased baking pan and cover them with a kitchen towel. Allow them to rise for another 30-45 minutes—this gives them that signature fluffiness as they puff up beautifully.
Step 6: Bake to Golden Perfection
Bake at 350°F for 25 minutes or until the rolls are golden-brown. For an extra indulgent twist, sprinkle parmesan cheese over the rolls for the last 5 minutes of baking.
Step 7: Serve and Savor
Serve while they’re still warm with a bowl of pasta, rich tomato soup, or a dip made of garlic butter. Honestly, they’re delightful on their own too.
Tips for Success
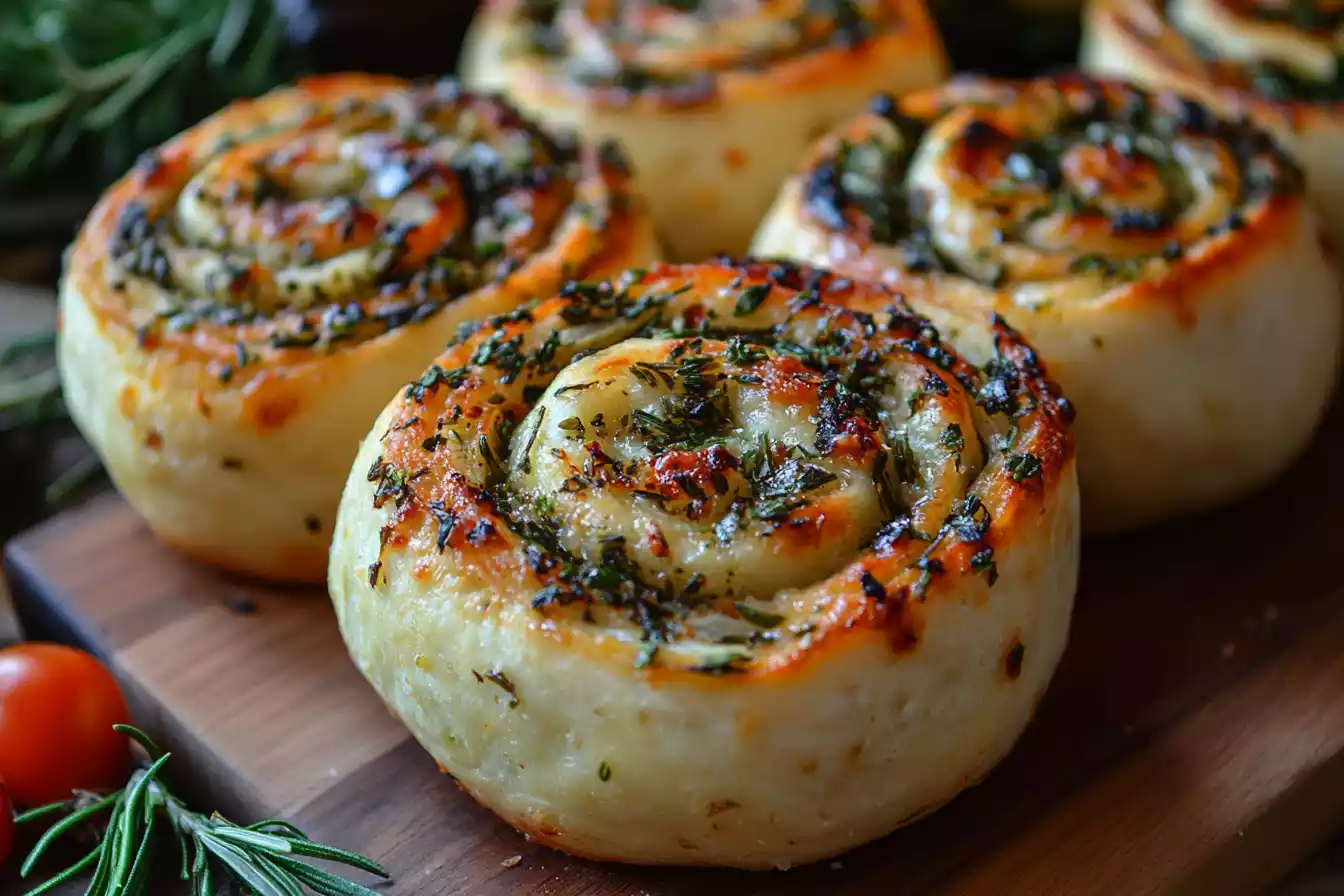
Making flawless herb & garlic swirl rolls every time isn’t hard—you just need these helpful tips:
- For Soft Rolls: Use fresh, active yeast and avoid over-flouring the dough. It should be slightly sticky.
- Room Temperature Ingredients: Using room-temperature butter and eggs helps the dough rise more uniformly.
- Dental Floss Hack: To cut clean rolls without squishing, use unflavored floss and loop it under the rolled dough, pulling tight to slice.
Ingredient Swaps
- Out of parsley? Use dried parsley or fresh rosemary for a fragrant flavor variation.
- Prefer a vegan option? Swap the butter with plant-based alternatives and use almond milk in place of dairy.
- Love cheese? Grate in a mix of mozzarella and asiago for gooey, cheesy goodness.
Storage and Reheating
While these rolls are best fresh, you can store them in an airtight container at room temperature for up to 2 days. Reheat in the oven or microwave to restore that fresh-baked texture. Freezing? Cool them completely, store them tightly wrapped, and thaw in the fridge overnight before reheating.
Why You’ll Love Baking These Rolls
Once you try your hand at making herb & garlic swirl rolls, they may just become a staple in your kitchen. These delightful rolls are the perfect combination of soft, pillowy bread and fragrant herb-garlic goodness. Here’s why they’re worth the effort (not that it takes much):
- They transform basic pantry staples like flour, yeast, and butter into something truly extraordinary that feels both comforting and gourmet.
- Baking them fills your home with inviting, warm aromas that make everyone eagerly anticipate the first bite.
- The swirl design is not only satisfying to master but also absolutely stunning on a dinner table, elevating even the simplest meals.
- They’re affordable to make, endlessly customizable with your favorite herbs or cheeses, and universally appealing—perfect for family dinners, potlucks, or even as a gift.
Whether you’re a seasoned home baker or someone just starting their bread journey, this recipe is approachable yet impressive. Bread lovers, garlic enthusiasts, and anyone who enjoys the magic of baking—this is your next must-try!
Baking Joy Awaits
Savory, garlicky, and melt-in-your-mouth soft, herb & garlic swirl rolls are more than just bread—they’re a labor of love that delivers on every bite. Whether you’re a seasoned baking pro or just starting out, this recipe is foolproof and endlessly customizable.
We’d love to hear about your experience! Have you tried making garlic swirl rolls before? Drop your tips, questions, and photos in the comments below. For more comforting bread recipes and beginner-friendly baking guides,
Happy baking!
Print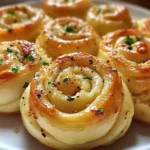
🧄🍞 Irresistible Garlic Swirl Rolls – A Twist on Classic Comfort 🍞🧄
Description
Remember the aroma of freshly baked bread wafting through Grandma’s kitchen? These garlic swirl rolls bring that nostalgic warmth to your home, with a savory twist that’ll have everyone reaching for seconds.
Ingredients
For the dough:
- 🥛 1 cup warm whole milk (110°F/43°C)
- 🍯 2 tablespoons honey
- 🧈 4 tablespoons unsalted butter, melted
- 🥚 1 large egg
- 🌾 3 1/2 cups all-purpose flour
- 🍚 2 teaspoons instant yeast
- 🧂 1 teaspoon salt
For the garlic filling:
- 🧈 4 tablespoons unsalted butter, softened
- 🧄 4 cloves garlic, minced
- 🧀 1/2 cup grated Parmesan cheese
- 🌿 2 tablespoons fresh parsley, finely chopped
- 🧂 1/2 teaspoon salt
- 🌶️ 1/4 teaspoon red pepper flakes (optional, for a hint of heat)
For the topping:
- 🧈 2 tablespoons unsalted butter, melted
- 🧄 1 clove garlic, minced
- 🌿 1 tablespoon fresh parsley, finely chopped
Instructions
-
Prepare the dough:
- In a large bowl, combine the warm milk, honey, melted butter, and egg. Mix well.
- In a separate bowl, whisk together the flour, instant yeast, and salt.
- Gradually add the dry ingredients to the wet mixture, stirring until a soft dough forms.
- Knead the dough on a lightly floured surface for about 8-10 minutes, until smooth and elastic.
- Place the dough in a greased bowl, cover with a clean kitchen towel, and let it rise in a warm place for about 1 hour, or until doubled in size.
-
Prepare the garlic filling:
- In a small bowl, mix together the softened butter, minced garlic, grated Parmesan, chopped parsley, salt, and red pepper flakes (if using) until well combined.
-
Assemble the rolls:
- Once the dough has risen, punch it down to release any air bubbles.
- Roll the dough out on a lightly floured surface into a rectangle approximately 12×18 inches (30×45 cm).
- Evenly spread the garlic filling over the dough, leaving a small border around the edges.
- Starting from the long side, tightly roll the dough into a log.
- Using a sharp knife, cut the log into 12 equal pieces.
- Place the rolls, cut side up, into a greased 9×13-inch (23×33 cm) baking dish.
- Cover the dish with a kitchen towel and let the rolls rise for an additional 30 minutes.
-
Bake the rolls:
- Preheat the oven to 350°F (175°C).
- Bake the rolls for 20-25 minutes, or until golden brown and fragrant.
-
Prepare the topping:
- While the rolls are baking, combine the melted butter, minced garlic, and chopped parsley in a small bowl.
-
Finish and serve:
- As soon as the rolls come out of the oven, brush them generously with the garlic butter topping.
- Serve warm, and watch them disappear!
Notes
Nutritional Information (per roll): Calories: 250 kcal | Carbohydrates: 30g | Protein: 7g | Fat: 12g
Bring the comforting scent of homemade bread and the irresistible taste of garlic to your table with these delightful rolls. Give this recipe a try, and let the flavors whisk you back to cherished memories. Happy baking! 🧄🍞
Pinterest: Herb & Garlic Swirl Rolls: Luxurious, Fantastic Jaw-Dropping Bread Obsession!
Post Disclaimer
👩🍳 100% Real Recipes, Chef-Approved! 🔥
All the recipes you’ll find here at Choco Fever Dream are completely real, thoroughly tested, and approved by professional chefs to ensure accuracy, flavor, and reliability. While we may use AI-generated images to enhance your browsing experience, the food itself is always the real deal.
We do our best to keep everything up-to-date and trustworthy, but we can’t promise perfection—so please use your own judgment when cooking. Most importantly, have fun and enjoy the process!
Happy cooking! 🍽️💛
