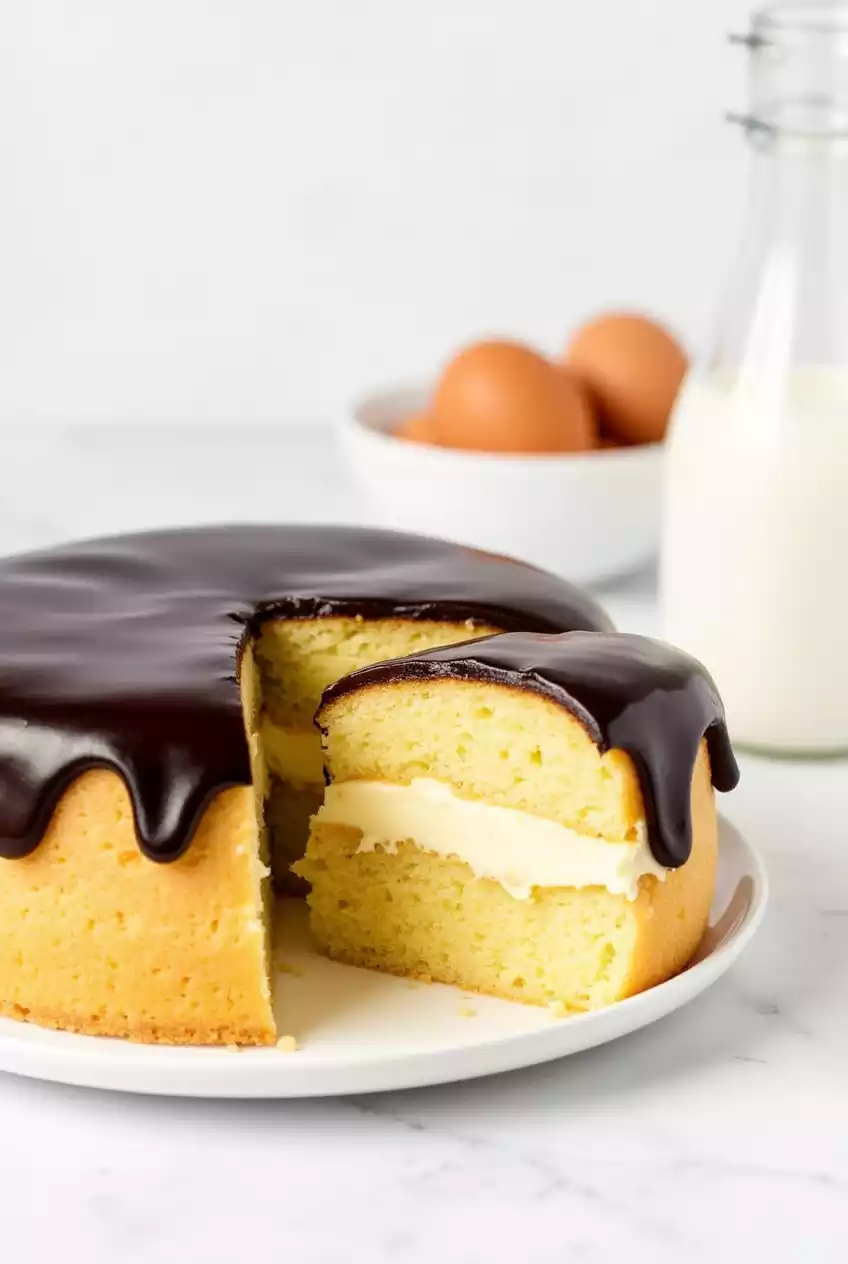
Boston Cream Cake Recipe: If you’re a dessert lover or home baker, the Boston Cream Cake, known for its creamy custard filling and luscious chocolate glaze, is an absolute must-try. Despite its impressive finish, this cake is far easier to create than you might imagine. Whether you’re looking to refine your baking skills or explore this iconic recipe, this guide will walk you through everything you need to know.
By the end of this post, you’ll know not only the history behind the Boston Cream Cake but also the key elements that make it a standout treat. We’ll detail essential ingredients, step-by-step techniques, and even variations to personalize your creation.
The History of the Boston Cream Cake
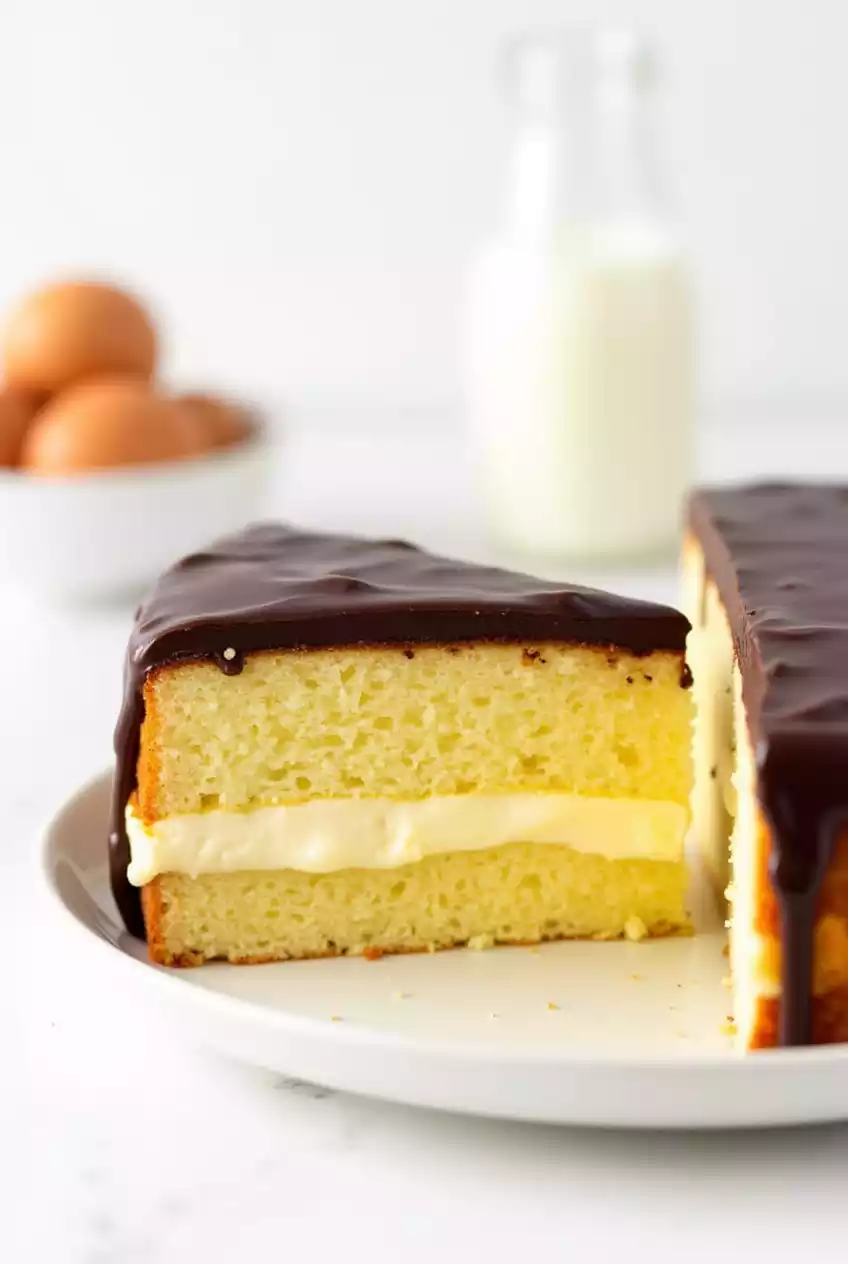
Though commonly referred to as a Boston Cream “Pie,” the dessert is very much a true cake. Its origins date back to the mid-19th century when desserts combining cake layers with custard began gaining popularity in America. It was first created by French pastry chefs who settled in Boston and brought their expertise with them.
The dessert gained widespread fame in 1856 when Chef Sanzian, a pastry chef at the Parker House Hotel in Boston, developed what we now know as the Boston Cream Pie. Traditionally, “pie” referred broadly to any dessert baked in a round pan, hence the name. This rich dessert even earned the honor of being named the official dessert of Massachusetts in 1996.
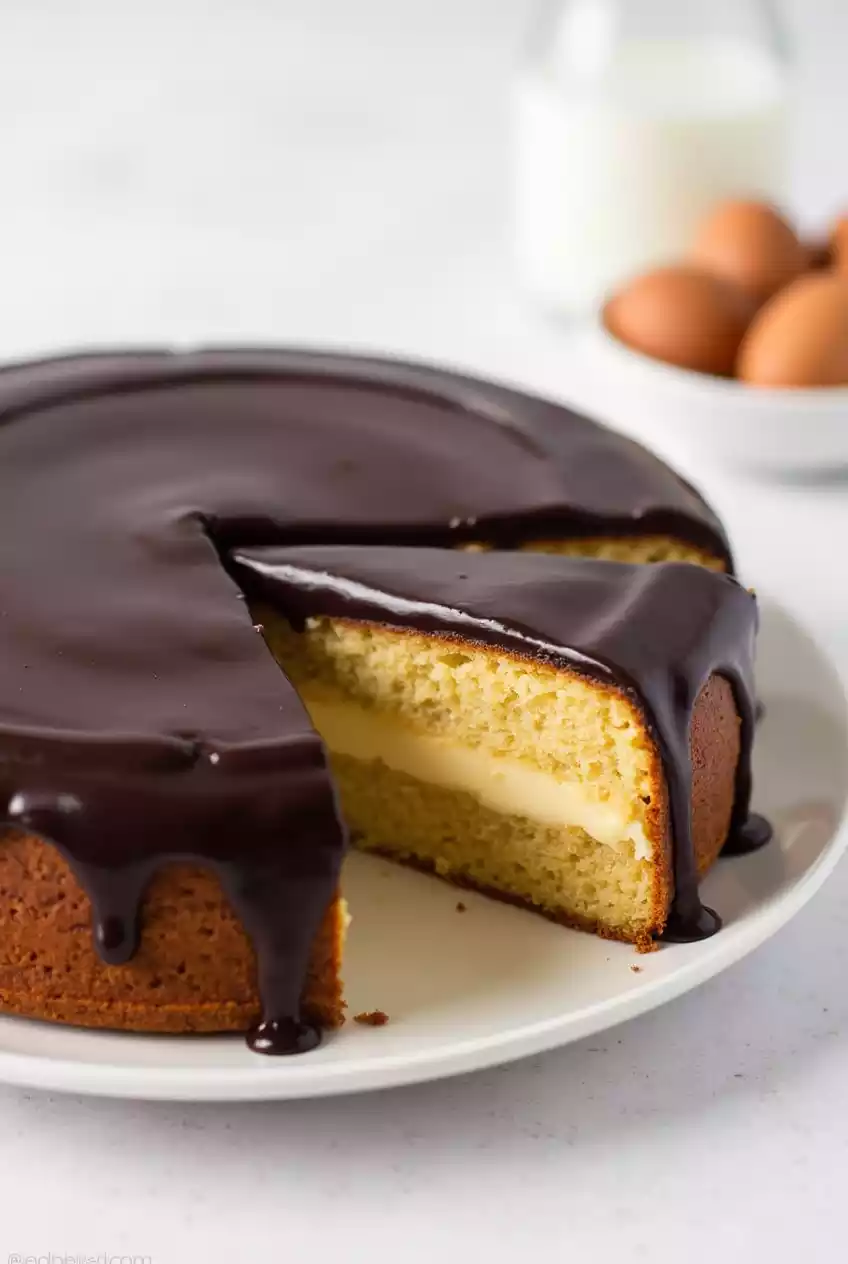
Over the years, this indulgent delicacy has undergone tweaks and refinements in both presentation and flavor, but the core components remain the same: soft sponge layers, velvety custard, and a glossy chocolate topping.
What Makes a Boston Cream Cake Special?
The charm of a Boston Cream Cake lies in its well-balanced trio of components, each working together to create a dessert that is both indulgent and unforgettable. From the fluffy cake layers to the rich chocolate glaze, every bite is a delicious harmony of textures and flavors. Let’s dive into the magic of its three key elements:
1. Cake Layers
Light yet buttery, the cake layers form the foundation of this dessert. Slightly spongy with a tender crumb, they are rich enough to support the creamy filling while maintaining a delicate texture. These layers act as the perfect canvas for the custard and chocolate glaze, soaking up just enough moisture to enhance every bite without becoming soggy. Their subtle sweetness balances the richness of the other components, making each forkful satisfying without being overly heavy.
2. Custard Filling
At the heart of the Boston Cream Cake is the custard filling, a velvety pastry cream that’s delicately sweetened and full of flavor. Made from a blend of milk, egg yolks, sugar, and a hint of vanilla, this smooth and creamy layer adds a luxurious contrast to the airy cake. The custard is carefully cooked to achieve the perfect consistency—thick enough to hold its place, yet soft enough to melt in your mouth. It brings a creamy decadence to each slice, tying together the flavors of the cake and glaze in perfect harmony.
3. Chocolate Glaze
No Boston Cream Cake is complete without its crowning glory: the chocolate glaze. A luscious topping of shiny ganache, it’s traditionally made by melting semisweet chocolate with heavy cream to create a rich and silky layer. The glaze not only provides a bold, bittersweet flavor that complements the sweetness of the custard but also adds a touch of elegance to the dessert. As it sets, the glaze forms a smooth, glossy surface that makes the cake as visually stunning as it is delicious. Each bite delivers a satisfying contrast between the creamy custard and the indulgent, chocolatey finish.
Together, these three components create a dessert that is as timeless as it is delicious. The Boston Cream Cake isn’t just a treat, it’s an experience—a perfect balance of textures and flavors that has earned its place as a classic favorite.
Essential Ingredients for a Boston Cream Cake Recipe
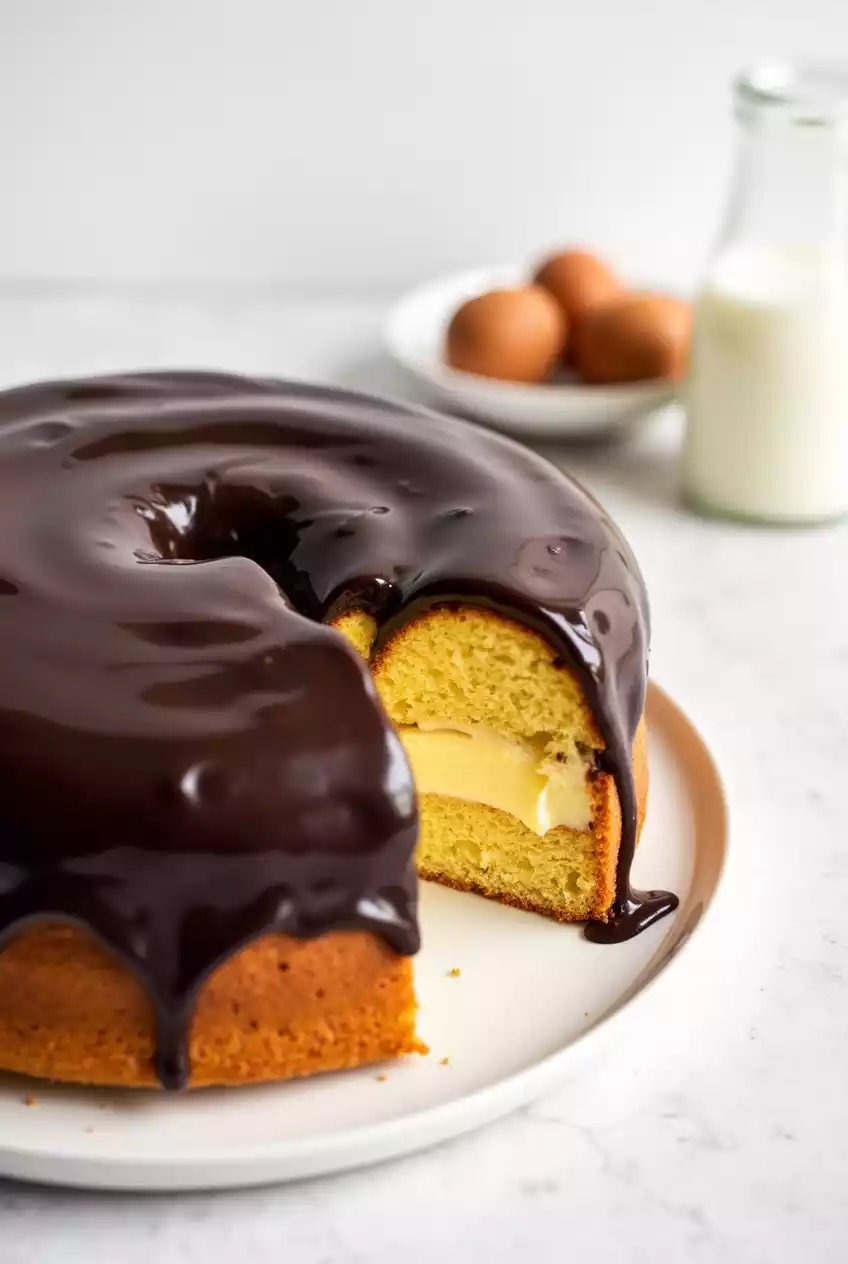
Precision is key to achieving a bakery-quality Boston Cream Cake. Here’s a breakdown of key ingredients and tips to get the best results:
Cake Layers
- All-purpose flour: The foundation of the cake, providing just the right balance of softness and structure for a fluffy yet sturdy result. Make sure to sift it to avoid lumps in the batter.
- Unsalted butter: Adds a rich, creamy flavor while ensuring the salt doesn’t compete with the sweetness of the cake. Let it soften at room temperature for easy mixing.
- Sugar: Not only sweetens the cake but also helps retain moisture, giving the layers a tender and moist texture. Use granulated sugar for the best results.
- Eggs: These are crucial for structure and lift, helping the cake rise beautifully while creating a fine, tender crumb. Use room temperature eggs for better incorporation into the batter.
Custard Filling
- Whole milk: The key ingredient for a rich, silky custard that holds its shape between the cake layers. Use full-fat milk for the creamiest texture.
- Egg yolks: These thicken the custard to perfection while adding a lush, velvety richness to the filling. Be sure to whisk them thoroughly to avoid lumps.
- Pure vanilla extract: The secret to a fragrant, flavorful filling. Opt for high-quality vanilla extract to enhance the custard’s taste with its warm, aromatic notes.
Chocolate Glaze
- Semisweet chocolate: This provides a delectable bittersweet finish that complements the sweetness of the cake and custard. Choose high-quality chocolate for a glossy, smooth glaze.
- Heavy cream: When warmed and combined with chocolate, it creates a luscious, silky glaze that pours easily over the cake. Use just the right amount to achieve the perfect consistency.
How to Assemble the Perfect Boston Cream Cake
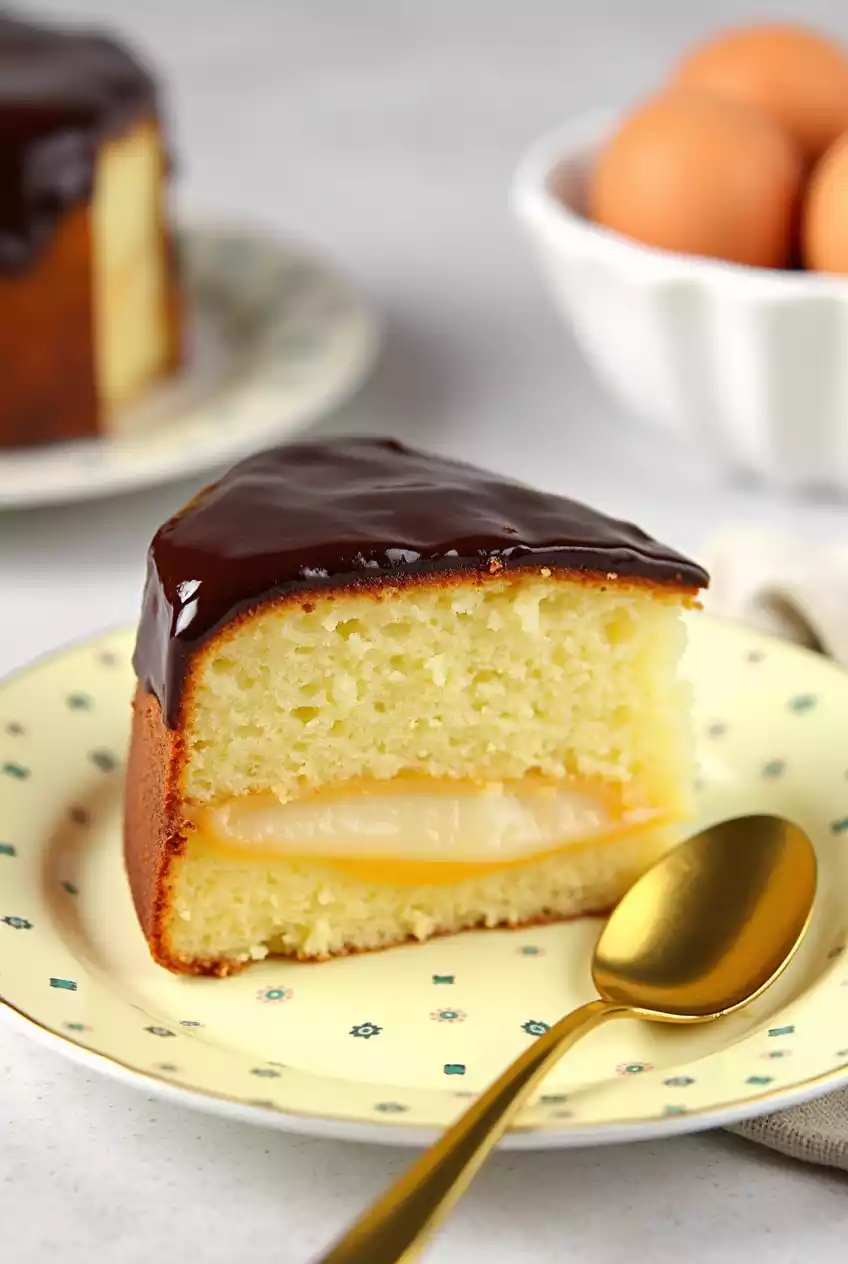
Making a Boston Cream Cake is a multi-step process that rewards patience and attention to detail. This classic dessert combines moist vanilla cake, creamy custard, and a rich chocolate glaze to create an indulgent treat. Follow these steps to assemble it like a pro:
Step 1: Bake the Cake Layers
Start by preparing two round vanilla cake layers using high-quality ingredients for the best flavor and texture. A soft, fluffy cake is key to supporting the custard and glaze. Be sure to grease and flour your cake pans or line them with parchment paper to prevent sticking. Once baked, allow the cakes to cool completely on a wire rack. This step is crucial to avoid melting the custard filling during assembly.
Step 2: Prepare the Custard
Cook a batch of classic pastry cream by whisking together egg yolks, sugar, milk, cornstarch, and a touch of vanilla extract. Stir the mixture over medium heat until it thickens into a smooth, creamy consistency. Transfer the custard to a bowl, cover it with plastic wrap (pressing it directly onto the surface to prevent a skin from forming), and chill it in the refrigerator. Make sure the custard is thick enough to spread easily while holding its shape between the cake layers.
Step 3: Make the Chocolate Glaze
Prepare a luxurious chocolate ganache with just two ingredients: chopped semisweet chocolate and heated heavy cream. Heat the cream until it’s steaming (but not boiling), then pour it over the chocolate. Let it sit for a minute before stirring until smooth and glossy. The glaze should have a pourable consistency that will coat the cake beautifully. Allow it to cool slightly before using.
Step 4: Assemble the Cake
- Place one cake layer on a serving plate or cake stand. To keep your plate clean, tuck small strips of parchment paper under the edges of the cake.
- Spread a generous layer of chilled custard evenly over the surface of the cake, leaving a small border to prevent it from oozing out when the top layer is added. Use an offset spatula for a smooth, professional finish.
- Gently place the second cake layer on top, aligning it evenly with the bottom layer. Press down lightly to secure the layers without squishing the custard.
- Pour the slightly cooled chocolate glaze over the top of the cake. Use a spatula to guide the glaze to the edges, letting it flow naturally down the sides for a beautiful dripped effect.
Step 5: Chill and Serve
Refrigerate the assembled cake for at least one to two hours to allow the custard to firm up and the flavors to meld together. This chilling step also helps the glaze set, making it easier to slice the cake cleanly. To serve, use a sharp knife warmed under hot water and wiped dry between cuts. This will ensure clean, neat slices that showcase the layers of cake, custard, and chocolate.
Enjoy this decadent dessert as a show-stopping centerpiece for any special gathering or simply as an indulgent treat. Boston Cream Cake is a timeless favorite that never fails to impress!
Tips for Boston Cream Cake Success
To ensure your baking endeavor is a success, keep these tips in mind:
- Avoid Overbaking: Monitor your cake layers carefully. Overbaking can lead to dryness and compromise the texture.
- Chill the Custard: Allow enough time for the custard to firm up in the refrigerator before assembling the cake.
- Smooth Glaze Application: Chop your chocolate finely for a lump-free glaze. Stir gently to avoid introducing air bubbles.
- Keep Utensils Clean: Use a clean knife or spatula for assembling to maintain a polished look.
Serving and Storing Tips
A Boston Cream Cake is best served chilled, making it a great dessert for warm weather. Pair it with a cup of hot coffee or tea for a delightful experience.
For leftovers, store the cake in an airtight container in the refrigerator. Properly stored, it remains fresh for up to 3 days. Freezing is also an option, but it’s best to do so with only the cake layers, as the custard and glaze are difficult to restore once thawed.
Creative Variations to Try
If you want to try a twist on this classic recipe, here are some fun ideas:
- Berry Layer: Add a thin layer of fresh raspberries or strawberry jam for a fruity tang.
- Coffee Infusion: Replace some of the milk in the custard with brewed espresso for a mocha twist.
- Layered Minis: Create individual Boston Cream Cake bites using cupcake molds.
Frequently Asked Questions
1. Is Boston Cream Cake the same as Boston Cream Pie?
Yes, both refer to this iconic dessert. The term “pie” is a nod to how cakes were historically baked in round pie tins.
2. How is pastry cream different from regular custard?
Pastry cream includes cornstarch or flour to make it thicker and stable enough for use in layered desserts like this cake.
3. Can I use milk chocolate for the glaze?
While possible, milk chocolate will create a much sweeter glaze. Semisweet is recommended to balance the flavors.
4. Can I make this cake in advance?
Absolutely! Bake the cake and prepare the custard a day ahead, assembling everything closer to serving time.
5. Are there dietary substitutes for this recipe?
Yes! Swap whole milk for almond or oat milk, and use dairy-free chocolate and coconut cream for lactose-friendly options.
Get Baking Today
The Boston Cream Cake isn’t just a dessert; it’s a timeless classic that brings indulgent layers to your baking repertoire. Whether you’re making it for a family gathering or treating yourself, this cake is guaranteed to impress. Experiment with the tips and variations provided, and don’t forget to share your creations!
Print
Mastering the Boston Cream Cake Recipe: A Sweet Journey
Description
🍰 Vanilla Cake with Pastry Cream & Chocolate Ganache: A Classic with a Luxurious Twist ✨
Get ready to fall head over fork for this irresistibly elegant dessert—a tender, buttery vanilla cake layered with rich, silky vanilla pastry cream and crowned with a glossy pour of dark chocolate ganache. It’s the kind of cake that makes people pause mid-bite and say, “Wow.”
This beauty is a celebration in every layer. The vanilla cake is soft, delicate, and just sweet enough—like a warm hug in cake form. Then comes the luscious pastry cream, velvety and full of real vanilla flavor, adding a dreamy custard-like richness. And to top it off? A smooth, dark chocolate ganache that drapes over the cake like a decadent, shiny curtain. ✨
Whether you’re baking for a birthday, holiday gathering, romantic dinner, or just because—it’s a show-stopper that looks fancy but is easier than you’d think to make. Every slice is a perfect balance of light and rich, sweet and bold, making this cake unforgettable for all the right reasons.
Ready to bring a little bakery-level magic to your kitchen? Let’s dive into the ingredients, layers, and tips to help you make this classic-meets-luxury cake the star of your next celebration! 🎂💖
Ingredients
Vanilla cake batter:
- 1 ½ cups (215g) all-purpose flour
- 1 ½ teaspoon baking powder
- ¼ teaspoon baking soda
- 1 cup (200g) granulated sugar
- ½ teaspoon salt
- 2 large eggs, at room temperature
- ¼ cup (56g) unsalted butter, melted and still warm
- 3 tablespoon (45ml) sunflower or canola oil
- ¼ cup (60ml) full fat plain yogurt
- 1 ½ teaspoon (7ml) pure vanilla extract
- ½ cup (120ml) whole milk, brought to a simmer and let cool for 3 minutes
1 batch of Easy Vanilla Pastry Cream recipe
Chocolate ganache:
- 8 oz (227g) semisweet chocolate finely chopped
- ¾ cup (180ml) heavy 35% whipping cream
- 2 tablespoon (30ml) light or golden corn syrup
- pinch of salt
Instructions
-
Preheat your oven to 350°F. Line a high-sided 8-inch round cake pan with parchment paper. Lightly grease the sides and set aside.
-
Make the pastry cream. Follow the instructions to make my Easy Vanilla Pastry Cream here, then let it chill and set thoroughly before filling the cake.
-
Make the cake batter. Sift flour, baking powder, baking soda and salt in a large bowl. Add sugar and whisk to blend evenly so there are no lumps.
-
Crack in the eggs, add the melted butter, oil, yogurt and vanilla extract then begin to mix on low speed using an electric hand mixer until just combined. The batter will be very thick. Gradually add the hot milk and mix on medium-low speed until it’s smooth and evenly combined.
-
Pour the batter into the prepared pan and bake for 35-40 minutes until evenly golden and a toothpick inserted into the center comes out clean. Transfer pan to a wire rack to cool for 20 minutes and then invert onto the rack to finish cooling.
-
Fill the cake. Slice the cooled cake in half horizontally and spread the chilled vanilla pastry cream filling over the bottom layer. Leave about ½-inch border so there is room for it to spread when you apply the top layer. Place the top layer on.
-
Make the chocolate frosting. Place chopped chocolate in a large bowl. Combine cream, corn syrup and salt in a small saucepan and bring to a gentle boil. Once boiling, pour it over the chopped chocolate, cover and let stand for 2 minutes to allow the heat to gently melt the chocolate. Uncover and stir gently in concentric circles starting in the center making small circles and working your way out to the edges to make large circles until smooth and glossy. Let it cool for about 10 minutes to thicken slightly and then pour it over the cooled filled cake allowing it to drip over the sides. Chill for 1 hour and then enjoy!
Pinterest: Mastering the Boston Cream Cake Recipe: A Sweet Journey
Post Disclaimer
👩🍳 100% Real Recipes, Chef-Approved! 🔥
All the recipes you’ll find here at Choco Fever Dream are completely real, thoroughly tested, and approved by professional chefs to ensure accuracy, flavor, and reliability. While we may use AI-generated images to enhance your browsing experience, the food itself is always the real deal.
We do our best to keep everything up-to-date and trustworthy, but we can’t promise perfection—so please use your own judgment when cooking. Most importantly, have fun and enjoy the process!
Happy cooking! 🍽️💛
