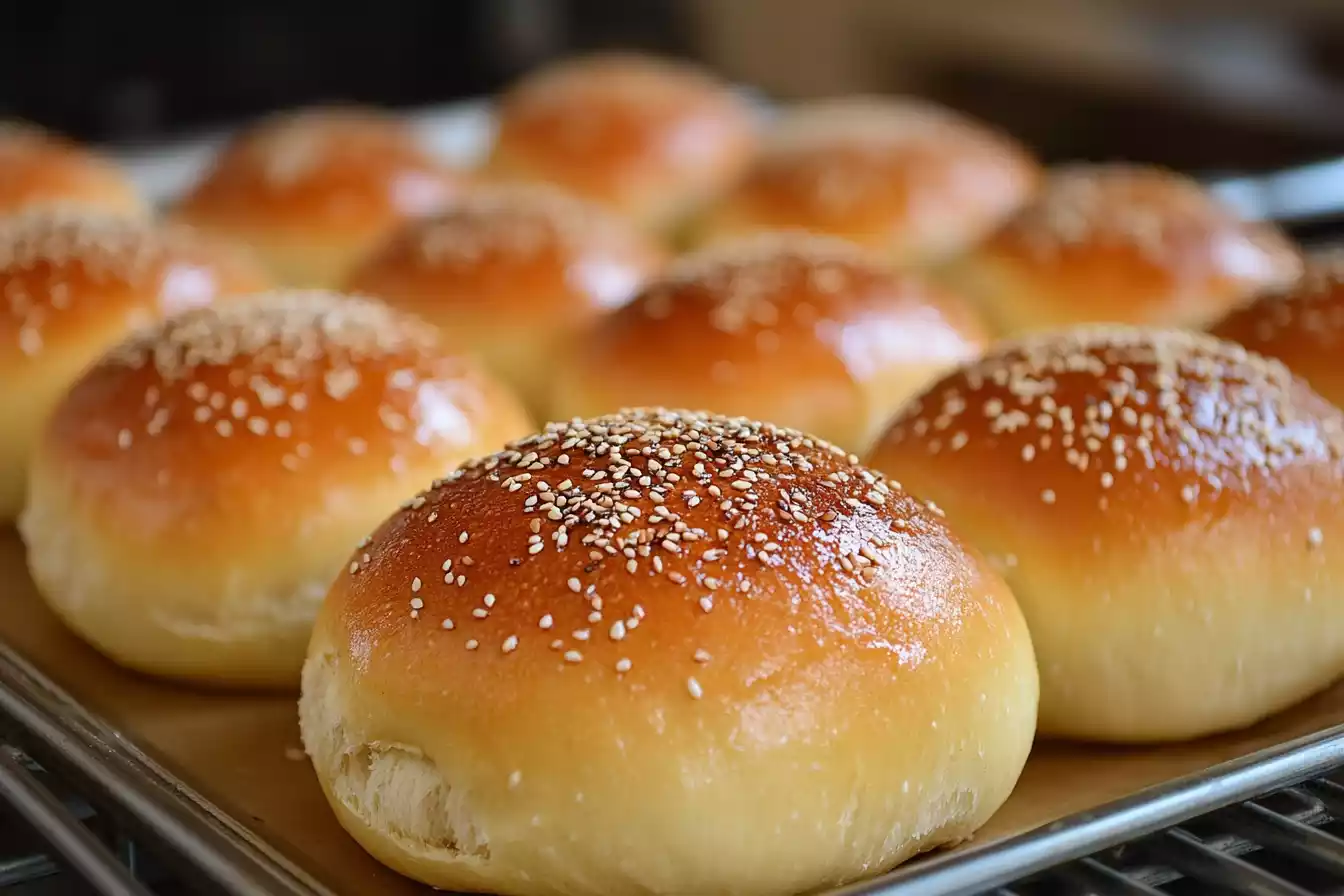
Hamburger Buns: Nothing beats the satisfaction of biting into the perfect homemade hamburger bun. It’s soft yet sturdy, packed with flavor, and just the right companion to a juicy patty or your favorite toppings. If you love experimenting in the kitchen or baking fresh bread, this guide will inspire you to ditch store-bought buns and create your own at home. From the benefits of making your own buns to tips for mastering the perfect bake, we’ve got you covered.
Why Go Homemade?
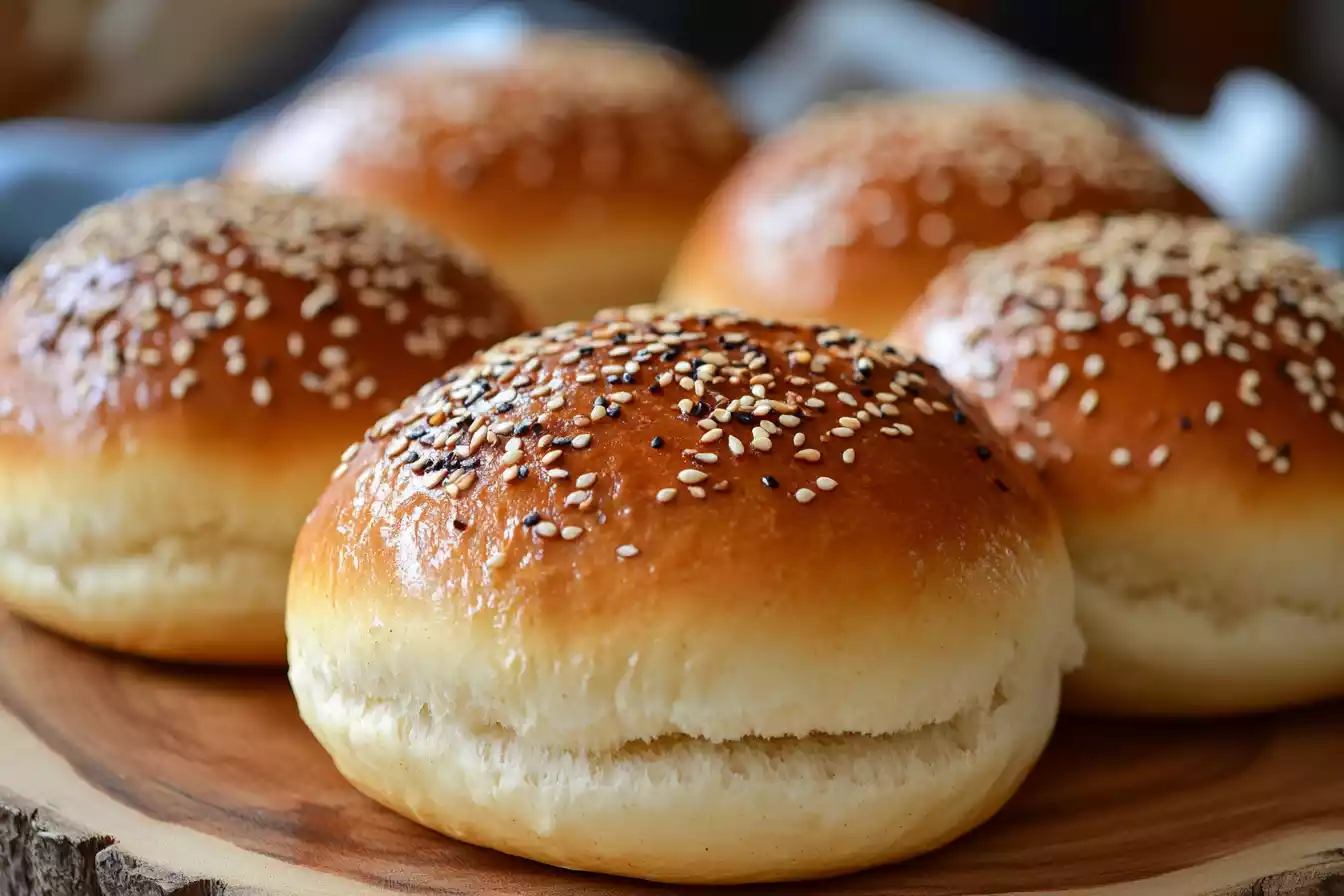
Making your own hamburger buns might seem like an unnecessary step in a world full of convenient store-bought options. However, the advantages of homemade buns are undeniable.
Superior Taste and Freshness
Commercial buns are made to last on store shelves, which means they often lack the fresh, rich flavors you can achieve at home. Homemade buns infuse your burgers with warm, buttery goodness that instantly elevates your meal.
Control Over Ingredients
One of the top reasons for baking buns at home is knowing exactly what goes into them. Skip the long list of preservatives, artificial flavors, and stabilizers. Instead, use fresh, high-quality ingredients for buns that are wholesome and delicious.
Tailored to Your Preferences
Homemade buns allow you to customize the size, texture, and flavor. Whether you prefer fluffy brioche-style buns or hearty whole-grain buns, the possibilities are endless. You can add seeds, cheese, or even spices to suit your culinary style.
A Fun and Rewarding Experience
For baking enthusiasts, there’s something deeply satisfying about kneading dough, watching it rise, and pulling golden buns out of the oven. It’s a creative process that fills your kitchen with irresistible aromas and the promise of fresh, warm bread.
Must-Have Ingredients for Perfect Hamburger Buns
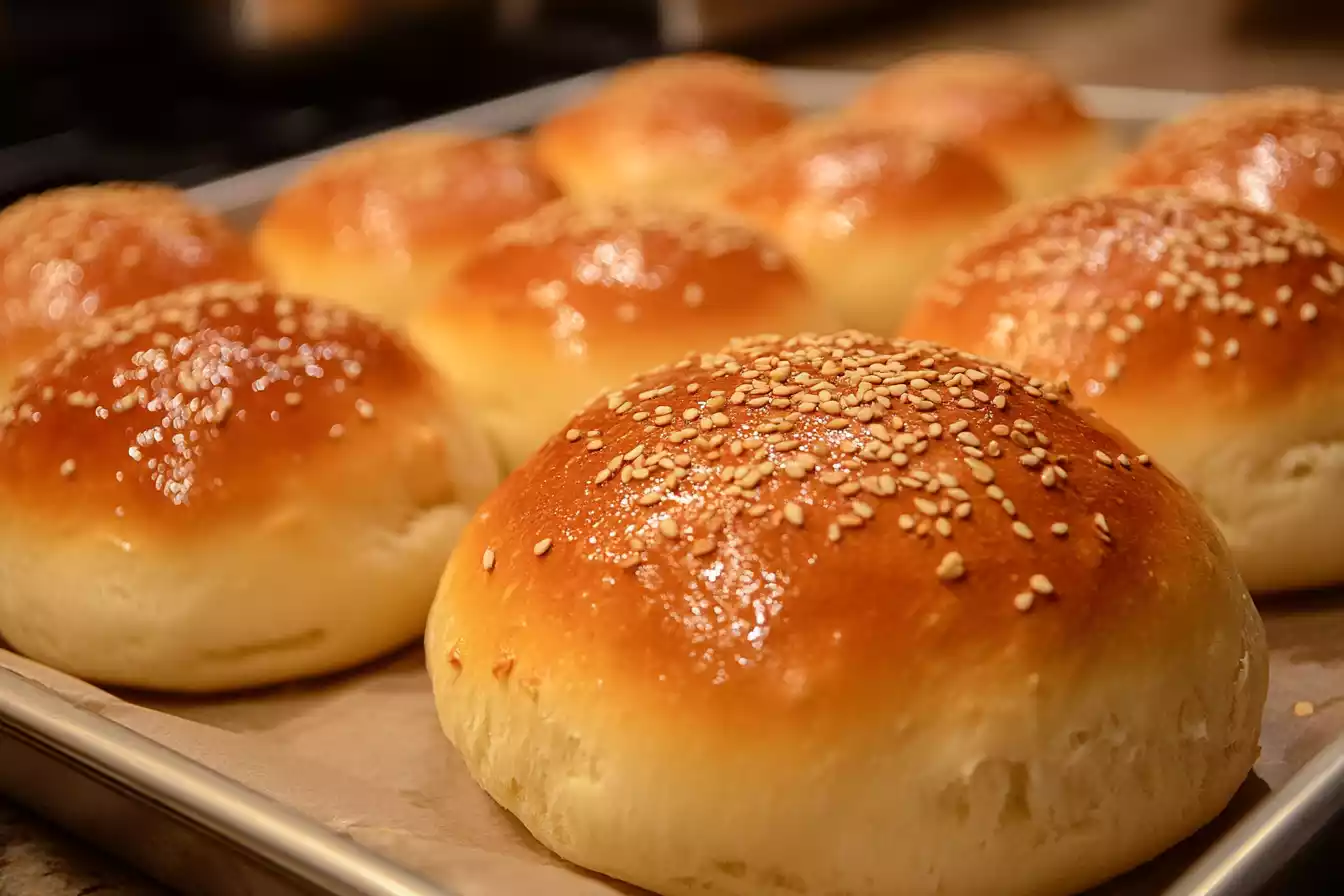
To achieve bakery-quality hamburger buns, begin with the right ingredients. Here’s what you’ll need:
Flour
Bread flour is your best bet. Its higher protein content provides the structure and chew that make buns hold up well to juicy fillings. All-purpose flour works too, though it results in a softer texture.
Yeast
Opt for instant yeast or active dry yeast to give your buns their rise. Fresh yeast is an option if you’re looking for a slightly different flavor, but instant yeast is the most convenient for home bakers.
Milk and Water
A combination of milk and water adds necessary hydration while keeping the buns soft and tender. Using warm (not hot) liquids activates the yeast for that perfect rise.
Sugar
A small amount of sugar serves multiple purposes—it feeds the yeast, balances flavors, and contributes to browning.
Butter or Oil
This is what makes your buns soft, buttery, and delicious. You can use melted butter, olive oil, or even coconut oil depending on your flavor preferences.
Eggs
Eggs help bind the dough and give the buns a soft and fluffy crumb. They also aid in providing a rich color to the final product.
Salt
Don’t skip the salt! It enhances the flavor of the buns and balances out the sweetness.
Optional Additions
For extra creativity, consider including sesame seeds, poppy seeds, or a sprinkle of coarse salt on top. You can also incorporate garlic powder, dried herbs, or shredded cheese into the dough for a unique twist.
Step-by-Step Instructions for Homemade Hamburger Buns
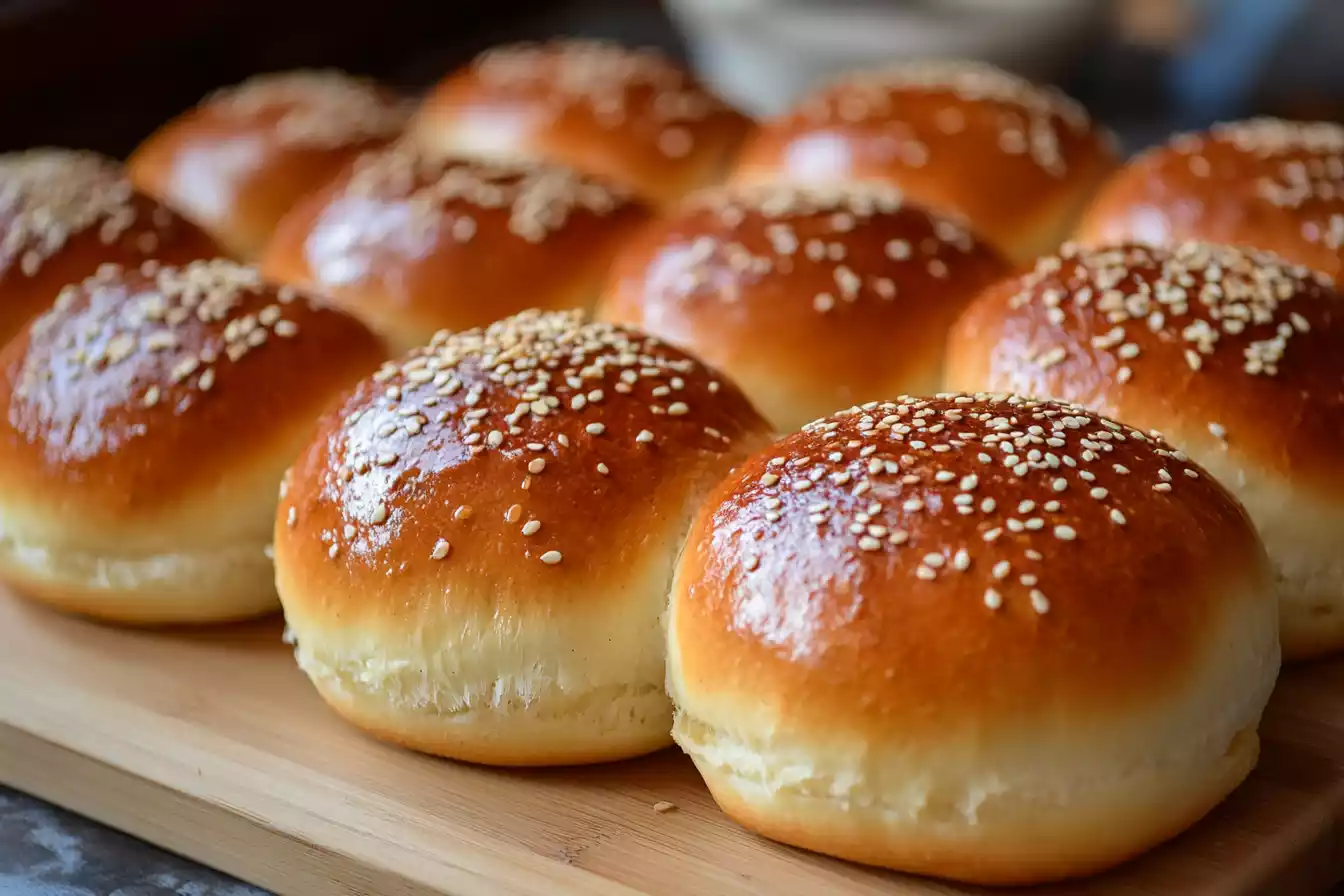
While recipes may vary, most homemade hamburger buns follow a classic bread-making process with a few simple steps and techniques to ensure soft, fluffy, and delicious results. Here’s how you can make them:
- Activate the Yeast
Start by combining yeast with warm water, usually between 100–110°F, to wake it up. Adding a teaspoon of sugar can help feed the yeast and kickstart the activation process. Within 5–10 minutes, you should see bubbles and foam forming on the surface—this means your yeast is alive and ready to go. If nothing happens, your yeast may be expired, and you’ll need to start over with fresh yeast.
- Mix the Dough
In a large mixing bowl, combine your dry ingredients (flour, salt, and sugar) with your wet ingredients (milk, water, melted butter, and an egg). Slowly mix them together to form a cohesive dough, either by hand or using a stand mixer with a dough hook attachment. The dough should start to come together and pull away from the sides of the bowl as you mix. Adjust with small amounts of flour or water if the dough feels too sticky or too dry.
- Knead the Dough
Knead the dough on a lightly floured surface or use a stand mixer to work it until it’s smooth, elastic, and slightly tacky to the touch. This usually takes about 8–10 minutes. Proper kneading develops gluten, which gives the buns their soft structure. You’ll know it’s ready when the dough bounces back slightly when pressed with your finger.
- First Rise
Place the dough in a clean, lightly greased bowl and cover it with a damp towel or plastic wrap. Let it rise in a warm, draft-free area for about 1–2 hours, or until it has doubled in size. A good tip is to place the bowl in a slightly warm oven (turned off) or near a sunny window to speed up the process. This first rise allows the yeast to work its magic, creating air bubbles for a soft texture.
- Shape the Buns
Punch down the risen dough to release excess air, then divide it into even portions—typically 8–12 pieces, depending on your desired size. Roll each piece into a smooth ball by cupping your hand around the dough and gently rotating it on your work surface. Place the shaped buns on a baking tray lined with parchment paper, leaving space between each one to allow for expansion.
- Second Rise
Cover the shaped buns with a clean towel and let them rise again for 30–45 minutes, or until they’re puffed up and airy. This second rise is crucial for ensuring light, fluffy buns and helps them hold their shape when baked.
- Bake
Preheat your oven to 375°F (190°C). Before baking, brush the tops of the buns with an egg wash (a beaten egg mixed with a splash of water or milk) to give them a glossy, golden finish. For added flavor and texture, sprinkle the tops with sesame seeds, poppy seeds, or everything bagel seasoning. Bake the buns in the preheated oven for 15–20 minutes, or until they’re beautifully golden brown and sound hollow when tapped on the bottom. Let them cool on a wire rack before slicing and serving.
With these steps, you’ll have soft, bakery-style hamburger buns perfect for any burger, sandwich, or BBQ creation! Experiment with toppings and sizes to make them your own.
Tips and Tricks for Perfect Buns
Want bakery-quality buns at home? These expert tips will help you achieve perfect results every single time, with a little extra care at every step of the process:
- Use a Kitchen Scale
Weighing your ingredients is much more accurate than using measuring cups, which can often lead to inconsistencies. A kitchen scale ensures you get the right proportions every time, which is crucial for the perfect rise and texture.
- Temperature Matters
Keep your liquids (like milk or water) warm but not too hot—ideally between 100°F and 110°F. If the liquid is too hot, it can kill the yeast, preventing the dough from rising. Use a thermometer for precision if you’re unsure.
- Bulk Fermentation for Flavor
For buns with deep, complex flavors, try a longer bulk fermentation (the first rise). Let the dough rest in the refrigerator overnight, which slows down the yeast activity and enhances flavor development. This step requires patience but is worth the wait.
- Uniform Sizing
To ensure your buns bake evenly, divide the dough into equal portions. Using a kitchen scale for this step is key to achieving consistent sizes. Equal buns mean each one will have the same texture and bake time, leaving you with a professional-looking final product.
- Don’t Overproof
Keep a close eye on your buns during the second rise. Overproofing can cause the dough to collapse or deflate during baking, resulting in flat buns. Touch the dough gently—a properly proofed bun will spring back slowly when poked.
- Add Steam
For buns with the perfect soft crust, place a pan of hot water in the oven while baking. The steam creates a slightly humid environment, which keeps the crust soft while the inside stays fluffy. You can also mist the buns lightly with water before baking for extra moisture.
With these tips, your buns will turn out soft, delicious, and bakery-perfect every time!
Variations to Try
There’s no need to stick to plain buns when homemade hamburger buns can be customized in so many ways to match your preferences. With just a few tweaks, you can create buns that elevate your burgers to the next level:
- Seeded Buns
Sprinkle sesame seeds, poppy seeds, or everything bagel seasoning on top of your buns before baking. These seeds not only add a nutty flavor and crunch but also give your buns a professional, bakery-style look.
- Herbed Buns
Mix dried herbs like oregano, parsley, or garlic powder directly into the dough. This adds a savory, aromatic twist to each bite, making your buns a flavorful base for any burger or sandwich. You could even experiment with a pinch of rosemary or thyme for a more unique taste.
- Whole-Grain Buns
Replace a portion of the bread flour with whole-wheat flour to add texture, fiber, and an earthy flavor to your buns. They’ll come out heartier and more nutritious, making them a great choice for health-conscious eaters. For an extra touch, sprinkle oats on top before baking.
- Cheesy Buns
Fold shredded cheese, like cheddar, Parmesan, or even Gruyère, directly into the dough. This creates buns with pockets of melted cheese and a rich, savory flavor in every bite, perfect for a decadent burger experience. You can even sprinkle a little extra cheese on top for a golden, crispy finish.
With these ideas, your homemade buns can go from basic to gourmet, adding an extra layer of creativity and taste to your meal.
Delicious Ways to Use Your Homemade Hamburger Buns
While they’re designed for burgers, these versatile buns lend themselves to so much more! Here are some serving suggestions:
- Classic Burgers
Stick to the timeless favorite by pairing soft buns with juicy beef patties, melted cheese, crisp lettuce, fresh tomato slices, and your favorite condiments like ketchup, mustard, or mayo. It’s a simple yet unbeatable combination.
- Gourmet Creations
Elevate your burger game by experimenting with upscale toppings like creamy truffle aioli, sweet caramelized onions, tangy blue cheese, or even avocado slices. These additions are sure to impress and add a touch of sophistication.
- Breakfast Sandwiches
Start your day right by using buns to hold crispy bacon, fluffy eggs, and gooey melted cheese. Add a slice of avocado or a hint of hot sauce for an extra morning kick. Perfect for on-the-go breakfasts or a cozy weekend treat.
- Sliders
Ideal for game nights, parties, or casual gatherings, smaller buns make fantastic sliders. Fill them with mini beef patties, pulled pork, or even vegetarian options like black bean patties, then top with pickles, cheese, or your favorite sauces.
- Pulled Pork Sandwiches
For a hearty, comfort food option, use buns to serve smoky, barbecue-filled pulled pork. Add a crunchy coleslaw topping for a delicious contrast in texture and flavor, making it a meal everyone will love.
Bake Better, Right in Your Kitchen
Homemade hamburger buns are more than just bread—they’re an experience. They offer a chance to control your ingredients, enhance your meal, and enjoy the creative process of baking. With countless ways to customize and endless uses, these buns are sure to become a favorite addition to your culinary repertoire.
What are you waiting for? Gather your ingredients, preheat your oven, and bring the magic of homemade hamburger buns to your table today!
Print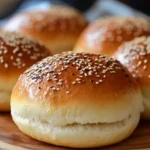
Homemade soft Hamburger Buns
Description
Making these buns is a breeze! They turn out light, fluffy, and visually stunning. I always receive compliments whenever I bake them. They’re also perfect for sandwich rolls—simply delicious!
Ingredients
For the Tangzhong mixture
- 45 ml water 3 tablespoons
- 45 ml milk 3 tablespoons
- 18 gr flour 1.25 tablespoons
For the dough
- 350 g Bread Flour 2.5 cups
- 5 g Instant Yeast 1.25 teaspoons, 7g Active Dry Yeast (2.25 teaspoons), or 17g Fresh Yeast (0.6 ounces)
- 18 g Sugar 1.5 tablespoons
- 7 g Salt 1.25 teaspoons
- 35 g Soft or melted Unsalted Butter 2.5 tablespoons
- Tangzhong Mixture
- 140 g Lukewarm Milk ½ cup + 2 tablespoons
- 1 Large Egg
- 1 tablespoon poppy seeds to sprinkle on top of the buns
For the egg wash
- 1 egg
- 1 tablespoon milk
Instructions
-
Start by preparing the Tangzhong. In a small saucepan, combine water, milk, and flour. This mixture pre-gelatinizes the starch in the flour, helping the dough absorb moisture better. Stir continuously over medium heat until a smooth paste forms. Set aside to cool.45 ml water,45 ml milk,18 gr flour
-
In a large bowl, whisk together the lukewarm milk, sugar, and yeast, letting the mixture sit for a few minutes until the yeast becomes foamy. Once the yeast has activated, stir in the egg and melted butter, ensuring everything is well combined. This forms the base for your dough, creating a rich and soft texture.5 g Instant Yeast,18 g Sugar,140 g Lukewarm Milk,1 Large Egg,35 g Soft or melted Unsalted Butter
-
Next, mix in the bread flour, salt and the Tangzhong, stirring gently until everything starts to come together. You’ll notice the dough looks a bit messy and shaggy—that’s totally fine! Just make sure the flour is incorporated, and don’t worry about it being perfectly smooth right now. You’re setting the base for a soft dough.350 g Bread Flour,7 g Salt,Tangzhong Mixture
-
Transfer the dough to a lightly floured surface and knead for about 5 minutes until smooth and elastic. Grease a bowl and place the dough in it. Cover with cling film or a kitchen towel and let it proof for 60 minutes until doubled in size.
-
Once risen, punch down the dough and divide it into 100g pieces, shaping each into a round ball, you should get 12 pieces. Place on a parchment-lined baking tray, leaving space between them. Cover and let proof for another 30 minutes until doubled.
-
Preheat the oven to 190°C (375°F) or Gas mark 5. Whisk an egg with a splash of milk for an egg wash. Brush the risen dough balls with the wash, sprinkle with poppy seeds, or any seeds you prefer, and bake for approximately 25 minutes until golden brown.1 egg,1 tablespoon milk,1 tablespoon poppy seeds
-
Brush the warm buns with melted butter for shine and flavor. Let cool slightly before serving. Enjoy as is or use for burgers, pulled pork, or breakfast sandwiches.
Notes
- Ensure the Tangzhong mixture is smooth and lump-free before setting it aside to cool. This step is crucial for achieving the desired texture of the buns.
- When kneading the dough, aim for a smooth and elastic consistency. This will result in softer and more tender buns.
- During proofing, place the dough in a warm, draft-free area to help it rise properly. Covering the bowl with cling film or a kitchen towel will prevent the dough from drying out.
- When shaping the dough into balls, try to maintain uniform sizes to ensure even baking.
- Be mindful not to overbake the buns. They should be golden brown on the outside and sound hollow when tapped on the bottom.
- Brushing the warm buns with melted butter after baking adds a lovely shine and enhances their flavour.
- Allow the buns to cool slightly before serving to avoid burning yourself and to allow the flavors to settle.
Pinterest: Homemade Hamburger Buns: Elevate Your Burger Game
Post Disclaimer
The information contained in this post is for general information purposes only. The information is provided by Choco Fever Dream and while we endeavour to keep the information up to date and correct, we make no representations or warranties of any kind, express or implied, about the completeness, accuracy, reliability, suitability or availability with respect to the website or the information, products, services, or related graphics contained on the post for any purpose.
