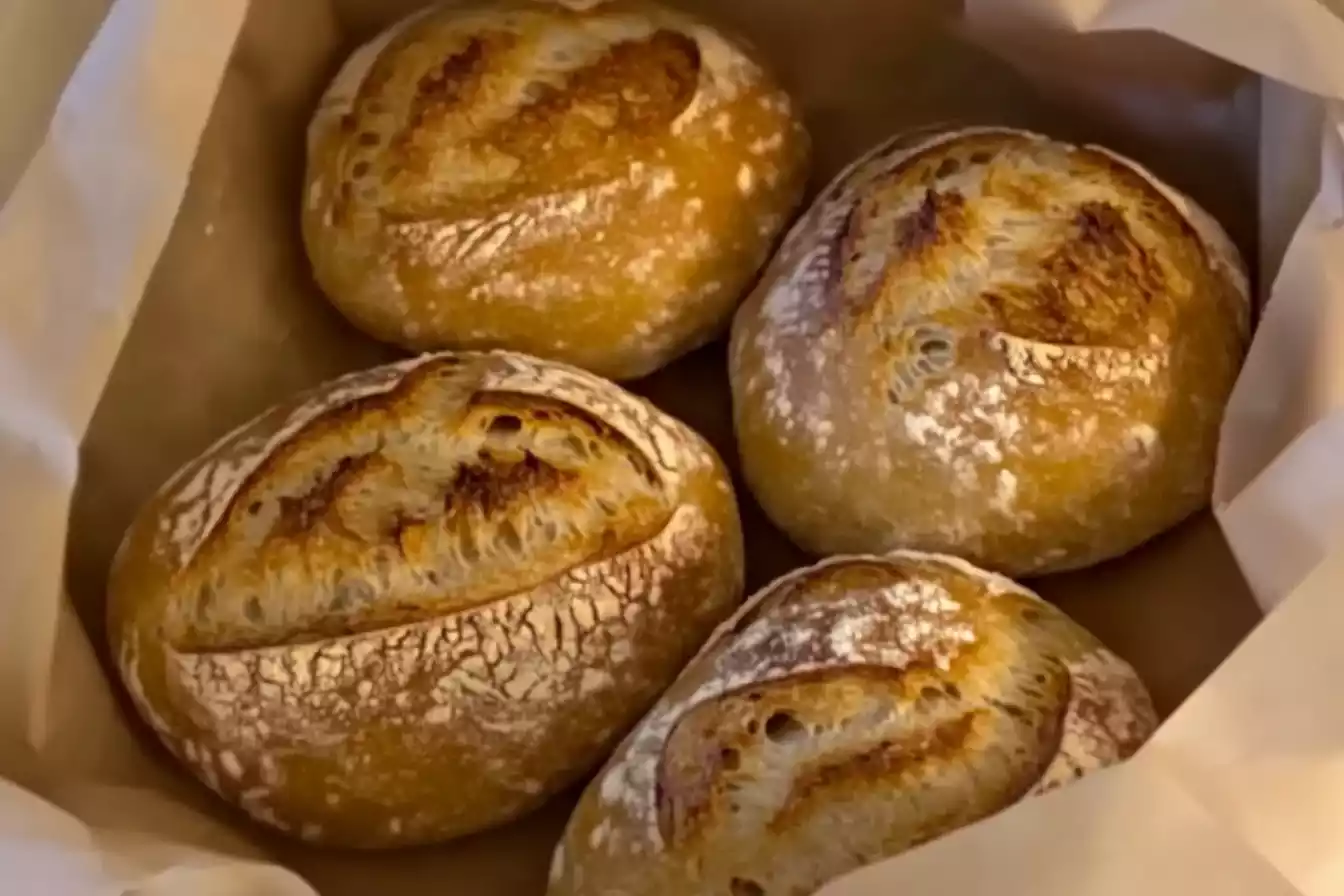
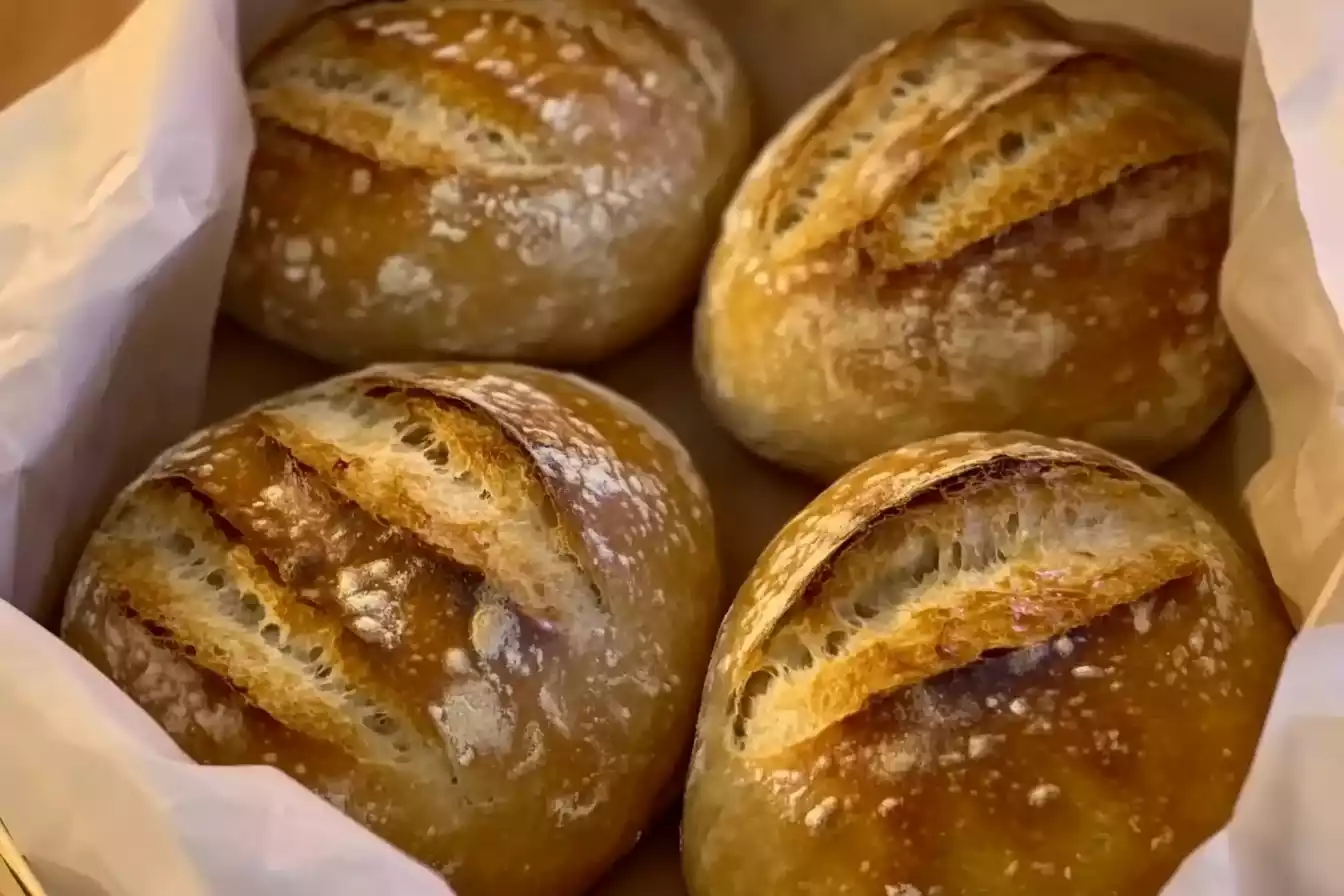
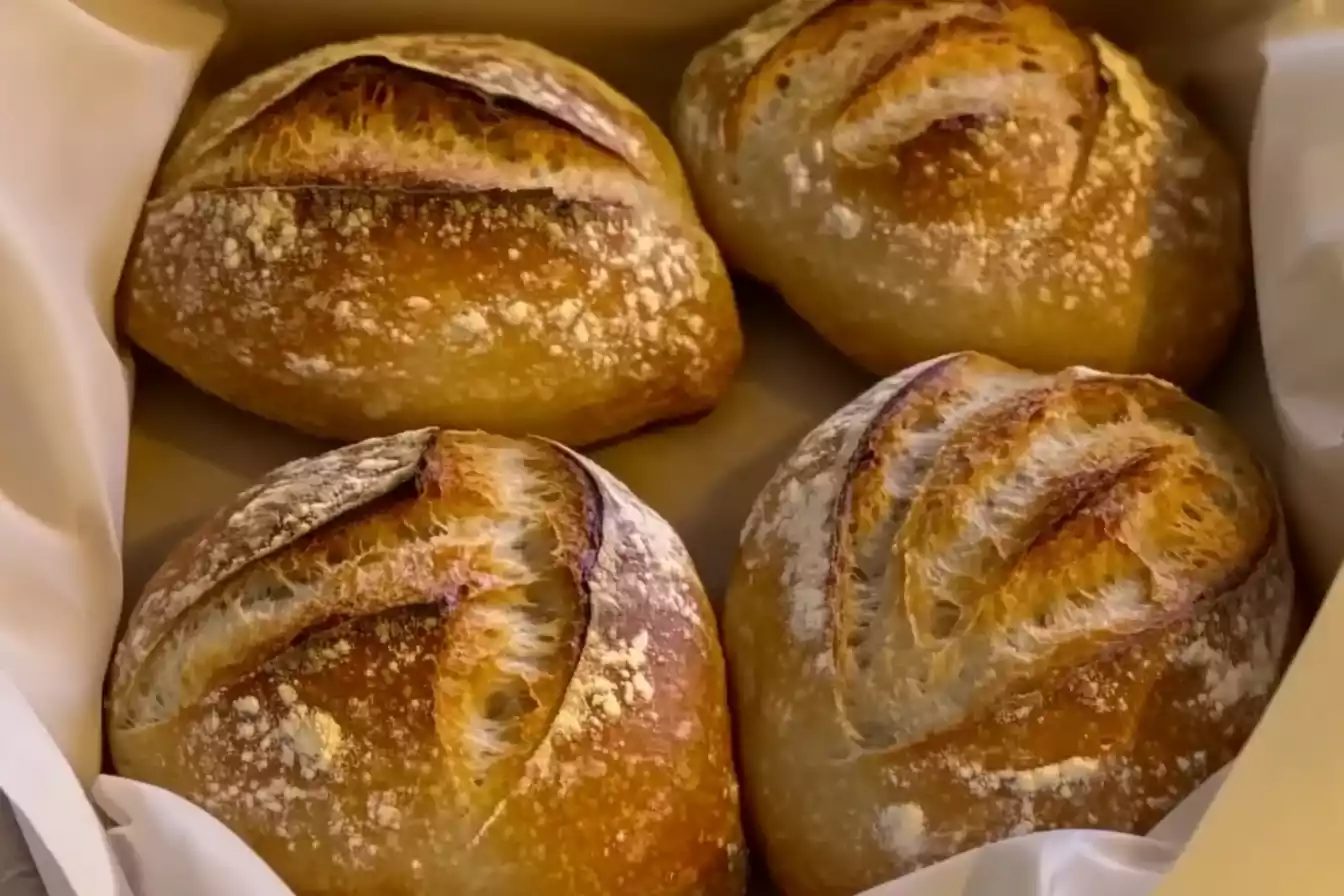
Mini Sourdough Loaves : There’s something magical about baking your own bread—the crackling sound of the crust when it cools out of the oven, the tangy aroma of fermented dough, and, of course, the satisfaction of creating something so wholesome with your own hands. But in the world of artisanal bread, mini sourdough loaves hold a special place in my heart. Perfectly petite, versatile, and packed with flavor, these little gems have become my ultimate love language.
If you’re a beginner sourdough baker or a seasoned pro looking for a fresh take on your next bake, you’re in for a treat. This guide will explore everything you need to know about mini sourdough loaves, from their unique benefits to how to create the ultimate loaf. By the end of this article, you’ll understand why mini loaves deserve a permanent spot in your sourdough (Mini Sourdough Loaves) repertoire.
Why Mini Loaves?
Perfect Portions, Perfect Presentation
Sometimes, a full sourdough loaf can feel overwhelming, especially if you’re baking for one or two people. Mini sourdough loaves solve this problem beautifully! These smaller loaves offer the perfect portions for smaller households, festive gatherings, or even gifting.
Their compact size also makes them incredibly versatile. Serve them as a gorgeous accompaniment to a cheese board, slice them up for sandwiches, or simply enjoy them with a generous slather of butter. They’re effortlessly elegant and make any table setting shine.
Faster Fermentation and Baking Time
One of the most practical reasons to fall in love with mini sourdough loaves is their reduced fermentation and baking time. Because they’re smaller, the dough ferments and bakes more quickly than a larger loaf. This means less waiting time between you and that glorious first bite!
Less Waste, More Fun
Smaller loaves also mean less waste. If you’ve had a sourdough loaf go stale on you before you could finish it, you’ll appreciate this. Plus, mini loaves allow you to experiment with flavors and shapes. Why not try adding raisins and walnuts to one loaf, olives and rosemary to another, and keep a third plain? The possibilities are endless.
Ingredients for Mini Sourdough Loaves

Creating the perfect mini sourdough loaf starts with high-quality ingredients. While you don’t need a fancy pantry to get going, choosing good, fresh basics will elevate your baking experience and ensure consistent results. Each ingredient plays a key role in achieving the rich flavor and delightful texture sourdough is known for. Let’s break it down:
- Flour
The foundation of your sourdough loaf, flour is essential for the structure and flavor of your bread. For the best results, use a combination of bread flour and whole-grain flour. Bread flour, with its higher protein content, ensures a strong gluten structure, which creates those airy, open crumb pockets that everyone loves. Whole-grain flours, such as rye or whole wheat, bring a deeper, more complex flavor profile and add nutritional benefits. Experiment with different ratios to find your perfect balance.
- Water
Water is more important than it might seem when it comes to sourdough baking. Filtered water is recommended because tap water often contains chlorine or other additives that can inhibit the activity of the wild yeast in your sourdough starter. Ensuring the right hydration level is also key—too much water can make the dough overly sticky, while too little can result in a dense loaf. Aim for room-temperature water for the best fermentation process.
- Salt
Salt not only enhances the overall flavor of your bread but also helps to strengthen the gluten structure. Fine sea salt is a great choice, as it dissolves easily and evenly throughout the dough. Be careful not to omit the salt—it’s a small ingredient that makes a big difference in the taste and texture of your final loaf.
- Sourdough Starter
This is the heart and soul of your sourdough bread. A healthy, active sourdough starter is what brings your bread to life, providing natural leavening and that signature tangy flavor. To get the best results, feed your starter the night before baking, ensuring it’s bubbly, active, and ready to work its magic in your dough. If your starter isn’t quite there yet, give it a few extra feedings until it’s consistently rising and falling.
- Optional Add-ins
This is where you can get creative and give your mini loaves a personal touch. Consider folding in dried fruits like cranberries or apricots for a hint of sweetness, nuts like walnuts or pecans for crunch, or even savory options like fresh herbs, shredded cheese, or seeds. These add-ins not only enhance the flavor but also make your loaves visually stunning. Be sure to incorporate these extras carefully, folding them into the dough after the initial mix to maintain the structure of your loaf.
With these ingredients, you can create mini sourdough loaves that are not only delicious but also a reflection of your personal taste. Take time to experiment with different flours, hydration levels, and add-ins to discover your perfect recipe. Happy baking!
The Step-by-Step Process to Mini Sourdough Loaves Success
Making mini sourdough loaves might take some planning and patience, but the rewards go far beyond the effort. There’s something deeply satisfying about creating your own perfect little loaves with a golden crust and tangy interior. While I won’t provide a specific recipe here, I’ll walk you through the general steps, so you know what to expect and feel confident tackling this project.
1. Mixing the Dough
Start by combining your main ingredients: flour, water, sourdough starter, and salt. The ratios will depend on your specific recipe, but you’ll need just enough starter to kick off fermentation without overwhelming the dough. Mixing isn’t just about combining ingredients—it also initiates gluten development, which gives the dough structure. Take your time during this step; you want everything to be well blended. Once mixed, let the dough rest for about 20–40 minutes. This resting phase, called autolyse, allows the flour to become fully hydrated and makes the dough easier to handle later.
2. Stretching and Folding
Unlike traditional bread recipes that involve kneading, sourdough relies on a gentler technique: stretching and folding. Over the course of about 2–3 hours, you’ll periodically pull up an edge of the dough and fold it over itself, turning the bowl as you go. This process strengthens the gluten network, improves elasticity, and helps the dough retain gas produced during fermentation. Aim for 3–4 rounds of stretch-and-folds, spaced about 30 minutes apart. It’s a hands-on method that might feel unfamiliar at first, but it’s surprisingly therapeutic!
3. Bulk Fermentation
Next comes bulk fermentation, arguably the most important stage in sourdough baking. This is when the magic happens—your dough will rise, develop flavor, and transform into something airy yet structured. Place your dough in a clean, lightly oiled bowl, cover it, and let it rest at room temperature. Depending on the temperature of your kitchen and the strength of your starter, this can take anywhere from 4 to 6 hours. Look for the dough to double in size, with a slightly domed surface and visible bubbles just beneath the surface.
4. Shaping Mini Sourdough Loaves
Now it’s time to divide and shape your dough. For mini loaves, portion the dough into smaller pieces, typically weighing around 200–250 grams each. Use a bench scraper or knife to make clean cuts, being careful not to deflate the dough too much. Pre-shape each piece into a rough round and let them rest for 10–15 minutes. This resting period allows the gluten to relax, making the dough easier to shape. After resting, shape each piece into its final form, whether that’s a round boule, an oval batard, or any other shape you prefer. Handle the dough gently to preserve as much air as possible.
5. Final Proof and Scoring
Once shaped, your mini loaves need a final proof before baking. Place them into proofing baskets or onto a parchment-lined tray, ensuring they’re well-supported to maintain their shape. Let them proof at room temperature for 1–2 hours, or refrigerate overnight for a slower ferment that enhances flavor. When the dough is ready, it should feel puffy yet still hold its shape. Before baking, dust the tops with flour and score them using a razor blade or sharp knife. Scoring isn’t just practical—it also lets you add your personal touch with creative patterns or designs.
6. Baking Mini Sourdough Loaves
The final step is baking, where all your hard work comes together. For the best results, preheat your oven to its highest setting, along with a Dutch oven, baking stone, or baking sheet to create a hot surface.
Using a Dutch oven traps steam, which is essential for achieving that iconic sourdough crust. Carefully transfer your mini loaves onto the hot surface, cover if using a Dutch oven, and bake for about 20–25 minutes.
Remove the lid for the last 5–10 minutes to allow the crust to brown beautifully. The loaves are ready when they’re golden brown and sound hollow when tapped on the bottom. Let them cool completely before slicing—this step is crucial for the crumb to fully set.
By following these steps, you’ll create adorable, delicious mini sourdough loaves that make the perfect snack, gift, or addition to any meal. Baking sourdough is as much about the journey as it is about the final product, so enjoy the process and don’t be afraid to experiment along the way!
Tips & Tricks for Mini Sourdough Loaves Success

Monitor Your Starter
A well-fed starter is the foundation of Mini Sourdough Loaves success. Feed it regularly with equal parts flour and water to keep it active and bubbly. To test if it’s ready to bake with, perform the “float test” by dropping a small dollop into a glass of water—if it floats, your starter is good to go. If not, give it a little more time or another feeding.
Use a Bench Scraper
Shaping dough can be a sticky, messy process, but a bench scraper makes it so much easier. Use it to cleanly cut dough, lift sticky pieces off your work surface, and shape your loaf with precision. It’s a simple tool, but one that can improve your technique and keep your workspace tidy.
Experiment with Hydration
Hydration refers to the water-to-flour ratio in your dough and has a big impact on the final loaf. Higher hydration levels create a softer dough and result in an open crumb with airy holes, perfect for artisan-style bread. Lower hydration gives you a firmer dough and a denser, more structured loaf. Experiment with different ratios to discover what works best for your taste and baking conditions.
Practice Patience
Mini Sourdough Loaves baking isn’t about speed—it’s about the art of timing. Let your dough rise slowly to develop flavor, texture, and structure. Rushing the process can lead to a flat, dense loaf, so trust the dough to guide you. Observe how it feels, looks, and behaves, and take your time to enjoy the journey as much as the finished bread.
Serving Suggestions for Mini Sourdough Loaves
Freshly baked Mini Sourdough Loaves is best enjoyed within a day or two. Here are some creative ways to serve your mini loaves:
- Simple and Classic: Slice and serve with butter, jam, or honey for a classic breakfast or snack.
- Cheese Boards and Charcuterie: Pair your mini loaves with cheeses, cured meats, and a glass of wine for an elevated platter.
- Mini Sandwiches: Perfect for lunch boxes or parties, mini loaves make adorable sandwiches with your favorite fillings.
- Soup Companion: Transform them into hearty bread bowls or serve alongside a warm bowl of soup.
Share the Love with Mini Loaves
Mini sourdough loaves are more than just bread; they’re a celebration of love, community, and the joy of creating something special with your hands. Whether you’re a seasoned baker or just starting your Mini Sourdough Loaves adventure, these petite treasures are guaranteed to spark joy in your kitchen and among those you share them with.
Why not bake a few extra and gift them to friends or family? After all, everyone could use a little more Mini Sourdough Loaves love.
Happy baking! ❤️
Print
🍞 Crispy Mini Sourdough Loaves 🍞 – My Love Language! ❤️
Description
Did you know that sourdough bread has been treasured for generations, passed down as a symbol of tradition and craftsmanship? Today, we’re giving it a fun twist—mini loaves that are perfect for breakfast, dinner, or just a cozy snack! 🥖✨
Ingredients
- 🌾 Sourdough dough – enough for 2 loaves (already proofed and ready to bake)
- 🔥 Flour – for dusting before baking
- 🔪 Bread knife – for scoring
- 🏺 Olive oil (optional) – for an extra golden crust
Instructions
- 🔪 Divide the dough: After proofing in the fridge, cut your dough into 2 or 4 pieces to create individual mini loaves.
- 🤲 Shape the loaves: Pinch the edges together to seal each piece and form a nice round shape.
- ✍️ Score the loaves: Use a sharp knife to make decorative cuts on top—this helps the bread expand beautifully while baking.
- 🔥 Bake: Preheat a Dutch oven at 500°F (260°C) for 30 minutes. Place the mini loaves inside, cover with a lid, and bake at 450°F (230°C) for 18-20 minutes.
- 🍞 Perfect crust: Remove the lid and bake for another 18-20 minutes until golden brown and crispy.
- ❄️ Cool & enjoy: Let the loaves rest before slicing—if you can resist the irresistible aroma of fresh sourdough! 😍
Notes
Pinterest: Mini Sourdough Loaves – My Love Language! ❤️
Post Disclaimer
👩🍳 100% Real Recipes, Chef-Approved! 🔥
All the recipes you’ll find here at Choco Fever Dream are completely real, thoroughly tested, and approved by professional chefs to ensure accuracy, flavor, and reliability. While we may use AI-generated images to enhance your browsing experience, the food itself is always the real deal.
We do our best to keep everything up-to-date and trustworthy, but we can’t promise perfection—so please use your own judgment when cooking. Most importantly, have fun and enjoy the process!
Happy cooking! 🍽️💛
