
The velvet cake tradition began in the early 20th century, inspired by the desire for a richer, more indulgent version of the classic red velvet. Bakers discovered that swapping red food coloring for dark cocoa created a deeper hue and a subtle coffee‑like aroma. Over time, the black velvet emerged as a sophisticated twist, celebrated in fine patisseries across Europe and North America. Its allure lies in the contrast between the striking darkness of the cake and the creamy, often vanilla‑based frosting that crowns it.
Why You'll Love It
-
- Deep, chocolatey flavor without being overly sweet
-
- Moist crumb that stays tender for days
-
- Simple ingredients you likely have on hand
-
- Elegant look that impresses without effort
“The black velvet cake stole the spotlight at our dinner – everyone asked for the recipe!”
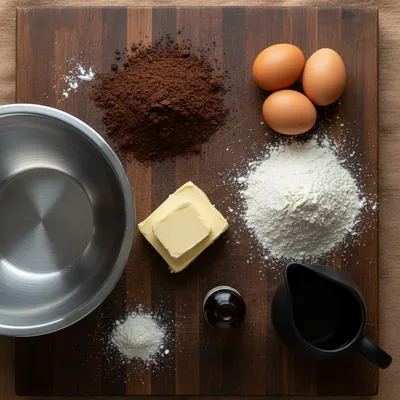
Essential Ingredient Guide
- Cocoa powder: Choose a high‑quality, unsweetened cocoa for a rich, dark color and deep flavor.
- Buttermilk: Its acidity tenderizes the crumb and adds a subtle tang that balances the sweetness.
- Espresso powder: A pinch amplifies the chocolate notes without making the cake taste like coffee.
- Vanilla extract: Adds warmth and rounds the flavor profile; use pure extract for best aroma.
- Lemon zest: A little zest lifts the darkness with a bright, fragrant note.
- Butter: Provides richness and contributes to the moist texture when creamed properly.
Complete Cooking Process
-
Ingredient Readiness:
Sift the dry ingredients together, and bring the butter, eggs, and buttermilk to room temperature so they blend smoothly.
-
Flavor Development:
Mix the cocoa and espresso powder with the wet mixture; the heat from the butter releases aromatic compounds.
-
Texture Control:
Fold the flour gently, avoiding over‑mixing, to keep the crumb light yet moist.
-
Finishing Touches:
Swirl a light vanilla glaze over the frosting just before serving for a glossy finish.
-
Serving Timing:
Allow the cake to rest for at least an hour after frosting; the flavors meld beautifully.
-
Measure flour by spooning and leveling to avoid a dense cake
-
Use an oven thermometer; true 350°F ensures even rise
-
Cool the cake completely before frosting to prevent sliding
-
Store in an airtight container with a slice of apple for extra moisture
Pro Tips
I remember when I first learned these little tricks; they saved my cakes from being dry. Wow, it’s the gentle patience that makes all the difference. So, when you let the cake settle, you’ll notice the crumb feels softer, and the frosting adheres like a silk scarf.
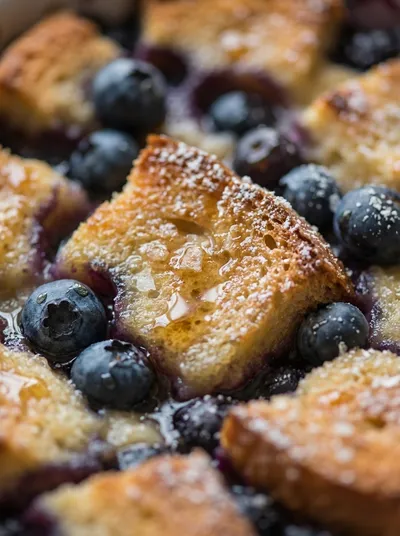
 Breakfast & Brunch
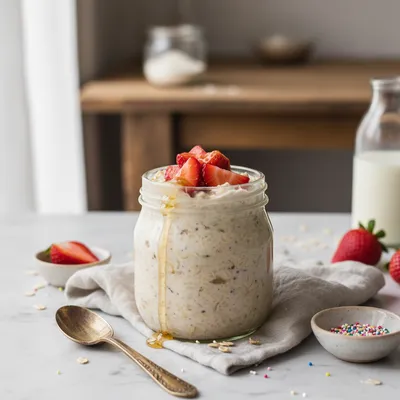
Cake Batter Overnight Oats Recipe
A dreamy, dessert‑like oatmeal that you prep the night before and enjoy cold or warmed.
The essence of the dish:
A dark, almost midnight cake that feels buttery, with a whisper of espresso and lemon, finished with a velvety vanilla buttercream.
A fun fact or historical angle:
The original red velvet used beet juice for color; black velvet swaps beet for cocoa, creating a richer, deeper hue.
Flavor or sensory focus:
First you notice the scent of cocoa and coffee, then the soft, moist crumb gives way to a creamy, sweet finish.
You Must Know
-
Room‑temperature ingredients unite smoothly
-
Do not over‑mix after adding flour
-
Cool completely before frosting
Frequently Asked Questions
→ Can I use oil instead of butter?
Yes, but the cake will be less rich; use a neutral oil and add a tablespoon of melted butter for flavor.
→ How do I keep the cake moist?
Wrap the cooled layers in plastic wrap and store with a slice of apple; the moisture stays locked in.
→ Can I make this cake gluten‑free?
Swap all‑purpose flour for a 1:1 gluten‑free blend and add an extra teaspoon of xanthan gum.
→ What frosting works best?
A classic vanilla buttercream complements the dark cake; a chocolate ganache is also delicious.
→ Do I need to sift the cocoa?
Sifting removes lumps and ensures an even, smooth batter.
→ How long does it keep?
At room temperature, it stays fresh for three days; in the fridge, up to a week.
Nutrition Facts
per serving
420
Calories
5g
Protein
53g
Carbs
22g
Fat
Taste Profile
Rich chocolate sweetness with a subtle coffee undertone
Ingredient Substitutions
Don't have an ingredient? Try these alternatives
Use a 1:1 substitution; add extra xanthan gum if not already included
Will alter flavor slightly; coconut oil adds a faint tropical note
Recipe Variations
Try these delicious twists on the original
Coffee‑Infused Version
Replace espresso powder with a shot of strong brewed coffee for an extra caffeine kick.
Berry Frosted Twist
Swirl fresh raspberry purée into the buttercream for a tangy contrast.
Common Mistakes to Avoid
Learn from others' mistakes for perfect results
- Over‑mixing the batter, which can lead to a dense texture
- Opening the oven too early, causing the cake to sink
- Not cooling the layers completely before frosting, leading to a sloppy finish
Meal Prep & Storage
Make Ahead Tips
You can bake the layers up to two days ahead, wrap tightly and store at room temperature; frost just before serving.
Leftover Ideas
Store slices in an airtight container; gently warm in the microwave for 10 seconds before serving.
Perfect Pairings
Serve this with...
Cooking Timeline
Preheat oven and prepare pans; sift dry ingredients.
Cream butter and sugars; add eggs and flavorings.
Combine wet and dry mixtures, divide batter into pans.
Bake cakes, cool, and prepare frosting while they rest.
Assemble, frost, and add final decorative touches.
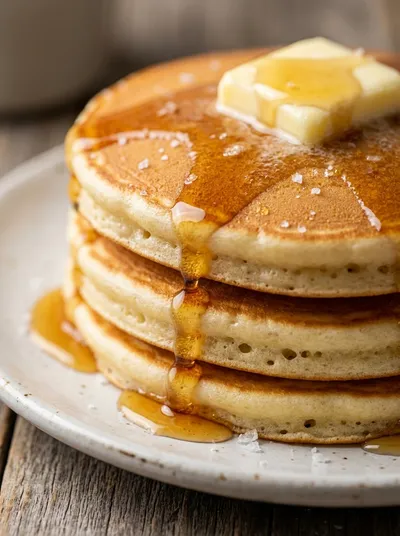 Breakfast & Brunch
American Pancakes – Fluffy Breakfast Treat
Light, airy pancakes that drift like clouds on a plate, ideal for a relaxed morning.
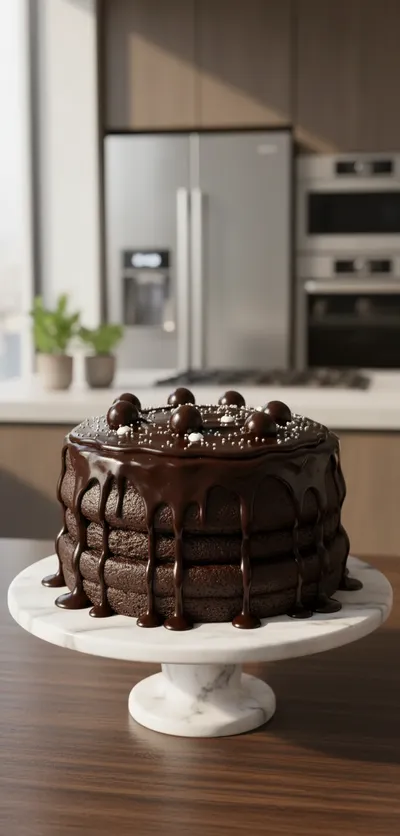
Black Velvet Cake – Dark, Moist Dessert
Indulge in a rich black velvet cake that’s dark, moist, and perfect for any celebration. The deep cocoa hue looks almost mysterious, while the crumb stays tender and buttery. A whisper of vanilla and a hint of espresso linger in the mouth, making each bite feel like a quiet celebration. Honestly, it’s the kind of cake that feels both humble and luxurious, perfect for birthdays or a quiet afternoon tea.
Timing
Prep Time
20 Minutes
Cook Time
30 Minutes
Total Time
1 Hour
Recipe Details
Ingredients
Cake Batter
-
01
2 cups all‑purpose flour
-
02
3/4 cup unsweetened cocoa powder
-
03
1 1/2 tsp baking soda
-
04
1/2 tsp salt
-
05
1 cup granulated sugar
-
06
1/2 cup packed brown sugar
-
07
1 cup unsalted butter, softened
-
08
2 large eggs, room temperature
-
09
1 tsp vanilla extract
-
10
1 cup buttermilk, room temperature
-
11
2 tsp espresso powder
-
12
1 tsp lemon zest
Vanilla Buttercream Frosting
-
01
1 cup unsalted butter, softened
-
02
3 cups powdered sugar, sifted
-
03
2 tsp vanilla extract
-
04
2 tbsp heavy cream
-
05
Pinch of salt
Instructions
Preheat the oven to 350°F (175°C). Grease two 9‑inch round cake pans and line the bottoms with parchment.
In a large bowl whisk together flour, cocoa powder, baking soda, and salt; set aside.
Cream butter, granulated sugar, and brown sugar until light and fluffy, about 3‑4 minutes.
Add eggs one at a time, beating well after each; stir in vanilla, espresso powder, and lemon zest.
Alternately add the dry ingredients and buttermilk to the butter mixture, beginning and ending with dry ingredients. Mix just until combined, then divide batter between pans and smooth the tops.
Bake for 28‑32 minutes, or until a toothpick inserted in the center comes out clean. Let the cakes cool in the pans for 10 minutes, then transfer to a wire rack to cool completely.
While the cakes cool, beat butter for the frosting until creamy, gradually add powdered sugar, then vanilla, cream, and a pinch of salt. Beat until light and spreadable.
Level the cooled cake layers, spread a thin crumb coat of frosting, chill briefly, then frost the top and sides generously. Finish with a drizzle of melted chocolate if desired.
Notes & Tips
-
1
If the batter looks too thick, add a tablespoon of milk; if too thin, sprinkle a bit more flour.
-
2
For a deeper flavor, toast the cocoa powder gently before using.
-
3
Allow the frosted cake to sit at room temperature for 20 minutes before slicing.
 Breakfast & Brunch
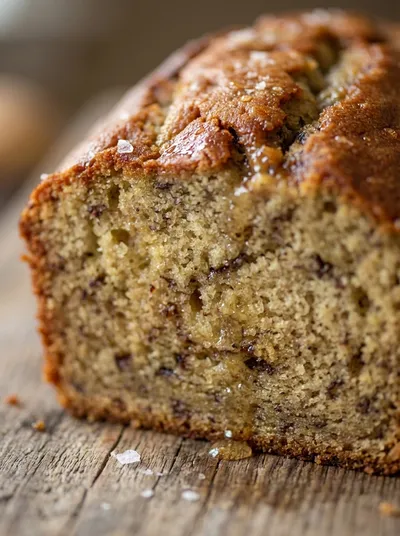
Classic Moist Banana Bread Recipe
Moist classic banana bread, ideal for a comforting breakfast or afternoon treat.
Tools You'll Need
-
Two 9‑inch round cake pans
-
Parchment paper
-
Electric mixer
-
Spatula
-
Wire cooling rack
Must-Know Tips
-
Measure flour accurately to avoid a dense crumb
-
Room‑temperature ingredients blend more evenly
-
Cool layers completely before frosting to prevent slipping
Professional Secrets
-
Sifting dry ingredients removes lumps and aerates the flour
-
Creaming butter with sugar incorporates air for a lighter texture
-
Finishing with a thin chocolate drizzle adds visual contrast

Recipe by
Sofia☕💖 A morning coffee lover who can’t resist melting chocolate into everything she bakes. Warm smiles and cocoa dreams! 🍩🌷
Get Delicious Recipes Weekly
Join 25,000+ home cooks getting our best recipes straight to their inbox.
Free forever • No spam • Unsubscribe anytime