
Cottage cheese has been a staple in European dairy traditions for centuries, prized for its mild flavor and high protein content. Over time, clever home cooks discovered its ability to transform into smooth desserts when blended with sweeteners and frozen. This practice eventually led to modern high‑protein frozen treats that balance indulgence with nutrition, making them a favorite among health‑conscious families.
Why You'll Love It
-
- Creamy texture without heavy cream
-
- High protein boost from cottage cheese
-
- Natural sweetness from honey and fruit
-
- Simple pantry ingredients
-
- Refreshing treat for any season
"The silky texture surprised me – it's like a dessert and a protein shake in one!"
Essential Ingredient Guide
- Cottage cheese: Choose full‑fat for richness or low‑fat for lighter feel; whisk until smooth to avoid grainy texture.
- Greek yogurt: Adds tang and extra protein; use plain to keep flavors balanced.
- Honey: Natural sweetener that blends well; drizzle in slowly while mixing.
- Vanilla extract: A few drops lift the whole flavor profile with aromatic warmth.
- Lemon zest: A pinch brightens the dairy with gentle acidity.
- Fresh berries (optional): Stir in at the end for bursts of color and fruity contrast.
Complete Cooking Process
-
Ingredient Readiness:
Drain the cottage cheese, whisk it with Greek yogurt until completely smooth, then set aside.
-
Flavor Development:
Warm honey slightly, mix with vanilla and lemon zest, then fold into the dairy blend.
-
Texture Control:
Chill the mixture for at least 30 minutes; this ensures a silky freeze and prevents ice crystals.
-
Finishing Touches:
Pour into an ice‑cream maker or shallow pan; stir in fresh berries just before the final freeze.
-
Serving Timing:
Let the ice cream sit at room temperature for 5 minutes before scooping so it softens gently.
-
Use a hand‑held blender to achieve ultra‑smooth texture.
-
Freeze the mixing bowl beforehand for quicker set‑up.
-
Taste the base before freezing; adjust sweetness or lemon zest as needed.
-
If using an ice‑cream maker, churn for 20‑25 minutes for perfect creaminess.
Pro Tips
Well, these little adjustments make a world of difference. I mean, the smoothness you get when you blend everything thoroughly feels like a quiet victory in the kitchen. Wow, the next time you serve it, the colors of the berries will sparkle against the ivory base, inviting a gentle smile from anyone at the table. So, take your time, enjoy the process, and let the simple ingredients shine.
 Desserts
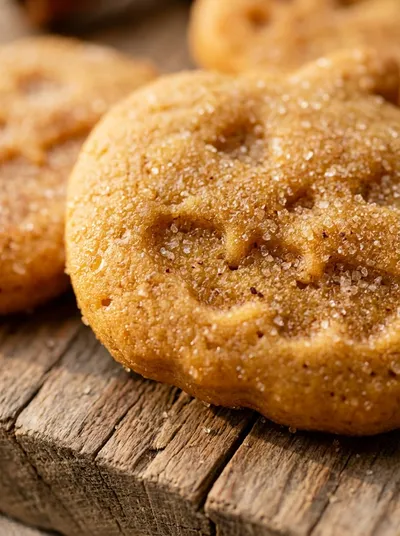
No-Bake Cheesecake Bites: Easy Recipe
A quick, creamy no‑bake cheesecake bite perfect for any occasion.
The essence of the dish:
It’s the meeting of creamy dairy and light sweetness, a treat that feels both indulgent and nourishing.
A fun fact or historical angle:
Cottage cheese was originally a way to use up leftover curds, turning what was once a humble staple into a modern dessert star.
Flavor or sensory focus:
You’ll notice the mellow dairy notes first, followed by a gentle hint of vanilla and a faint citrus sparkle from the lemon zest.
You Must Know
-
Blend until completely smooth, no lumps.
-
Chill the base before freezing for best texture.
-
Add fruit at the very end to preserve freshness.
Frequently Asked Questions
→ Can I use low‑fat cottage cheese?
Yes, but the ice cream will be less rich; consider adding a splash of milk to retain creaminess.
→ Do I need an ice‑cream maker?
Not required – you can freeze in a shallow pan and stir every 30 minutes for a custard‑like texture.
→ How long can I store it?
Up to three days in an airtight container in the freezer; let it soften a bit before serving.
→ What sweetener works best?
Honey provides natural sweetness and a floral note; maple syrup is an alternative but alters flavor.
→ Can I add chocolate chips?
Sure, fold them in after the final churn for a delightful crunch.
→ Is this recipe keto‑friendly?
Yes, as long as you choose a low‑carb sweetener like erythritol instead of honey.
Nutrition Facts
per serving
210
Calories
16g
Protein
26g
Carbs
5g
Fat
Taste Profile
A gentle sweet dairy flavor with a hint of citrus brightness.
Ingredient Substitutions
Don't have an ingredient? Try these alternatives
Will be slightly less thick but works in a pinch.
Provides similar sweetness with a milder flavor.
Recipe Variations
Try these delicious twists on the original
Chocolate Swirl
Melt dark chocolate and swirl it through the base before freezing for a rich ribbon.
Tropical Breeze
Add pineapple chunks and a splash of coconut milk for a sunny island feel.
Common Mistakes to Avoid
Learn from others' mistakes for perfect results
- Skipping the chill step, leading to ice crystals.
- Blending too short, leaving a grainy texture.
- Adding fruit too early, causing it to become mushy.
Meal Prep & Storage
Make Ahead Tips
You can blend and chill the base up to 24 hours ahead; just give it a quick stir before freezing.
Leftover Ideas
Scoop into a bowl and let sit a few minutes to soften; stir gently to revive the silky texture.
Perfect Pairings
Serve this with...
Cooking Timeline
Gather and prep all ingredients; zest lemon, drain cottage cheese.
Blend cottage cheese and yogurt until ultra‑smooth.
Warm honey, add vanilla and lemon zest, then fold into the dairy blend.
Chill mixture in refrigerator.
Churn in ice‑cream maker or freeze, stirring every 30 minutes.
 Desserts
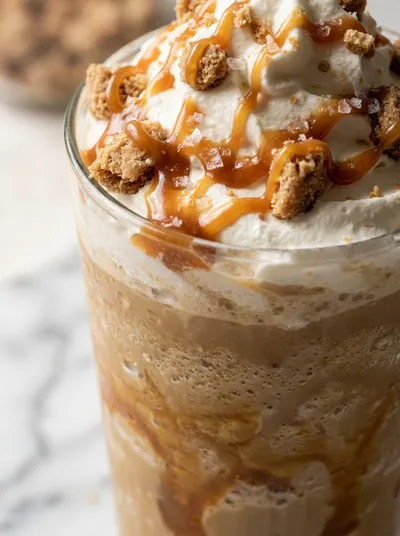
Caramel Ribbon Crunch Frappuccino Recipe
Creamy caramel frappuccino with ribbon swirls and a delightful crunch, ideal for a mid‑day treat.
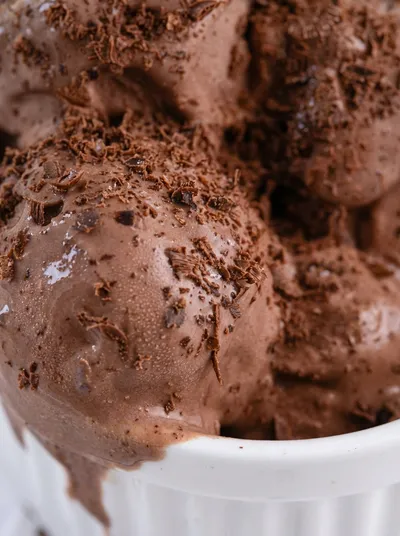
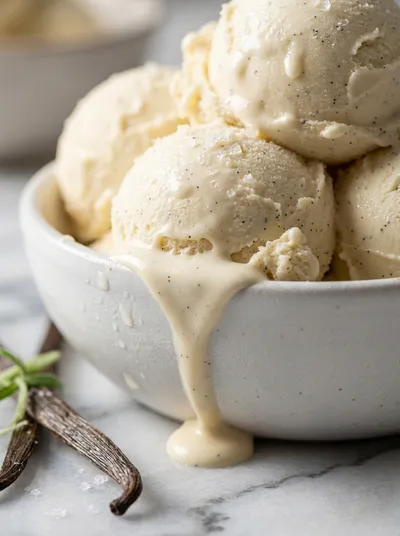
Cottage Cheese Protein Ice Cream
Enjoy a creamy, high‑protein cottage cheese ice cream that feels like a cool, velvety treat, perfect for any time you crave something sweet without the guilt.
Timing
Prep Time
15 Minutes
Cook Time
0 Minutes
Total Time
45 Minutes
Recipe Details
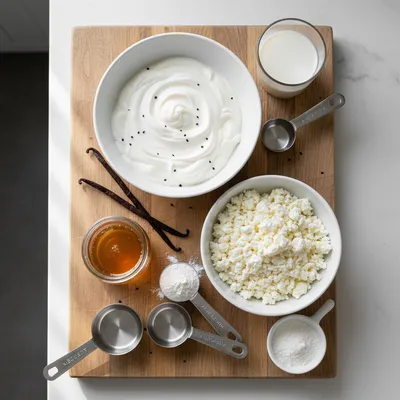
Ingredients
Base
-
01
2 cups cottage cheese
-
02
1 cup plain Greek yogurt
-
03
1/3 cup honey
-
04
1 tsp vanilla extract
-
05
1 tsp lemon zest
-
06
Pinch of salt
Optional Mix‑ins
-
01
1/2 cup fresh mixed berries
-
02
2 tbsp chopped nuts
Instructions
Drain the cottage cheese and place it in a blender; add Greek yogurt and blend on high until the mixture is completely smooth.
Warm the honey gently (microwave 10 seconds), then stir in vanilla, lemon zest, and a pinch of salt; fold this into the blended dairy.
Cover the bowl and chill the mixture in the refrigerator for at least 30 minutes; this helps it freeze evenly.
Pour the chilled base into an ice‑cream maker and churn for 20‑25 minutes until thick and creamy. If you don’t have a maker, spread the mixture in a shallow pan and freeze, stirring every 30 minutes.
During the last 2 minutes of churning, gently fold in fresh berries or nuts if using.
Transfer the ice cream to an airtight container, smooth the top, and freeze for an additional hour for a firmer texture.
Notes & Tips
-
1
For extra creaminess, add a splash of whole milk before chilling.
-
2
If the ice cream feels too icy, blend again briefly before serving.
-
3
Taste the base before freezing; adjust honey or lemon zest to your liking.
 Desserts
Vanilla Ice Cream – No‑Cook Homemade Treat
No‑cook vanilla ice cream that’s silky, sweet, and ready in minutes—perfect for an easy homemade treat.
Tools You'll Need
-
Blender or food processor
-
Mixing bowl
-
Spatula
-
Ice‑cream maker (optional)
-
Freezer‑safe container
Must-Know Tips
-
Blend until perfectly smooth, no grainy bits.
-
Chill the base thoroughly before freezing.
-
Stir gently when adding mix‑ins to keep texture.
Professional Secrets
-
Use room‑temperature dairy for smoother blending.
-
Cold the mixing bowl for faster set‑up.
-
Freeze in a metal pan for quicker firming.

Recipe by
Sofia☕💖 A morning coffee lover who can’t resist melting chocolate into everything she bakes. Warm smiles and cocoa dreams! 🍩🌷
Get Delicious Recipes Weekly
Join 25,000+ home cooks getting our best recipes straight to their inbox.
Free forever • No spam • Unsubscribe anytime