
Chocolate has been a beloved treat for centuries, cherished by royalty and everyday families alike. The practice of using cottage cheese in desserts dates back to European farm kitchens, where it added protein and a creamy body without heavy cream. Combining these traditions yields a low‑fat, high‑protein ice cream that feels indulgent yet nourishes, reflecting a timeless balance of comfort and health.
Why You'll Love It
-
- Protein‑rich comfort without the heaviness
-
- Deep chocolate flavor with a subtle tang
-
- Naturally creamy without extra cream
-
- Easy to make at home with just a few tools
"The texture is like nothing I've tried before—smooth, rich, and surprisingly light!"
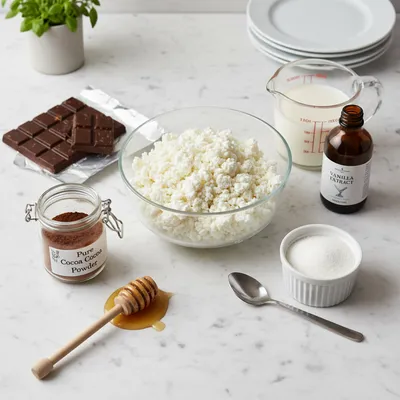
Essential Ingredient Guide
- Cottage cheese: Choose a full‑fat or low‑fat variety for the best creaminess; blend until ultra‑smooth.
- Dark chocolate: Melted chocolate adds depth; high cocoa content gives a richer taste.
- Honey: A natural sweetener that complements the chocolate without overpowering.
- Vanilla extract: A splash of vanilla rounds out the flavor and adds aromatic warmth.
- Cocoa powder: Boosts chocolate intensity; sift to avoid lumps.
- Milk: Whole milk creates silkiness; you can substitute oat milk for dairy‑free.
Complete Cooking Process
-
Ingredient Readiness:
Blend cottage cheese, milk, and honey until fully incorporated; melt chocolate gently.
-
Flavor Development:
Stir in cocoa powder and vanilla, allowing the chocolate aroma to fill the kitchen.
-
Texture Control:
Chill the mixture thoroughly before churning to ensure a smooth freeze.
-
Finishing Touches:
Add a swirl of melted chocolate just before the final churn for ribboned richness.
-
Serving Timing:
Let the ice cream sit at room temperature for a few minutes to soften before scooping.
-
Use frozen banana slices for extra natural sweetness
-
Freeze your mixing bowl for quicker churning
-
Taste the base before freezing; adjust sweetness if needed
-
Serve in chilled bowls to keep the texture perfect
Pro Tips
These little adjustments, though modest, make a world of difference in the final experience. I love watching the soft swirls form as the ice cream freezes, a reminder that patience yields the most rewarding textures. So take your time, breathe in the chocolate scent, and let the kitchen become a place of calm.
 Desserts
No-Bake Cheesecake Bites: Easy Recipe
A quick, creamy no‑bake cheesecake bite perfect for any occasion.
The essence of the dish:
A harmonious blend of cottage cheese’s subtle tang and the deep, comforting richness of chocolate, creating a velvety frozen dessert that feels both indulgent and nourishing.
A fun fact or historical angle:
Cottage cheese was historically used by European farm families as a protein boost, often mixed into desserts to stretch ingredients during lean seasons.
Flavor or sensory focus:
Expect a silky mouthfeel that melts slowly, releasing layers of cocoa bitterness balanced by gentle sweetness and a faint, creamy afterglow.
You Must Know
-
Blend until completely smooth to avoid grainy texture
-
Chill the base for at least 2 hours before churning
-
Do not over‑freeze; store in the freezer for no more than a week
Frequently Asked Questions
→ Can I use low‑fat cottage cheese?
Yes, low‑fat works fine, but full‑fat yields a richer, creamier texture.
→ Do I need an ice cream maker?
A churner gives the best result, but you can use a freeze‑and‑stir method by whisking every 30 minutes.
→ How long can I store the ice cream?
Keep it sealed in the freezer for up to 7 days; let it soften a few minutes before serving.
→ Can I add mix‑ins like nuts?
Absolutely—suggest toasted almonds or chopped hazelnuts after the final churn.
→ Is this recipe gluten‑free?
All ingredients are naturally gluten‑free; just verify any packaged cocoa powder or chocolate.
→ What if I don’t have a blender?
A food processor works, or you can whisk vigorously to break up the cottage cheese before chilling.
Nutrition Facts
per serving
210
Calories
12g
Protein
25g
Carbs
9g
Fat
Taste Profile
Rich chocolate with a gentle creamy tang
Ingredient Substitutions
Don't have an ingredient? Try these alternatives
Will yield a tangier flavor; adjust honey accordingly.
Adds a subtle maple note; use slightly less to maintain sweetness level.
Recipe Variations
Try these delicious twists on the original
Spicy Version
Add a pinch of cayenne pepper and a dash of espresso for a warming kick.
Nutty Delight
Stir in toasted almond slivers after the final churn for crunch.
Common Mistakes to Avoid
Learn from others' mistakes for perfect results
- Skipping the chilling step, leading to icy texture
- Over‑blending heated chocolate, causing graininess
- Adding too much honey, overpowering chocolate bitterness
Meal Prep & Storage
Make Ahead Tips
The base can be blended and refrigerated up to 24 hours before churning.
Leftover Ideas
Scoops can be softened in the microwave for 10 seconds before serving again.
Perfect Pairings
Serve this with...
Cooking Timeline
Gather and measure all ingredients.
Blend cottage cheese, milk, honey, and vanilla until smooth.
Melt chocolate, stir in cocoa powder, then combine with base.
Chill mixture in refrigerator.
Churn in ice cream maker, then freeze briefly before serving.
 Desserts
Caramel Ribbon Crunch Frappuccino Recipe
Creamy caramel frappuccino with ribbon swirls and a delightful crunch, ideal for a mid‑day treat.
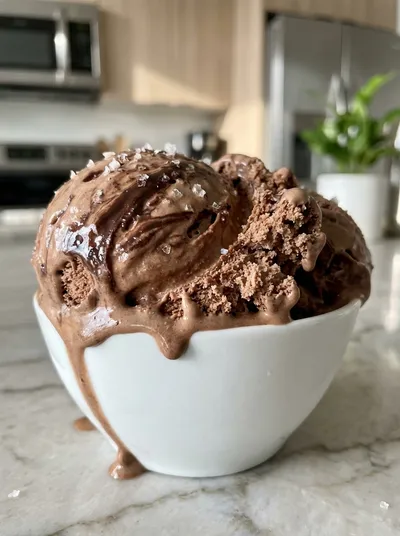
Creamy Chocolate Cottage Cheese Ice Cream
A silky, protein‑packed frozen treat that marries the deep richness of chocolate with the gentle tang of cottage cheese, perfect for a calming dessert any time of year.
Timing
Prep Time
15 Minutes
Cook Time
0 Minutes
Total Time
2 Hours 15 Minutes
Recipe Details
Ingredients
Base
-
01
2 cups cottage cheese
-
02
1 cup whole milk
-
03
1/2 cup honey
-
04
1 tsp vanilla extract
-
05
1/4 cup unsweetened cocoa powder
-
06
100 g dark chocolate, melted
Instructions
In a blender, combine cottage cheese, milk, honey, and vanilla; blend until completely smooth and creamy.
Gently melt dark chocolate over a double boiler, then add cocoa powder, stirring until glossy.
Pour the chocolate mixture into the blended base, blend again briefly to incorporate fully.
Cover the bowl and chill in the refrigerator for at least 2 hours, or until very cold.
Transfer the cold mixture to an ice cream maker and churn according to the manufacturer’s instructions, about 20–25 minutes.
During the last few minutes, add a swirl of extra melted chocolate if desired, then transfer the ice cream to a freezer‑safe container.
Freeze for an additional 30 minutes to firm up, then serve scoops in chilled bowls.
Notes & Tips
-
1
For extra protein, stir in a scoop of vanilla whey protein powder before chilling.
-
2
If the ice cream feels icy, ensure the base was fully chilled before churning.
-
3
A pinch of sea salt can heighten the chocolate flavor without making it salty.
 Snacks & Treats
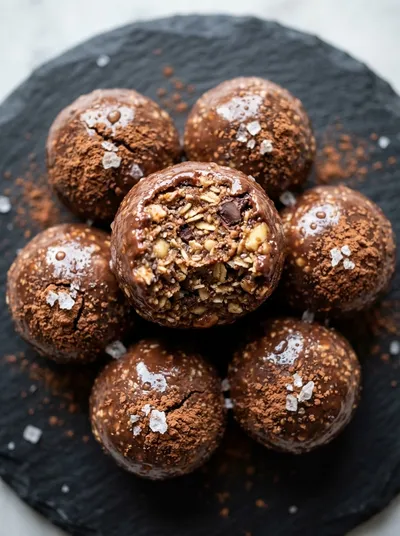
Energy Balls – Healthy Easy No‑Bake Snack
A tasty, chewy bite of oats, nuts, and dates that fuels you without a whisk or oven.
Tools You'll Need
-
Blender or food processor
-
Double boiler or microwave-safe bowl
-
Ice cream maker
-
Spatula
-
Freezer‑safe container
Must-Know Tips
-
Blend thoroughly to prevent grainy texture
-
Chill the base completely for faster, smoother churn
-
Taste the base before freezing; adjust sweetness if needed
-
Store in an airtight container to avoid freezer burn
Professional Secrets
-
Use room‑temperature ingredients for even blending
-
Melt chocolate slowly to retain gloss and prevent scorching
-
Whisk air into the base during chilling for lighter texture

Recipe by
Sofia☕💖 A morning coffee lover who can’t resist melting chocolate into everything she bakes. Warm smiles and cocoa dreams! 🍩🌷
Get Delicious Recipes Weekly
Join 25,000+ home cooks getting our best recipes straight to their inbox.
Free forever • No spam • Unsubscribe anytime