
Chocolate has traveled centuries, from ancient Mesoamerican drinks to modern confections that melt hearts worldwide. The layered mousse brownie brings together two beloved chocolate traditions—the dense, fudgy brownie and the airy mousse—into a single, elegant dessert. While the concept feels contemporary, its roots lie in classic French mousse techniques, paired with the humble American brownie that first appeared in the early 20th century.
Why You'll Love It
-
- A perfect harmony of dense and airy textures
-
- Simple ingredients you probably already have
-
- Beautiful presentation that feels special
-
- Easy to make ahead for gatherings
"The mousse was so light it felt like a whisper, and the brownie stayed perfectly fudgy. My family can’t get enough!"
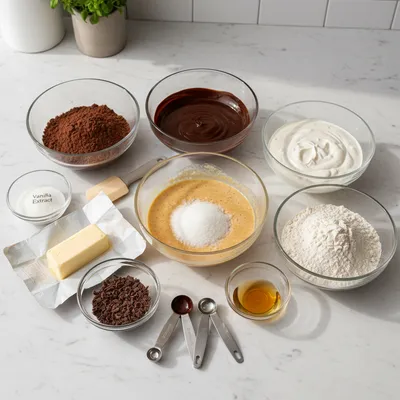
Essential Ingredient Guide
- Dark chocolate: Choose a good quality 70% cocoa bar for depth; melt gently to keep a silky sheen.
- Heavy cream: Full‑fat cream whips up thick and holds shape, giving the mousse its lift.
- Unsalted butter: Adds richness to the brownie base and keeps it moist.
- Granulated sugar: Sweetens both layers; you can adjust a touch if you prefer a darker bite.
- Eggs: Bind the brownie; if you need a substitute, use flax‑egg for a vegan turn.
- Vanilla extract: A dash brightens the chocolate flavor without overpowering.
Complete Cooking Process
-
Ingredient Readiness:
Measure and melt chocolate and butter together, whisk eggs and sugar, and chill the cream before whipping.
-
Flavor Development:
Blend melted chocolate into the batter for a deep cocoa note, then fold whipped cream gently into the mousse.
-
Texture Control:
Spread the brownie base evenly, then pipe or spoon the mousse in smooth layers, allowing each to set slightly.
-
Finishing Touches:
Dust with a light sift of cocoa powder and chill the assembled dessert until firm.
-
Serving Timing:
Serve chilled, cutting generous squares; the mousse stays airy while the brownie stays soft.
-
Use a kitchen scale for precise chocolate amounts.
-
Do not over‑whip the cream; stop when soft peaks form.
-
Let the brownie cool completely before adding mousse.
-
Store in the fridge, covered, for up to 3 days.
Pro Tips
I often find that a brief pause between layers lets the flavors settle, and the dessert feels more cohesive. So, when you’re ready to plate, take a moment, smile, and remember that good things take a little patience. It’s the quiet moments that make a sweet memory linger.
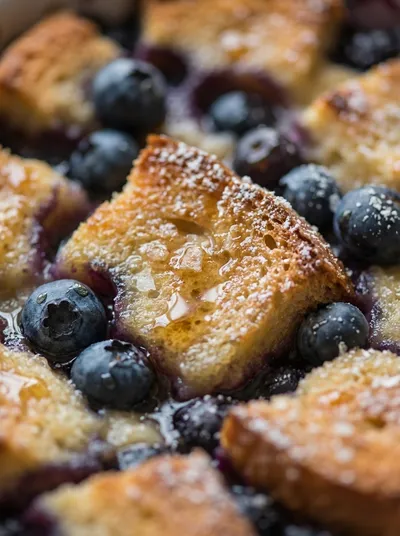
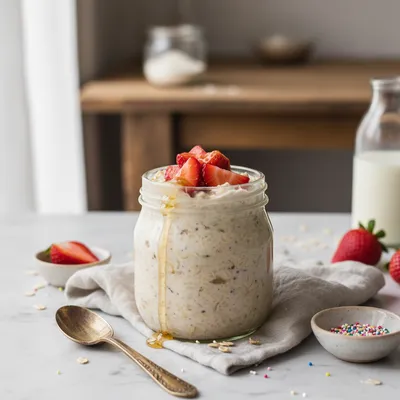 Breakfast & Brunch
Cake Batter Overnight Oats Recipe
A dreamy, dessert‑like oatmeal that you prep the night before and enjoy cold or warmed.
The essence of the dish:
What makes these brownies special is the contrast – a fudgy, almost chewy base topped with a mousse that feels like a cloud. The two textures play off each other, creating a surprise in every bite.
A fun fact or historical angle:
Did you know that the original chocolate mousse was invented in the 18th‑century French courts? It was meant to be a light, sophisticated dessert, far from the home‑cooked brownies we love today.
Flavor or sensory focus:
Expect an initial burst of deep cocoa from the brownie, followed quickly by the smooth, buttery whisper of mousse that melts on the tongue.
You Must Know
-
Use room‑temperature butter for a glossy base.
-
Do not skip chilling – it sets the layers.
-
A tiny pinch of salt lifts the chocolate flavor.
Frequently Asked Questions
→ Can I make this recipe gluten‑free?
Absolutely – swap the all‑purpose flour for a 1‑to‑1 gluten‑free blend. The texture remains just as tender.
→ How long can I store the brownies?
Keep them covered in the fridge for up to three days. For longer storage, freeze the sliced squares in an airtight container.
→ Do I need a special pan?
A standard 8×8‑inch square pan works fine. Lining it with parchment paper makes removal easier.
→ Can I add nuts or fruit?
Yes, fold in toasted walnuts or a swirl of raspberry jam into the mousse for extra depth.
→ Is it possible to make a vegan version?
Swap butter for coconut oil and use coconut cream in place of heavy cream; the mousse will still be luscious.
→ What’s the best way to serve them?
Serve chilled, dusted with cocoa, and a dollop of whipped cream if you like extra indulgence.
Nutrition Facts
per serving
250
Calories
4g
Protein
28g
Carbs
15g
Fat
Taste Profile
Rich chocolate with a delicate, airy finish
Ingredient Substitutions
Don't have an ingredient? Try these alternatives
Gives a subtle coconut flavor and keeps the mousse dairy‑free.
Use a 1‑to‑1 swap for a gluten‑free version; texture will be slightly denser.
Recipe Variations
Try these delicious twists on the original
Spicy Version
Add a pinch of cayenne pepper to the mousse for a subtle heat.
Mediterranean Style
Fold in chopped toasted almonds and a drizzle of honey over the mousse.
Common Mistakes to Avoid
Learn from others' mistakes for perfect results
- Over‑mixing the brownie batter, leading to a cakey texture.
- Adding hot chocolate to whipped cream, which deflates the mousse.
- Skipping the cooling step for the brownie base.
Meal Prep & Storage
Make Ahead Tips
You can bake the brownie base a day ahead and keep it wrapped; the mousse can be whipped up a few hours before assembling.
Leftover Ideas
Refrigerate leftovers in a sealed container; enjoy within three days for best texture.
Perfect Pairings
Serve this with...
Cooking Timeline
Preheat oven and prepare pan with parchment.
Whisk together butter, sugar, eggs, and vanilla; fold in dry ingredients.
Bake brownie, then cool completely while melting chocolate.
Whip cream, combine with melted chocolate to form mousse.
Layer mousse over brownie, smooth top, and chill.
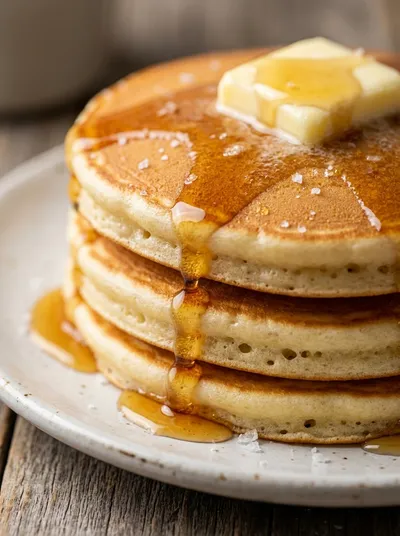 Breakfast & Brunch
American Pancakes – Fluffy Breakfast Treat
Light, airy pancakes that drift like clouds on a plate, ideal for a relaxed morning.
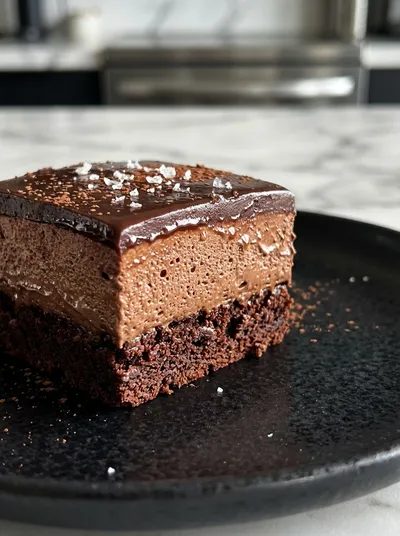
Layered Chocolate Mousse Brownies
A luminous, layered treat that whispers of deep cocoa and airy mousse, perfect for a quiet afternoon or a modest gathering. I remember the first time I layered the silky mousse over a fudgy brownie base – the kitchen smelled like a cozy chocolate shop, and the whole house seemed to pause. Honestly, it’s a gentle reminder that comfort can be as simple as a spoonful of heaven.
Timing
Prep Time
25 Minutes
Cook Time
20 Minutes
Total Time
45 Minutes
Recipe Details
Ingredients
For the Brownie Base
-
01
1/2 cup unsalted butter, melted
-
02
1 cup granulated sugar
-
03
2 large eggs
-
04
1 tsp vanilla extract
-
05
1/2 cup all‑purpose flour
-
06
1/4 cup unsweetened cocoa powder
-
07
1/4 tsp salt
For the Chocolate Mousse
-
01
8 oz dark chocolate, chopped
-
02
1 cup heavy cream, chilled
-
03
2 tbsp powdered sugar
-
04
1 tsp vanilla extract
Instructions
Preheat the oven to 350°F (175°C). Grease an 8×8‑inch pan and line with parchment paper.
In a bowl, whisk melted butter with sugar until glossy, then whisk in eggs one at a time, followed by vanilla.
Sift together flour, cocoa powder, and salt; fold gently into the wet mixture until just combined.
Spread the batter evenly in the pan and bake for 18‑20 minutes, until the top is set but still slightly soft in the centre. Let cool completely on a wire rack.
Meanwhile, melt the dark chocolate over a bain‑marie, stirring until smooth; set aside to cool slightly.
In a chilled bowl, whip the heavy cream with powdered sugar and vanilla until soft peaks form. Gently fold the melted chocolate into the whipped cream until fully incorporated.
Pour the mousse over the cooled brownie layer, smoothing the top with a spatula. Chill the assembled dessert for at least 2 hours, or until firm.
Before serving, dust with a light sift of cocoa powder. Cut into squares and enjoy the layered bliss.
Notes & Tips
-
1
Be careful not to over‑mix the brownie batter; it can become cakey.
-
2
Make sure the chocolate is not too hot before folding into the whipped cream, or it will deflate the mousse.
-
3
For an extra shine, brush the top of the mousse with a thin layer of melted chocolate before chilling.
 Breakfast & Brunch
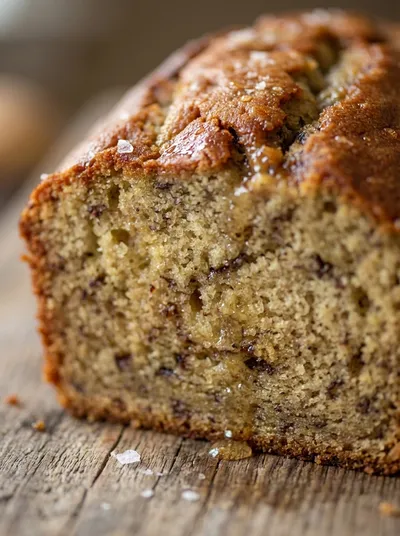
Classic Moist Banana Bread Recipe
Moist classic banana bread, ideal for a comforting breakfast or afternoon treat.
Tools You'll Need
-
8×8‑inch baking pan
-
Mixing bowls
-
Electric whisk
-
Spatula
-
Parchment paper
-
Saucepan for bain‑marie
Must-Know Tips
-
Do not over‑whip the cream; stop at soft peaks.
-
Let the brownie cool fully before adding mousse.
-
Chill the final dessert for a firm, clean slice.
Professional Secrets
-
Room‑temperature butter creates a glossy brownie surface.
-
Gentle folding preserves the airy structure of mousse.
-
Even cooling prevents cracks between layers.

Recipe by
Sofia☕💖 A morning coffee lover who can’t resist melting chocolate into everything she bakes. Warm smiles and cocoa dreams! 🍩🌷
Get Delicious Recipes Weekly
Join 25,000+ home cooks getting our best recipes straight to their inbox.
Free forever • No spam • Unsubscribe anytime