
From the early 1900s, peanut butter found its way into portable snacks for athletes and schoolchildren, offering protein in a convenient form. The marriage of cocoa and peanut butter became a staple in post‑workout nutrition, celebrated for its balance of carbs and protein. This modern no‑bake version honors that heritage while embracing today’s demand for quick, wholesome fuel.
Why You'll Love It
-
- No oven needed, perfect for summer kitchens
-
- Simple, five‑ingredient base that feels luxurious
-
- High protein boost from chocolate whey
-
- Naturally sweetened with honey, no refined sugar
-
- Easy to customize with nuts or dried fruit
"These balls are my go‑to after a run—sweet, chewy, and they keep me full!"
Essential Ingredient Guide
- Rolled oats: Provides texture and slow‑release carbs; choose thick‑cut for best chew.
- Natural peanut butter: Adds richness and healthy fats; stir well to avoid oil separation.
- Chocolate protein powder: Gives the chocolate flavor and a protein punch; scoop level matters for firmness.
- Cocoa powder: Deepens the chocolate aroma; unsweetened keeps balance.
- Honey: Binds the mixture and adds a gentle sweetness; you can swap maple syrup if desired.
- Dark chocolate chips: Melts into a glossy coating that hardens slightly for a satisfying snap.
 Breakfast & Brunch
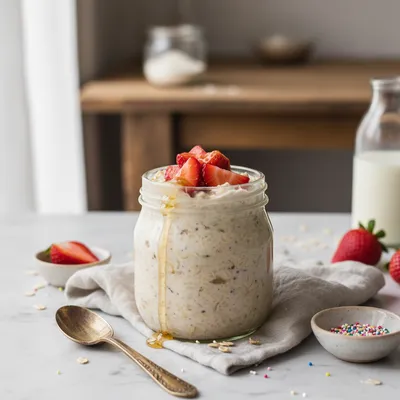
Cake Batter Overnight Oats Recipe
A dreamy, dessert‑like oatmeal that you prep the night before and enjoy cold or warmed.
Complete Cooking Process
-
Ingredient Readiness:
Measure oats, protein powder, and cocoa first; this ensures dry ingredients are evenly combined before the sticky wet mix joins them.
-
Flavor Development:
When you whisk peanut butter and honey together, the warm aroma deepens, creating the base for the chocolate coating.
-
Texture Control:
Rolling the balls gently but firmly locks in moisture; over‑rolling can make them dense, so pause if the mixture feels too stiff.
-
Finishing Touches:
A quick dip in melted dark chocolate adds a glossy finish that sets in the fridge, giving that subtle snap on each bite.
-
Serving Timing:
Serve them straight from the fridge for a firm bite, or let sit a few minutes at room temperature for a softer, melt‑in‑your‑mouth feel.
-
Toast the oats lightly for a nuttier flavor before mixing.
-
Use a silicone mat when rolling to prevent sticking.
-
If the mixture is crumbly, add a spoonful more honey.
-
Store in a single layer initially to avoid clumping.
Pro Tips
These little adjustments can turn an ordinary snack into a personal favorite. I often find myself pausing after each batch, feeling the slight chill of the fridge on the bowl, and realizing how simple steps create big joy. So, take your time, enjoy the process, and trust the gentle rhythm of mixing and shaping.
 Breakfast & Brunch
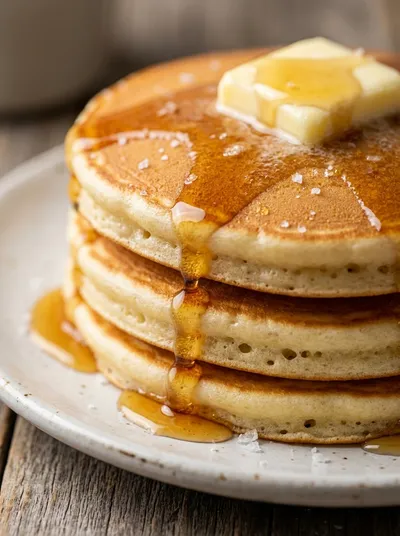
American Pancakes – Fluffy Breakfast Treat
Light, airy pancakes that drift like clouds on a plate, ideal for a relaxed morning.
The essence of the dish:
A balance of chocolate richness, peanut butter creaminess, and a hearty oat base that offers both chew and nutrition.
A fun fact or historical angle:
Peanut butter was first mass‑produced in the 1920s as a protein source for soldiers, and chocolate‑protein blends became popular in the 1970s gym culture.
Flavor or sensory focus:
You’ll notice the cool snap of dark chocolate, the lingering warmth of cocoa, and the subtle grainy comfort of oats.
You Must Know
-
Keep the mixture cold while shaping.
-
Don’t over‑mix; you want texture, not mush.
-
A quick chill sets the chocolate coating.
Frequently Asked Questions
→ Can I use almond butter instead of peanut butter?
Yes, almond butter works well; it adds a slightly different nutty note and still binds the mix.
→ How long do the balls stay fresh?
Stored in an airtight container in the fridge, they stay fresh for up to a week.
→ Can I freeze them?
Absolutely—freeze for up to three months; just let them thaw briefly before serving.
→ What if the mixture is too dry?
Add a teaspoon of honey or a splash of milk (dairy or plant) until it comes together.
→ Are these gluten‑free?
Use certified gluten‑free oats and ensure the protein powder is gluten‑free for a safe option.
→ Can I add dried fruit?
Chopped dates or cranberries can be folded in for extra chew and natural sweetness.
Nutrition Facts
per serving
120
Calories
6g
Protein
12g
Carbs
6g
Fat
Taste Profile
A gentle chocolate sweetness balanced by nutty richness
Ingredient Substitutions
Don't have an ingredient? Try these alternatives
Provides a milder flavor; still offers healthy fats.
Adds a caramel nuance; use slightly less to keep consistency.
Recipe Variations
Try these delicious twists on the original
Spicy Version
Add ½ tsp cayenne pepper and a drizzle of honey for a sweet‑heat twist.
Mediterranean Style
Mix in chopped pistachios and a sprinkle of sea salt, then coat with dark chocolate.
Common Mistakes to Avoid
Learn from others' mistakes for perfect results
- Over‑mixing can make the balls too dense.
- Using cold peanut butter makes the mixture crumbly.
- Letting chocolate set at room temperature can cause a sticky coating.
Meal Prep & Storage
Make Ahead Tips
You can prepare the base mixture up to three days ahead; store it sealed in the fridge and roll the balls when ready to coat.
Leftover Ideas
Keep any leftovers in the fridge; they stay fresh for several days and can be reheated briefly in the microwave for a softer bite.
Perfect Pairings
Serve this with...
Cooking Timeline
Gather and measure all dry ingredients; combine in a bowl.
Warm peanut butter and honey; stir in vanilla.
Mix wet and dry components until a cohesive dough forms.
Roll balls, chill briefly, and dip in melted chocolate.
Set coated balls in the fridge to let the chocolate set.
 Breakfast & Brunch
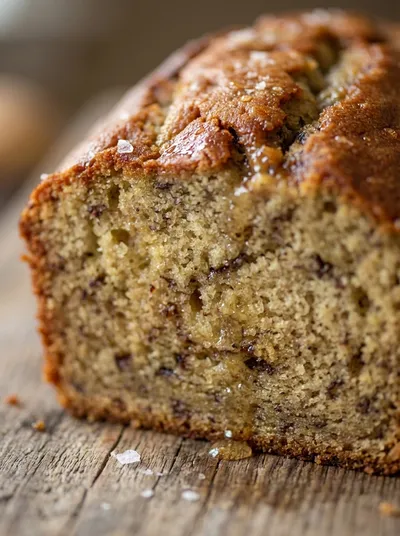
Classic Moist Banana Bread Recipe
Moist classic banana bread, ideal for a comforting breakfast or afternoon treat.
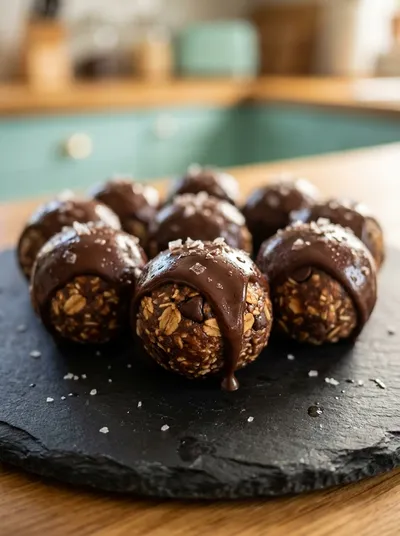
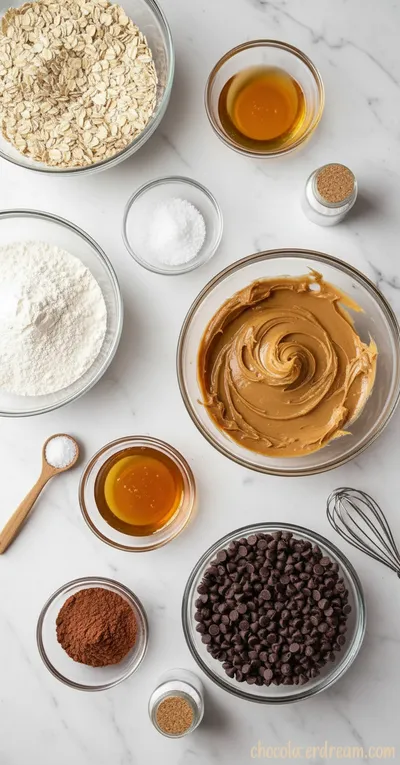
No-Bake Chocolate Peanut Butter Protein Balls
A quick, energizing snack that’s sweet, chewy, and perfect for busy days. These no‑bake chocolate peanut butter protein balls bring a gentle cocoa scent, a silky peanut butter warmth, and a satisfying bite that whispers of childhood treats without the fuss of a kitchen.
Timing
Prep Time
15 Minutes
Cook Time
0 Minutes
Total Time
15 Minutes
Recipe Details
Ingredients
Base Mix
-
01
1 ½ cups rolled oats
-
02
½ cup natural peanut butter
-
03
¼ cup honey
-
04
½ cup chocolate whey protein powder
-
05
2 tbsp unsweetened cocoa powder
-
06
1 tsp vanilla extract
-
07
Pinch of sea salt
Coating
-
01
½ cup dark chocolate chips
-
02
1 tsp coconut oil (optional for smoother melt)
Instructions
In a large bowl, combine rolled oats, chocolate protein powder, cocoa powder, and a pinch of salt.
In a microwave‑safe cup, gently warm peanut butter and honey together until fluid, about 20‑30 seconds; stir in vanilla.
Pour the warm peanut‑honey mixture over the dry ingredients and stir until everything is evenly coated and the dough holds together.
Roll the mixture between your palms into 1‑inch balls; place them on a parchment‑lined tray.
Melt dark chocolate chips (and coconut oil, if using) in the microwave in 15‑second bursts, stirring between bursts until smooth.
Dip each ball briefly into the melted chocolate, let excess drip off, and return to the tray. Chill for 10‑15 minutes until the coating sets.
Notes & Tips
-
1
If the mixture feels too sticky, refrigerate for 10 minutes before shaping.
-
2
For a sweeter bite, increase honey by a tablespoon.
-
3
You can swap chocolate whey for plant‑based chocolate protein without changing the method.
 Desserts
No-Bake Cheesecake Bites: Easy Recipe
A quick, creamy no‑bake cheesecake bite perfect for any occasion.
Tools You'll Need
-
Large mixing bowl
-
Measuring cups and spoons
-
Microwave‑safe container
-
Spatula or spoon
-
Parchment paper
-
Silicone mat (optional)
-
Freezer safe tray
Must-Know Tips
-
Keep the mixture cool while rolling to avoid sticking.
-
Use a shallow dish for melted chocolate to control dip depth.
-
Store in the fridge; a cold environment keeps the coating firm.
Professional Secrets
-
Room temperature peanut butter blends more evenly with honey.
-
Melting chocolate in short bursts prevents scorching.
-
A quick chill after coating locks in the glossy finish.

Recipe by
Layla🍪🔥 A bold baker with a wild imagination — Layla mixes adventure, love, and rich chocolate in every recipe she shares. 🌈🍫
Get Delicious Recipes Weekly
Join 25,000+ home cooks getting our best recipes straight to their inbox.
Free forever • No spam • Unsubscribe anytime