
The marriage of the classic American cheesecake and the iconic Oreo cookie is a relatively modern culinary romance, but it speaks to a deeper love for contrast in desserts. Cheesecake itself has roots in ancient Greece, but the creamy, chilled version we adore today evolved into a symbol of indulgence across North America, often associated with celebrations and family gatherings.
Oreo cookies, introduced in the early 20th century, brought a playful, snackable element to the dessert table. When these two worlds collided in the form of oreo no-bake cheesecake cups, it created a dessert that bridged the gap between a formal cake and a casual cookie. It's a reflection of a shift toward "no-bake" culture, where the desire for rich flavors is balanced with a need for convenience.
In many households, these individual portions represent a move toward mindful serving and aesthetic presentation. Instead of one giant cake, these petite cups allow for a personal experience, making the rich combination of cream cheese and cocoa-based cookies feel more like a curated treat. It's a timeless approach to a modern craving.
Why You'll Love It
-
- Honestly, there is just something so comforting about the way 1 ½ cups Oreo cookie crumbs mix with melted butter for that nostalgic, sandy crust.
-
- Well, you don't have to worry about a temperamental oven, so it's just a gentle process of whipping and folding that feels like a quiet afternoon in the kitchen.
-
- I mean, these little individual cups are just darling, and that combination of 8 ounces (226g) cream cheese and cold heavy cream is simply heavenly.
-
- Look, it's a guaranteed crowd-pleaser because who can possibly say no to a dessert bursting with Oreo flavor? It's just pure joy in a liner.
"These are just wonderful. My grandkids practically begged for seconds, and the texture was absolutely spot on!"
Essential Ingredient Guide
- 8 ounces (226g) cream cheese, softened to room temperature: This is the heart of the whole thing. I always make sure it's truly soft, or you'll end up with little lumps, and we just don't want that, do we?
- 1 cup (240ml) heavy cream, cold: Keep this nice and chilled in the fridge until the very last second. It's what gives the cheesecake that lovely, airy lift we're looking for.
- Optional: additional whole Oreos for garnish: It's a small thing, but adding a whole cookie on top just makes it look so professional. It's like a little cherry on top, but better.
- 1 teaspoon vanilla extract: Just a splash, but it rounds out the sweetness so beautifully. I remember when my grandmother used a tiny bit of vanilla in everything; it just adds that warm, homey scent.
- 6 tablespoons (85g) unsalted butter, melted: This binds our crumbs together into a sturdy little base. Make sure it's melted just right so it coats every single crumb evenly.
- 1 cup (200g) granulated sugar: This provides the sweetness we need to balance the tang of the cheese. I find adding it gradually helps it incorporate without any fuss.
 Breakfast & Brunch
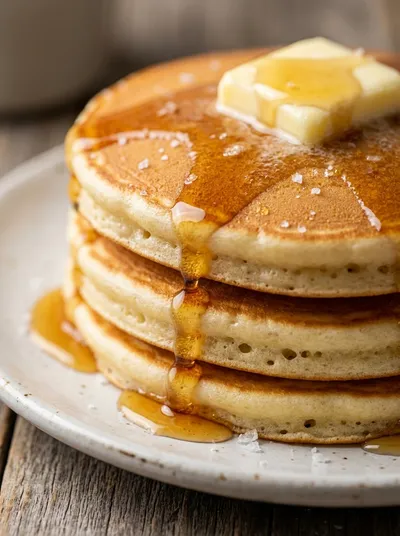
American Pancakes – Fluffy Breakfast Treat
Light, airy pancakes that drift like clouds on a plate, ideal for a relaxed morning.
Complete Cooking Process
-
Ingredient Readiness:
It all starts with patience, like letting that 8 ounces (226g) cream cheese sit out for an hour. Your 1 cup (240ml) heavy cream needs to stay cold, so don't take it out too early.
-
Flavor Development:
The magic happens when you beat the sugar and 1 teaspoon vanilla extract into the cheese. It creates a smooth, sweet base that really lets those Oreo flavors shine.
-
Texture Control:
The secret is in the fold; you want to be very gentle when mixing the whipped cream into the cheese. If you overdo it, you'll lose those lovely air bubbles and it'll get too dense.
-
Finishing Touches:
Spoon the filling high in the liners and then sprinkle the ½ cup (60g) Oreo pieces on top. It's a simple touch, but it makes them look so inviting.
-
Serving Timing:
You've got to let them nap in the refrigerator for at least 4 hours. Honestly, overnight is even better so they can set perfectly before you lift them out.
-
Ensure your cream cheese is truly softened to avoid any unwanted lumps in your filling.
-
Be careful not to overwhip your cold heavy cream; you're looking for stiff peaks, not butter!
-
Fold the whipped cream in gently in two additions so you don't deflate the mixture.
-
For a more intense flavor, try using double-stuffed Oreos and adding a tablespoon of crumbs directly into the filling.
Pro Tips
Just take your time and enjoy the process, you've got this!
Better For You Treats
Now, we all know these are a little indulgent with the sugar and fat, but that's okay every now and then. If you're feeling mindful, you could try a reduced-sugar cream cheese to keep things a bit lighter.
Ways to Make it Your Own
I love a little variety in the kitchen. You could add ½ teaspoon of peppermint extract for a minty twist, or maybe drizzle some melted dark chocolate over the top before they go in the fridge.
Serving Suggestions
To make it a real occasion, serve your cups with a drizzle of chocolate sauce or a few fresh strawberries for a pop of color. A tiny dusting of cocoa powder also looks just lovely on the plate.
Frequently Asked Questions
→ Can I make these ahead of time?
Oh, absolutely! In fact, I'd recommend making them the night before so they have plenty of time to set in the fridge.
→ What do I do if my filling looks lumpy?
Oops, that usually happens if the cream cheese wasn't soft enough. Just give it another good whip with your mixer before adding the cream.
→ Can I freeze these for later?
Yes, you sure can. Just wrap them tightly in plastic wrap and foil, and then let them thaw in the refrigerator overnight.
Nutrition Facts
per serving
410
Calories
5g
Protein
38g
Carbs
26g
Fat
Taste Profile
A rich, creamy blend of sweet cream cheese and deep chocolate cookie flavor.
Ingredient Substitutions
Don't have an ingredient? Try these alternatives
Adjust quantity slightly and beat well to ensure no grains remain.
For a dairy-free alternative, though the texture may be slightly different.
Adds a slightly different, woody sweetness.
Recipe Variations
Try these delicious twists on the original
Mint Oreo Cheesecake Cups
Add ½ teaspoon of peppermint extract to the cheesecake filling for a refreshing minty twist that tastes like a thin mint.
Chocolate Drizzle Oreo Cheesecake Cups
Drizzle melted dark chocolate over the tops of the cheesecake cups before chilling for an extra layer of chocolate indulgence.
Common Mistakes to Avoid
Learn from others' mistakes for perfect results
- Using cold cream cheese, which leads to a lumpy filling.
- Over-mixing the whipped cream, causing it to deflate or turn to butter.
- Not chilling the desserts long enough, resulting in a soft, runny texture.
Meal Prep & Storage
Make Ahead Tips
These are practically designed for making ahead. Just let them set overnight in the fridge and they'll be perfect for the next day.
Leftover Ideas
Keep any leftovers in the refrigerator covered. If you've frozen them, thaw them in the fridge overnight before eating.
Perfect Pairings
Serve this with...
Cooking Timeline
Mix cookie crumbs with melted butter and press into liners.
Beat cream cheese with sugar and vanilla until smooth.
Whip heavy cream to stiff peaks in a chilled bowl.
Fold cream into cheese, fill cups, and add Oreo toppings.
Refrigerate to allow the cheesecakes to set completely.
 Desserts
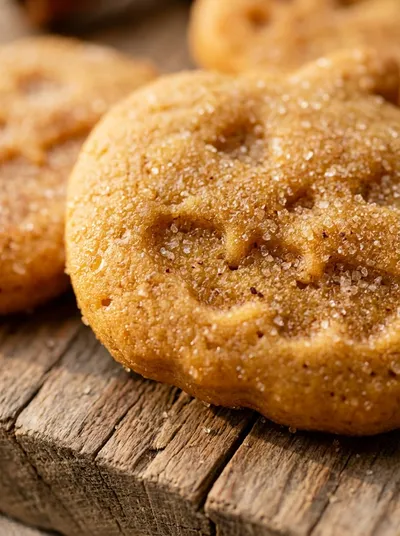
No-Bake Cheesecake Bites: Easy Recipe
A quick, creamy no‑bake cheesecake bite perfect for any occasion.
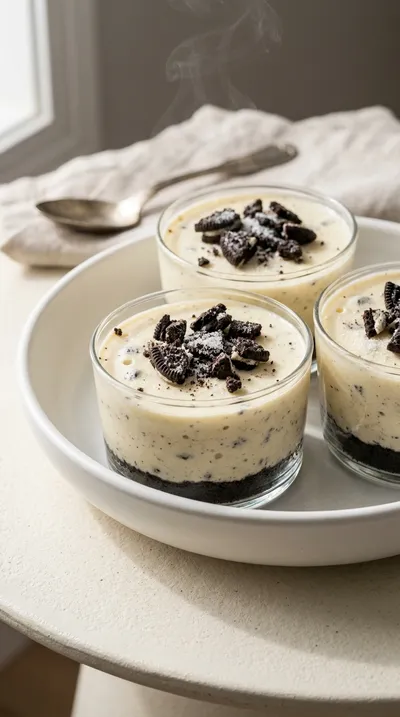
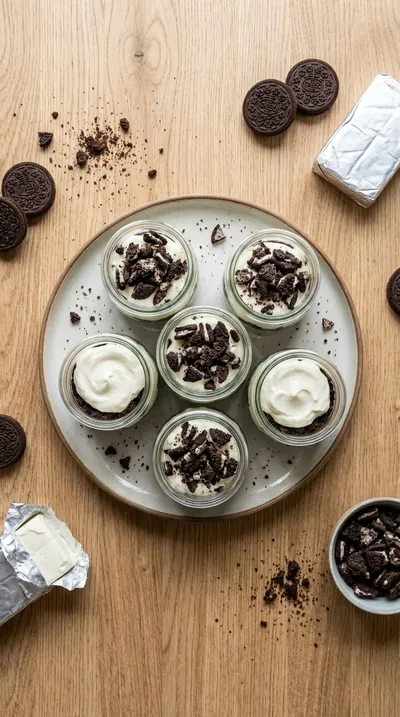
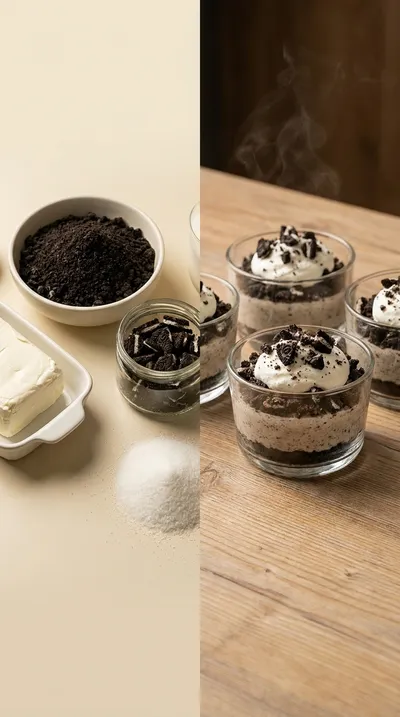
Oreo No-Bake Cheesecake Cups
A velvety smooth treat where a buttery crust of 1 ½ cups Oreo cookie crumbs meets a cloud of sweetened cream cheese. These oreo no-bake cheesecake cups offer a cooling, rich sweetness that just feels like a hug in a dessert cup.
Timing
Prep Time
20 Minutes
Cook Time
0 Minutes
Total Time
20 Minutes
Recipe Details
Ingredients
Crust and Filling
-
01
1 ½ cups Oreo cookie crumbs (about 36 Oreos, finely crushed)
-
02
6 tablespoons (85g) unsalted butter, melted
-
03
8 ounces (226g) cream cheese, softened to room temperature
-
04
1 cup (200g) granulated sugar
-
05
1 teaspoon vanilla extract
-
06
1 cup (240ml) heavy cream, cold
Toppings
-
01
½ cup (60g) Oreo pieces, roughly chopped (for topping)
-
02
Optional: additional whole Oreos for garnish
Instructions
First, let's get the crust going. In a medium bowl, combine those 1 ½ cups Oreo cookie crumbs and 6 tablespoons (85g) unsalted butter, melted. Just mix it well until the crumbs are evenly moistened—it should look like wet sand, honestly.
Now, line your 12-cup muffin tin with cupcake liners. Take about 2 tablespoons of that crumb mixture and press it firmly into the bottom of each liner. You want a nice, solid little base there.
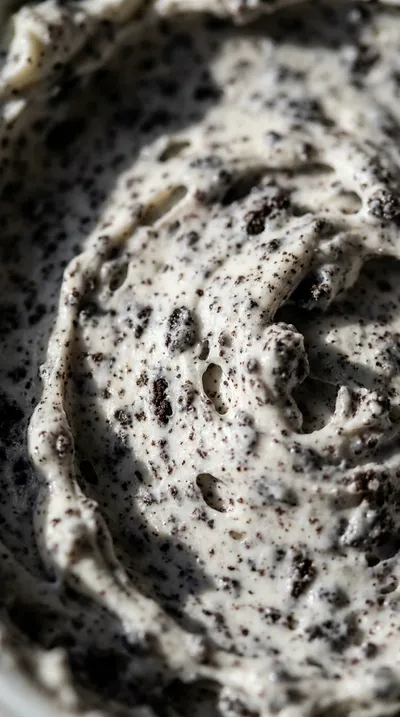
Time for the filling. In a large bowl, beat the 8 ounces (226g) cream cheese, softened to room temperature, with your mixer until it's smooth and creamy. Trust me on this—lumps are just not ideal!
Gradually stir in 1 cup (200g) granulated sugar, beating it until it's all combined. Then, just stir in 1 teaspoon vanilla extract for that lovely aroma.
In a separate bowl that's been chilled, beat 1 cup (240ml) heavy cream, cold, with a whisk or mixer until you get stiff peaks. Now, be careful not to overwhip, or we'll have a bit of a mess, oops.
Gently fold that whipped cream into the cream cheese mixture in two additions. Do it slowly until just combined; we don't want to deflate all that lovely air we just whipped in.
Spoon the cheesecake filling evenly into your prepared crusts. Fill them almost to the top of the liner.
Now for the best part: sprinkle the ½ cup (60g) Oreo pieces, roughly chopped (for topping), evenly over the top of each little cup.
Cover the whole tin with plastic wrap and tuck them away in the refrigerator for at least 4 hours. Honestly, overnight is even better so they can set completely.
Carefully lift those Oreo no-bake cheesecake cups from the tin and serve them chilled. Enjoy!
Notes & Tips
-
1
Ensure the cream cheese is fully softened to avoid a lumpy texture.
-
2
Using a chilled bowl for the heavy cream helps achieve better peaks.
-
3
Do not overmix the final batter or the cheesecake will be too dense.
 Pasta
Pasta
Perfect Pasta Salad Dressing Recipe
A quick, lemon‑garlic vinaigrette that elevates pasta salads with a burst of freshness.
Tools You'll Need
-
9-inch pie plate or food processor for crushing cookies
-
Medium and large mixing bowls
-
Electric handheld or stand mixer
-
Measuring cups and spoons
-
12 cupcake liners
-
12-cup muffin tin
-
Rubber spatula for folding
Must-Know Tips
-
Softened Cream Cheese, Leave it out for at least an hour to ensure a smooth filling.
-
Gentle Folding, Don't overmix the whipped cream into the cheese or you'll lose the fluffiness.
-
Patient Chilling, Give it at least 4 hours so the structure holds when you eat it.
Professional Secrets
-
Using a chilled bowl for the heavy cream ensures the fat stays cold for a more stable foam.
-
Pressing the crust firmly prevents the base from crumbling when the liner is removed.
-
Adding a tiny bit of extra crumbs into the filling can intensify the Oreo profile.
What readers are saying
Community reviews from home cooks like you
I wanted to love this dish, but it didn't quite work for me. I found it a bit sweet for my taste. I think with some tweaks it could be really good.
Nice base recipe. The crushed) flavor was nice, but i swapped one ingredient and it still worked. I might try it again with some adjustments.
The flavors were spot on. I really liked how the 1 ½ cups Oreo cookie crumbs (about 36 Oreos, finely crushed) and 6 tablespoons (85g) unsalted butter, melted came together. It took slightly longer than the recipe said. Thanks for sharing this one!
The flavors were spot on. I really liked how the 1 ½ cups Oreo cookie crumbs (about 36 Oreos, finely crushed) and 6 tablespoons (85g) unsalted butter, melted came together. My kids even asked for seconds.
The flavors were spot on. I really liked how the 1 ½ cups Oreo cookie crumbs (about 36 Oreos, finely crushed) and 6 tablespoons (85g) unsalted butter, melted came together. Thanks for sharing this one!
Absolutely loved this recipe! I really liked how the 1 ½ cups Oreo cookie crumbs (about 36 Oreos, finely crushed) and 6 tablespoons (85g) unsalted butter, melted came together. Highly recommend giving it a try.
Will definitely make this again. I really liked how the 1 ½ cups Oreo cookie crumbs (about 36 Oreos, finely crushed) and 6 tablespoons (85g) unsalted butter, melted came together. Saving this for later.
I wanted to love this dish, but it didn't quite work for me. I added a bit more seasoning next time. I think with some tweaks it could be really good.
+ 4 more community reviews

Recipe by
Sofia☕💖 A morning coffee lover who can’t resist melting chocolate into everything she bakes. Warm smiles and cocoa dreams! 🍩🌷
Get Delicious Recipes Weekly
Join 25,000+ home cooks getting our best recipes straight to their inbox.
Free forever • No spam • Unsubscribe anytime