
Peanut butter ice cream traces its roots to the late 1970s, when home freezers first became common enough for ice cream makers to appear on kitchen counters. The idea was simple: blend the beloved spread with cream and sugar, then freeze. Over time, machines like the Ninja Creami have refined the process, giving home cooks a reliable way to achieve a custard‑smooth texture without the churn of an old‑school ice cream maker. This recipe honors that straightforward tradition while adding a whisper of vanilla for depth.
Why You'll Love It
-
- No‑sugar‑added, just natural sweetness
-
- Quick prep, let the Creami do the work
-
- Creamy texture that melts slowly
-
- Perfect base for toppings or sauces
“It’s like a peanut butter cup without the wrapper—pure, smooth, and comforting.”
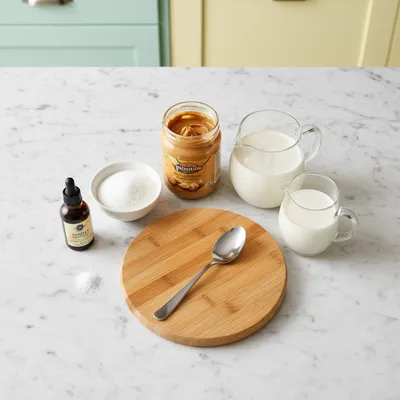
Essential Ingredient Guide
- Peanut butter: Choose a natural, unsweetened variety for a true nutty flavor; stir well before measuring.
- Heavy cream: Cold, full‑fat cream gives body; avoid ultra‑light versions.
- Milk: Whole milk balances richness; you can swap almond milk for a lighter version.
- Sugar: Granulated sugar dissolves easily; you could reduce a bit if you like less sweetness.
- Vanilla extract: A splash adds warmth without overpowering the peanut.
- Salt: Just a pinch amplifies the nutty notes.
 Breakfast & Brunch
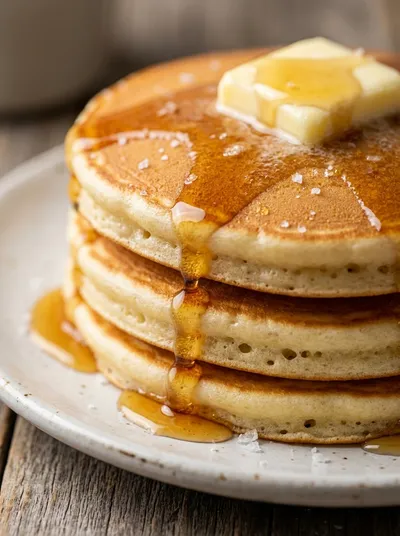
American Pancakes – Fluffy Breakfast Treat
Light, airy pancakes that drift like clouds on a plate, ideal for a relaxed morning.
Complete Cooking Process
-
Ingredient Readiness:
Measure and whisk all ingredients together until smooth; a quick glance at the bowl should show no streaks of peanut butter.
-
Flavor Development:
Let the mixture sit for a few minutes; the flavors meld while the Creami freezes.
-
Texture Control:
During the freeze‑and‑spin cycle, the Creami creates tiny air pockets for that cloud‑like mouthfeel.
-
Finishing Touches:
After the spin, fold in a drizzle of honey or chopped peanuts if you desire extra texture.
-
Serving Timing:
Serve within an hour for the soft‑serve feel, or freeze a bit longer for a firmer scoop.
-
Chill the mixing bowl beforehand for quicker freezing
-
Scrape the sides of the container mid‑cycle for even texture
-
Add a splash of vanilla after the first spin for extra aroma
-
Store leftovers in a shallow container to avoid ice crystals
Pro Tips
I’ve found that a shallow pan lets the ice cream stay creamy for days. It also makes scooping easier, especially when you’re sharing with family. So, keep the container covered tightly, and the flavor will stay as bright as the first bite.
 Breakfast & Brunch
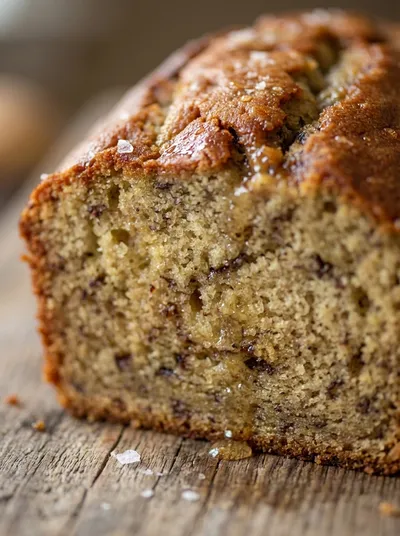
Classic Moist Banana Bread Recipe
Moist classic banana bread, ideal for a comforting breakfast or afternoon treat.
The essence of the dish:
It’s the quiet pleasure of smooth, nutty richness that lingers, with a hint of vanilla that feels like a warm blanket.
A fun fact or historical angle:
Peanut butter was once marketed as a protein‑rich health food for soldiers in the 1940s, and now it’s a beloved ice cream base.
Flavor or sensory focus:
The first spoonful delivers a buttery mouthfeel, followed by the subtle snap of roasted peanuts on the palate.
You Must Know
-
Use natural peanut butter for the cleanest taste
-
Don’t over‑sweeten; the nuts provide their own depth
-
Serve slightly softened for the best texture
Frequently Asked Questions
→ Can I use a different nut butter?
Yes, almond or cashew butter works, but it will change the flavor profile.
→ Do I need to pre‑freeze the mixture?
Simply pour the blended mixture into the Ninja Creami’s pint and freeze for 24 hours; no pre‑freeze needed.
→ How long does it keep?
Stored in an airtight container, it stays creamy for up to a week.
→ Is this recipe dairy‑free?
Swap heavy cream and milk for coconut cream and oat milk for a dairy‑free version.
→ Can I add mix‑ins?
Absolutely—chocolate chips, caramel swirls, or toasted peanuts add extra texture.
→ What’s the best way to soften before serving?
Let the pint sit at room temperature for 5‑10 minutes; it will become scoop‑ready.
Nutrition Facts
per serving
340
Calories
8g
Protein
28g
Carbs
22g
Fat
Taste Profile
A smooth, nutty sweetness with a hint of vanilla.
Ingredient Substitutions
Don't have an ingredient? Try these alternatives
Provides a dairy‑free richness; may add a subtle coconut flavor.
Adds depth but reduces the freeze‑point slightly.
Recipe Variations
Try these delicious twists on the original
Spicy Version
Add a pinch of cayenne and swirl in a bit of honey for a warm kick.
Chocolate Swirl
Incorporate chocolate swirl by folding melted dark chocolate through the churned base.
Common Mistakes to Avoid
Learn from others' mistakes for perfect results
- Over‑filling the pint, which leads to overflow during spinning.
- Skipping the whisk step, resulting in gritty texture.
- Adding mix‑ins before the spin, which can cause uneven freezing.
Meal Prep & Storage
Make Ahead Tips
You can blend and freeze the base up to 48 hours ahead; the swirl and toppings can be added just before serving.
Leftover Ideas
Let the container sit at room temperature for 5‑10 minutes, then scoop; no reheating needed.
Perfect Pairings
Serve this with...
Cooking Timeline
Gather and whisk all ingredients together until smooth.
Pour mixture into pint, seal, and place in freezer.
Run Ninja Creami “Ice Cream” cycle; add swirl if desired.
Serve immediately or refreeze for firmer texture.
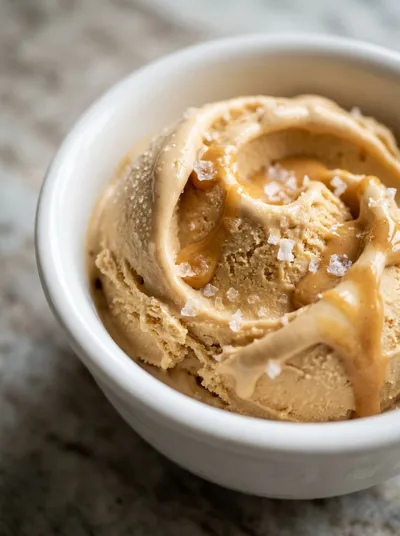
Peanut Butter Ice Cream – Ninja Creami Recipe
A silky, peanut‑butter‑laden ice cream made in the Ninja Creami that feels like a quiet hug on a summer evening, yet cozy enough for winter nights.
Timing
Prep Time
10 Minutes
Cook Time
0 Minutes
Total Time
24 Hours 10 Minutes
Recipe Details
Ingredients
Base
-
01
1 cup natural peanut butter
-
02
1 cup heavy cream
-
03
1 cup whole milk
-
04
½ cup granulated sugar
-
05
1 tsp vanilla extract
-
06
¼ tsp salt
Optional Swirl
-
01
2 tbsp melted chocolate
-
02
1 tbsp honey
-
03
¼ cup chopped roasted peanuts
Instructions
In a medium bowl, whisk together the peanut butter, heavy cream, milk, sugar, vanilla, and salt until completely smooth; the mixture should be glossy and free of lumps.
Pour the blended mixture into the Ninja Creami pint container, level the surface, and place the lid securely.
Freeze the pint for at least 24 hours in your freezer; this solidifies the base for the spin cycle.
After freezing, attach the pint to the Ninja Creami and select the “Ice Cream” function; let the machine spin until the texture is soft‑serve smooth.
If you’d like a swirl, drizzle the melted chocolate and honey over the churned ice cream, then add the chopped peanuts; use the “Mix‑In” function to fold gently.
Serve immediately for a soft‑serve feel, or refreeze for 30 minutes for a firmer scoop.
Notes & Tips
-
1
For a richer flavor, toast the peanuts lightly before adding them.
-
2
If the ice cream looks a bit icy after the first spin, run the “Re‑spin” function once more.
-
3
Adjust sweetness by tasting the base before freezing; peanut butter already carries a subtle natural sweetness.
 Desserts
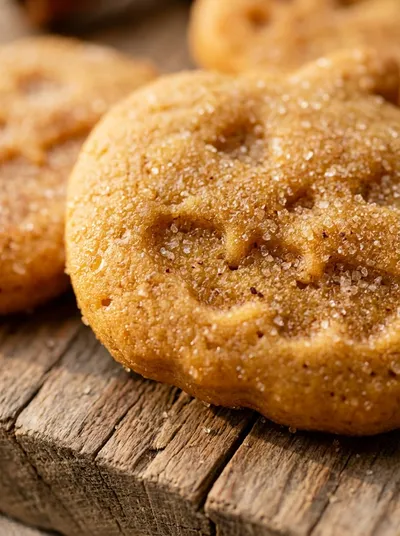
No-Bake Cheesecake Bites: Easy Recipe
A quick, creamy no‑bake cheesecake bite perfect for any occasion.
Tools You'll Need
-
Ninja Creami machine
-
Mixing bowl
-
Whisk
-
Measuring cups and spoons
-
Spatula
Must-Know Tips
-
Don’t overfill the pint; leave about ½ inch headspace.
-
Scrape the sides of the pint after the first spin for even texture.
-
Taste the base before freezing; adjust sugar or salt as needed.
Professional Secrets
-
Chill the mixing bowl for quicker emulsification.
-
Use a splash of vanilla after the first spin to heighten aroma.
-
Store in a shallow container to prevent large ice crystals.

Recipe by
Sofia☕💖 A morning coffee lover who can’t resist melting chocolate into everything she bakes. Warm smiles and cocoa dreams! 🍩🌷
Get Delicious Recipes Weekly
Join 25,000+ home cooks getting our best recipes straight to their inbox.
Free forever • No spam • Unsubscribe anytime