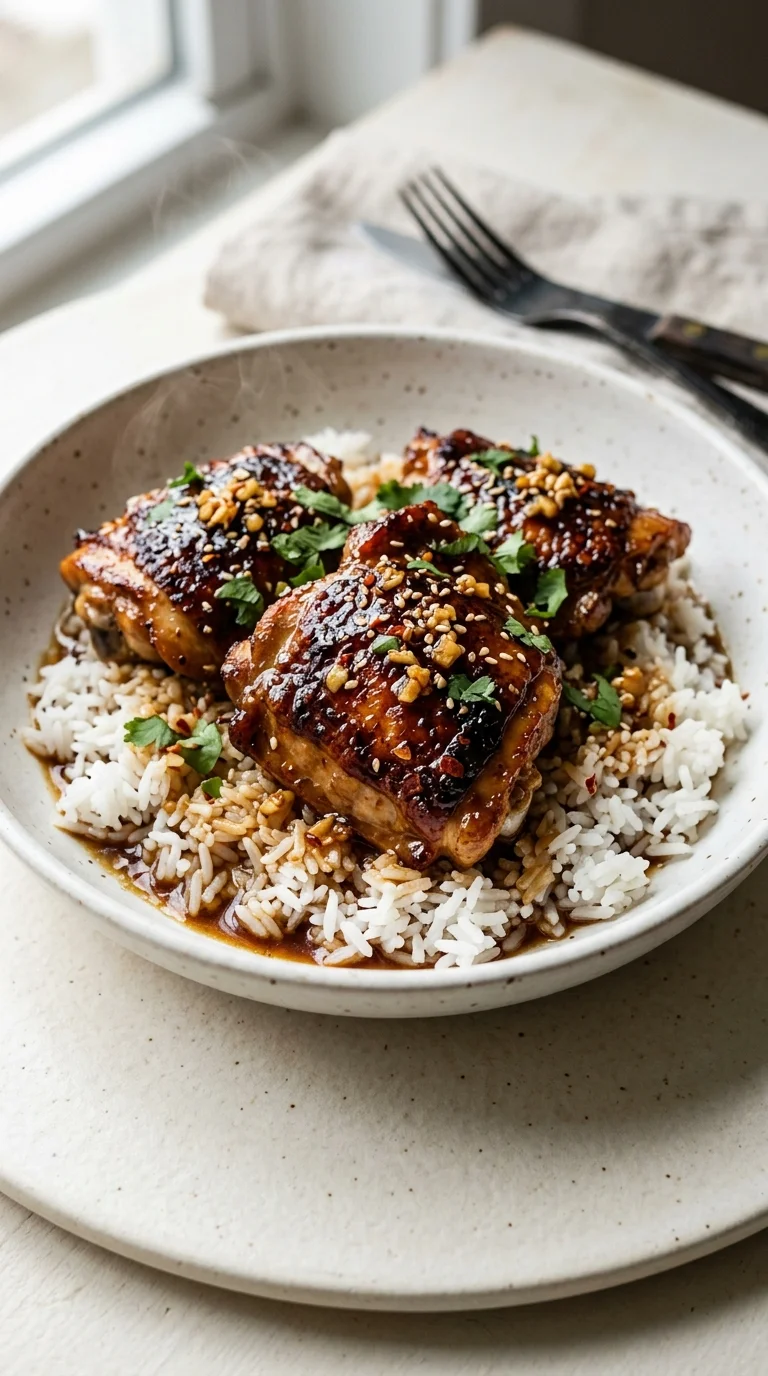
The harmony of sweet and savory is a cornerstone of East Asian culinary traditions, where the marriage of honey or sugar with fermented soy is used to create deep, complex glazes. This particular style of sticky honey garlic chicken thighs draws inspiration from the Cantonese tradition of glazing meats to preserve moisture while adding a brilliant, lacquer-like finish.
Historically, honey was prized for its ability to caramelize under heat, creating a barrier that keeps the meat succulent. The addition of rice vinegar provides a necessary acidic lift, cutting through the richness of the bone-in, skin-on chicken thighs to create a balanced profile.
Over time, these flavor profiles have migrated into home kitchens globally, evolving into quick, skillet-based meals. What began as a slow-simmered art form is now a fast, accessible way to bring bold, aromatic depths to a modern dinner table.
Why You'll Love It
-
- Honestly, that glossy, sticky coating is just heavenly; it clings to the chicken in a way that makes every bite feel like a little treat.
-
- It's just so quick, yeah, only 30 minutes from start to finish, which is a lifesaver when the day has just gotten away from you.
-
- I love how the 4 large bone‑in, skin‑on chicken thighs stay so tender; it reminds me of the cozy Sunday dinners I used to make years ago.
-
- Well, the balance of sweet and savory is just spot on, and that little hint of heat from the crushed red pepper flakes adds such a lovely glow.
"Honestly, the glaze is just incredible. My kids actually asked for seconds, which, wow, doesn't happen often!"
Essential Ingredient Guide
- 4 large bone‑in, skin‑on chicken thighs: I always insist on bone-in, skin-on thighs because they stay so much juicier. Look for pieces with a nice, thick layer of skin for that perfect golden crunch.
- 4 cloves garlic, minced: Fresh is best here, look, just mince them up right before you cook. It fills the whole kitchen with that warm, inviting aroma that says dinner is almost ready.
- 1 tbsp toasted sesame seeds: These are just for a bit of a nutty crunch at the end. It's a small thing, but it makes the plate look so professional and polished.
- 2 tsp salt and 1 tsp freshly ground black pepper: Don't be shy with these; they wake up the meat. I like to season both sides generously so the flavor goes all the way through.
- 2 tbsp rice vinegar: This adds a gentle brightness that cuts through the richness of the honey. It's the secret to making sure the sauce doesn't feel too heavy.
- 1/4 cup honey: This gives us that beautiful, sticky glaze we're after. Just be mindful of the heat, as honey can be a bit temperamental and brown too quickly.
 Pasta
Pasta
Perfect Pasta Salad Dressing Recipe
A quick, lemon‑garlic vinaigrette that elevates pasta salads with a burst of freshness.
Complete Cooking Process
-
Getting Ready:
First, I always pat the 4 large bone‑in, skin‑on chicken thighs dry with paper towels. It seems like a small step, but it's the only way to get that skin truly crisp.
-
Building the Flavor:
The magic happens when we add the 4 cloves garlic, minced, and then swirl in the honey and soy sauce. That's where the sweet and savory notes really start to dance together.
-
Perfecting the Texture:
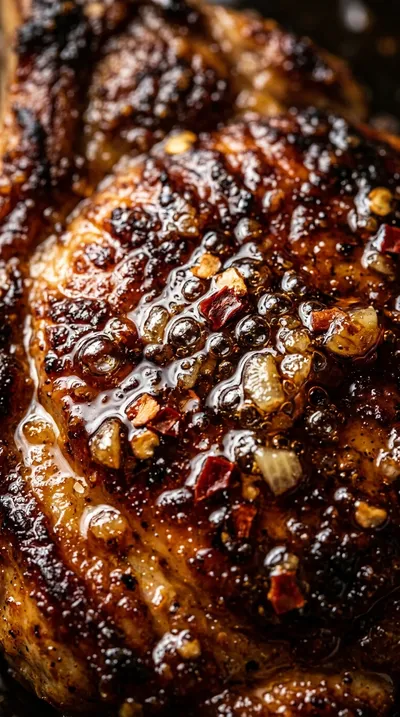
We sear the skin side down for 6-7 minutes first, then simmer under a lid. This ensures the meat is tender while the sauce thickens into a glossy, sticky coating.
-
The Final Glaze:
Right at the end, I spoon the thickened glaze back over the skin. It gives the chicken that gorgeous, professional sheen that looks so inviting on the plate.
-
A Moment of Patience:
Let the chicken rest for about 5 minutes before serving. I've learned the hard way that this lets the juices settle, so the meat stays moist.
-
Keep the heat on medium or lower after adding the honey to avoid burning; stirring constantly helps distribute heat evenly.
-
Use bone‑in, skin‑on thighs—they stay juicier and develop a richer flavor during the skillet glazing process.
-
If the glaze thickens too much before the chicken is done, thin it with a splash of water or extra soy sauce to keep the coating glossy.
-
Pat the chicken thighs dry with paper towels before seasoning for the best possible sear.
Pro Tips
You've got this, just take your time and enjoy the smells in your kitchen!
 Snacks & Treats
Energy Balls – Healthy Easy No‑Bake Snack
A tasty, chewy bite of oats, nuts, and dates that fuels you without a whisk or oven.
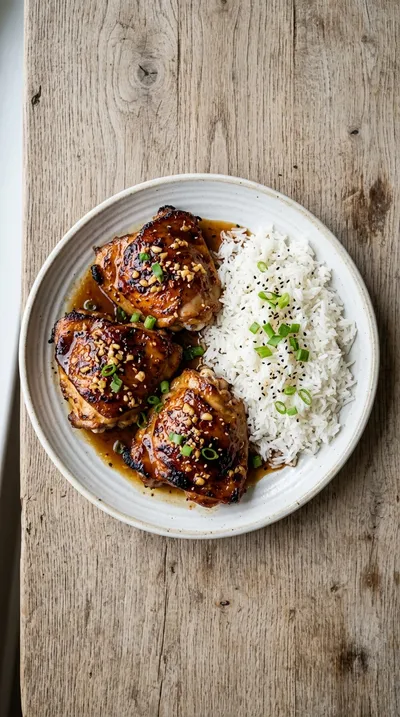
Better For You Treats
This dish is wonderful because it's protein-rich and keeps things simple. If you're watching your sugar, you can easily reduce the 1/4 cup honey or use a lower-sugar alternative to keep it light.
Ways to Make it Your Own
I sometimes stir in 1 tsp freshly grated ginger for a bit of warmth, or I'll swap the honey for pure maple syrup for a more earthy sweetness. Both ways just feel so cozy and special.
Serving Suggestions
I love serving these over fluffy jasmine rice to soak up every drop of that glaze. Pair it with some steamed broccoli or sautéed bok choy, and maybe a squeeze of fresh lime for a little pop of brightness.
Frequently Asked Questions
→ Can I use boneless chicken thighs instead?
You can, but they cook much faster and aren't quite as juicy. I'd suggest checking them a few minutes early so they don't overcook.
→ My sauce is too thin, what should I do?
Just leave the lid off and simmer it for a couple more minutes. It'll thicken up and become glossy quite quickly once the water evaporates.
→ How do I store the leftovers?
Just pop them in an airtight container in the fridge for up to 4 days. They reheat beautifully in the oven or microwave.
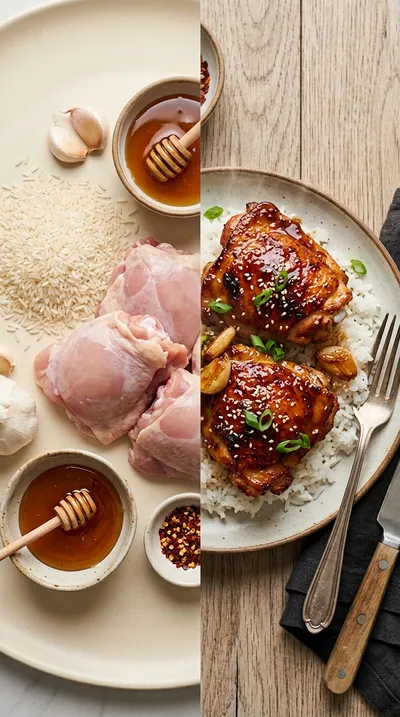
Nutrition Facts
per serving
420
Calories
31g
Protein
22g
Carbs
24g
Fat
Taste Profile
A bold balance of honey sweetness and savory soy richness with a hint of garlic warmth.
Ingredient Substitutions
Don't have an ingredient? Try these alternatives
Provides a slightly more earthy flavor.
A good pantry staple swap, though slightly more acidic.
A great option for those avoiding soy.
Recipe Variations
Try these delicious twists on the original
Ginger-Honey Garlic Chicken Thighs
Add 1 tsp freshly grated ginger to the glaze for a warm, aromatic depth that pairs beautifully with the honey and soy sauce.
Maple-Glazed Honey Garlic Chicken Thighs
Replace the honey with an equal amount of pure maple syrup for a subtle earthy sweetness and a slightly thicker glaze.
Common Mistakes to Avoid
Learn from others' mistakes for perfect results
- Burning the garlic by not stirring constantly during the 30-second cook time.
- Adding honey at too high a heat, which can lead to the sauce scorching.
- Skipping the resting period, which results in the glaze not setting properly.
Meal Prep & Storage
Make Ahead Tips
You can prep the glaze in a jar up to a few days in advance, but the chicken is best cooked and served fresh to keep that skin crisp.
Leftover Ideas
Store in an airtight container in the fridge for 4 days. I recommend reheating in a skillet or oven to bring back some of that sticky texture.
Perfect Pairings
Serve this with...
Cooking Timeline
Pat chicken dry and season thoroughly.
Sear chicken skin-side down until golden.
Flip chicken and sauté minced garlic.
Stir in glaze and simmer covered, then reduce to thicken.
Rest chicken and garnish before serving.
 Pasta
Pasta
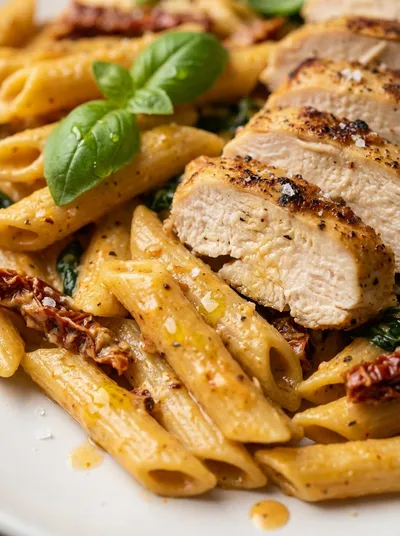
Marry Me Chicken Pasta – Rich & Creamy Recipe
A silky chicken‑pasta dish with a luxurious cream sauce that feels like a warm hug on a plate.
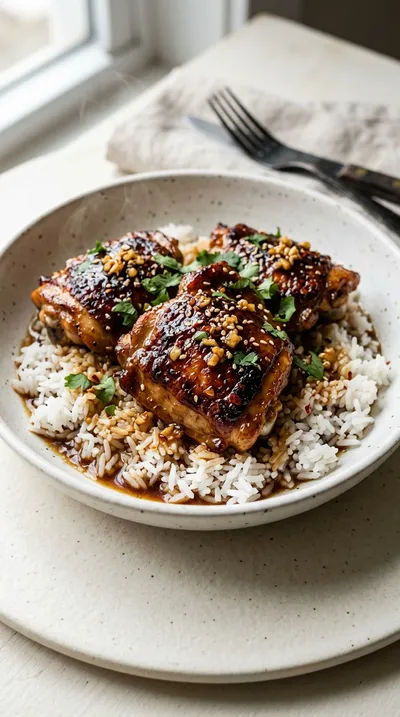
Sticky Honey Garlic Chicken Thighs
Tender chicken thighs glazed in a glossy, sweet-savory sauce that clings to every bite. These sticky honey garlic chicken thighs bring a comforting warmth to the table with a perfect balance of honey and soy sauce.
Timing
Prep Time
10 Minutes
Cook Time
20 Minutes
Total Time
30 Minutes
Recipe Details
Ingredients
The Chicken
-
01
4 large bone-in, skin-on chicken thighs
-
02
2 tbsp olive oil
-
03
2 tsp salt
-
04
1 tsp freshly ground black pepper
The Sticky Glaze
-
01
4 cloves garlic, minced
-
02
1/4 cup honey
-
03
1/4 cup low-sodium soy sauce
-
04
2 tbsp rice vinegar
-
05
1 tsp toasted sesame oil
-
06
1/4 tsp crushed red pepper flakes
For Garnish
-
01
2 tbsp chopped fresh cilantro or green onions, for garnish
-
02
1 tbsp toasted sesame seeds, for garnish
Instructions
First things first, pat your chicken thighs dry with some paper towels. I've found that if they're too damp, they won't brown right. Once they're dry, season both sides generously with salt and black pepper.
Heat up the olive oil in a large skillet over medium-high heat. Wait until the oil shimmers—that's how you know it's ready. Lay the chicken thighs skin side down and let them sear for 6–7 minutes until that skin is beautifully golden and crisp.
Flip the thighs over, then go ahead and reduce the heat to medium. Toss in your minced garlic and cook for just about 30 seconds. You'll want to stir constantly here, otherwise, the garlic can burn, and ugh, that ruins the flavor.
Now, stir in the honey, soy sauce, rice vinegar, toasted sesame oil, and crushed red pepper flakes. Bring it all to a gentle simmer, swirling the pan so every bit of chicken is coated in that lovely glaze.
Turn the heat down to low and put a lid on the skillet. Let it simmer for 5 minutes. Then, uncover it, turn each thigh so the skin side is back in the glaze, and cook for another 2–3 minutes until the sauce thickens into a glossy, sticky coating.
Take the chicken out of the skillet and let it rest on a cutting board for 5 minutes. I know it's tempting to dive in, but this lets the juices redistribute and the glaze really set.
Plate your thighs and spoon any remaining glaze from the pan right over the top. Finish it off with a sprinkle of toasted sesame seeds and your chopped cilantro or green onions.
Notes & Tips
-
1
Bone-in thighs are a must here for the best juiciness.
-
2
The glaze thickens quickly, so keep an eye on the heat.
-
3
Patting the chicken dry is the secret to that perfect crisp skin.
Tools You'll Need
-
Large skillet for searing and glazing
-
Measuring spoons for the sauce
-
Chef’s knife for garlic and garnish
-
Cutting board for prep and resting
-
Spatula for flipping chicken
-
Serving plate for presentation
Must-Know Tips
-
Temperature control, Keep the heat on medium or lower after adding the honey to avoid burning.
-
Cut of meat, Use bone-in, skin-on thighs—they stay juicier and develop a richer flavor.
-
Consistency check, If the glaze thickens too much before the chicken is done, thin it with a splash of water or extra soy sauce.
Professional Secrets
-
Searing skin-side down first creates a flavor foundation through the Maillard reaction.
-
Resting the meat for 5 minutes ensures the glaze clings to the chicken rather than sliding off.
-
Constant stirring of the garlic prevents bitterness from overheating.
What readers are saying
Community reviews from home cooks like you
This was a hit with my family. I really liked how the 4 large bone-in, skin-on chicken thighs and 2 tbsp olive oil came together. Will be making this regularly.
I was surprised how good this turned out. I really liked how the 4 large bone-in, skin-on chicken thighs and 2 tbsp olive oil came together. Perfect as written.
Decent result for the effort. The thighs flavor was nice, but the texture was a touch off, but the flavor saved it. I might try it again with some adjustments.
Pretty good overall. The thighs flavor was nice, but i added a bit more seasoning next time. I might try it again with some adjustments.
Can't believe how simple this was. I really liked how the 4 large bone-in, skin-on chicken thighs and 2 tbsp olive oil came together. I found it a bit sweet for my taste. Great addition to my recipe rotation.
I was surprised how good this turned out. I really liked how the 4 large bone-in, skin-on chicken thighs and 2 tbsp olive oil came together. I found it a bit sweet for my taste. Already shared it with a friend.

Recipe by
Chloe🍫🌹 Elegant yet playful, Chloe is all about creating romantic chocolate treats that melt hearts and taste divine. 💃🍮
Get Delicious Recipes Weekly
Join 25,000+ home cooks getting our best recipes straight to their inbox.
Free forever • No spam • Unsubscribe anytime