
The story of vanilla ice cream begins with the delicate pods of the vanilla orchid, cultivated for centuries across distant islands. When explorers first encountered this fragrant bean, they realized its potential to transform desserts. Over time, the humble vanilla ice cream evolved from a royal indulgence into a beloved staple, cherished for its simple elegance. Today, modern appliances like the Ninja Creami bring that classic creaminess to kitchens everywhere, allowing home cooks to recreate a tradition that once required laborious churns and icy chambers.
Why You'll Love It
-
- Incredibly smooth texture with minimal effort
-
- Only five pantry staples needed
-
- Consistent results every single batch
-
- Perfect base for endless flavor twists
"I never knew vanilla could taste this rich without any fancy ingredients – pure bliss!"
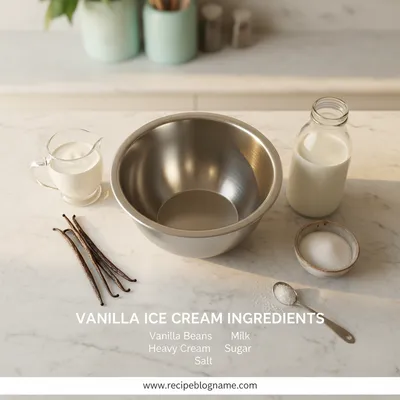
Essential Ingredient Guide
- Whole milk: Provides a creamy body; choose a fresh, cold milk for the best texture.
- Heavy cream: Adds richness and helps achieve that buttery mouthfeel.
- Granulated sugar: Balances the vanilla’s natural earthiness; dissolve fully for smoothness.
- Pure vanilla extract: A few drops deliver aromatic depth; avoid imitation for true flavor.
- Pinch of salt: Enhances sweetness and rounds out the flavor.
- Optional: vanilla bean seeds: For an extra speckled visual and intensified aroma.
Complete Cooking Process
-
Ingredient Readiness:
Measure and whisk milk, cream, sugar, salt, and vanilla together until the sugar is fully dissolved.
-
Flavor Development:
Let the mixture rest for a few minutes so the vanilla has time to awaken.
-
Texture Control:
Pour into the Ninja Creami container, freeze solid, then spin according to the machine’s instructions.
-
Finishing Touches:
After the spin, fold in any desired mix‑ins—perhaps a drizzle of caramel or a handful of fresh berries.
-
Serving Timing:
Serve immediately for a soft‑serve feel, or refreeze for a firmer scoop.
-
Chill the mixing bowl before whisking for ultra‑smooth results
-
Avoid over‑filling the container; leave a little headspace
-
If the ice cream is grainy, run it through a second spin
-
Store leftovers in an airtight container to prevent ice crystals
Pro Tips
Well, those little adjustments can make the difference between a good batch and a truly memorable one. I’ve found that taking a moment to let the mixture sit before freezing lets the vanilla scent settle, turning each scoop into a tiny, comforting pause in the day.
 Desserts
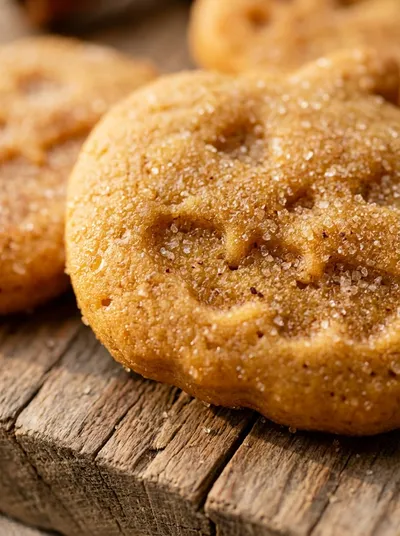
No-Bake Cheesecake Bites: Easy Recipe
A quick, creamy no‑bake cheesecake bite perfect for any occasion.
The essence of the dish:
It’s all about the balance of sweet milk, luscious cream, and fragrant vanilla, creating a texture that melts gently on the tongue.
A fun fact or historical angle:
Vanilla was once worth its weight in gold, traded by European explorers who prized its exotic fragrance.
Flavor or sensory focus:
You’ll notice the creamy richness first, followed by a lingering vanilla aroma that feels like a warm hug.
You Must Know
-
Use whole milk for a balanced mouthfeel
-
Don’t skip the pinch of salt
-
Freeze the container flat for even texture
Frequently Asked Questions
→ Can I use plant‑based milk?
Yes, almond, oat, or coconut milk work well, but the texture will be a bit lighter than dairy.
→ How long can the ice cream be stored?
Keep it in an airtight container in the freezer for up to two weeks; stir before serving if crystals form.
→ Do I need to add stabilizers?
No stabilizers are necessary; the Ninja Creami’s spin creates a smooth consistency on its own.
→ Can I swirl in chocolate sauce?
Absolutely—add a ribbon after the first spin, then give it a quick second spin.
→ What if the ice cream is too hard after freezing?
Let it sit at room temperature for five minutes or run the container through the “rebatch” setting.
→ Is it safe for kids with dairy allergies?
Use a dairy‑free alternative and ensure all other ingredients are allergy‑free.
Nutrition Facts
per serving
250
Calories
3g
Protein
28g
Carbs
14g
Fat
Taste Profile
Rich, buttery vanilla sweetness
Ingredient Substitutions
Don't have an ingredient? Try these alternatives
Result will be lighter; choose unsweetened versions.
Adds a subtle coconut aroma; may alter texture slightly.
Recipe Variations
Try these delicious twists on the original
Chocolate Swirl
Add a ribbon of melted chocolate after the first spin for a marbled effect.
Fruit Infused
Fold in pureed strawberries or mangoes for a fresh, fruity twist.
Common Mistakes to Avoid
Learn from others' mistakes for perfect results
- Overfilling the container, which leads to uneven freezing.
- Skipping the resting period, resulting in muted vanilla flavor.
- Not allowing the ice cream to soften slightly before serving.
Meal Prep & Storage
Make Ahead Tips
You can mix the base and freeze it up to 24 hours in advance; the Creami will still produce a smooth result.
Leftover Ideas
Stir gently before serving; if too firm, let sit at room temperature for a few minutes.
Perfect Pairings
Serve this with...
Cooking Timeline
Combine milk, cream, sugar, salt, and vanilla; whisk until smooth.
Let the mixture rest for flavors to meld.
Transfer to Creami pint, seal, and place in freezer.
Freeze solid, then spin in Ninja Creami.
Add optional mix‑ins, serve immediately or refreeze.
 Pasta
Pasta
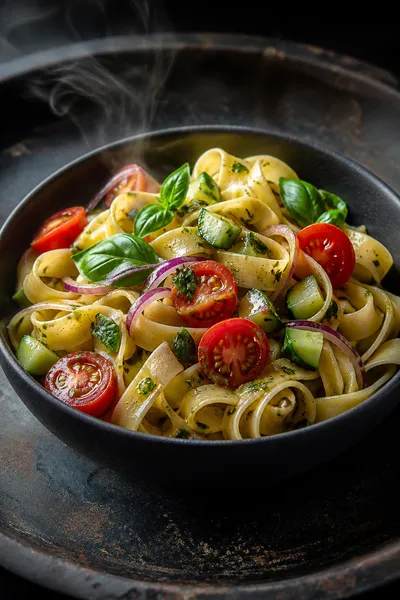
Perfect Pasta Salad Dressing Recipe
A quick, lemon‑garlic vinaigrette that elevates pasta salads with a burst of freshness.
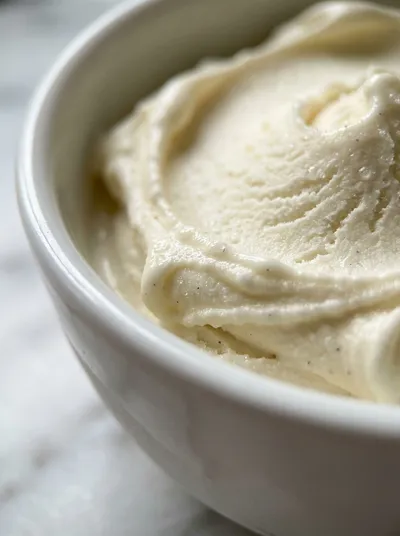
Vanilla Ice Cream – Easy Ninja Creami Recipe
A silky, homemade vanilla ice cream that feels like a gentle summer breeze, crafted effortlessly with the Ninja Creami for a dreamy, creamy finish.
Timing
Prep Time
15 Minutes
Cook Time
0 Minutes
Total Time
4 Hours
Recipe Details
Ingredients
Base
-
01
2 cups whole milk
-
02
1 cup heavy cream
-
03
3/4 cup granulated sugar
-
04
1 tsp pure vanilla extract
-
05
Pinch of sea salt
Instructions
In a medium bowl, whisk together the milk, cream, sugar, salt, and vanilla until the sugar dissolves completely.
Cover the bowl and let the mixture rest for 5‑10 minutes, allowing the vanilla flavor to blossom.
Pour the custard into the Ninja Creami’s pint container, smooth the top, and insert the lid.
Freeze the container upright for at least 4 hours or overnight until solid.
Place the frozen pint into the Ninja Creami, select the ‘Ice Cream’ program, and let the machine spin until creamy.
If you’d like, fold in soft‑serve toppings or drizzle a bit of chocolate ice cream duo for a subtle contrast, then enjoy.
Notes & Tips
-
1
If the ice cream feels grainy, run it through a second spin.
-
2
For extra vanilla intensity, split a vanilla bean and scrape the seeds into the mixture.
-
3
Serve immediately for a soft‑serve texture; refreeze for firmer scoops.
 Desserts
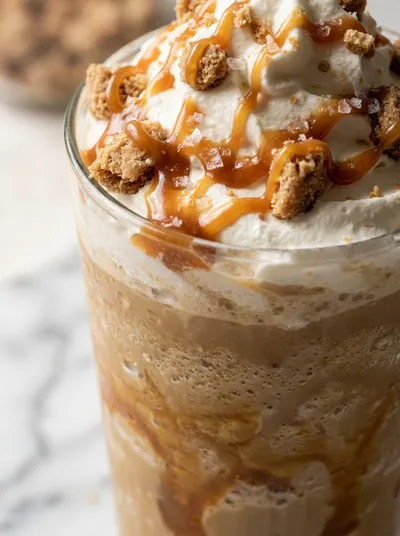
Caramel Ribbon Crunch Frappuccino Recipe
Creamy caramel frappuccino with ribbon swirls and a delightful crunch, ideal for a mid‑day treat.
Tools You'll Need
-
Ninja Creami machine
-
Medium mixing bowl
-
Whisk
-
Measuring cups and spoons
-
Spatula
Must-Know Tips
-
Don’t overfill the pint; the mixture expands during freezing.
-
A pinch of salt brightens the sweetness and deepens flavor.
-
Chill the bowl and whisk for a smoother blend.
Professional Secrets
-
Use cold ingredients to prevent grain formation.
-
Allow the mixture to rest so the vanilla integrates fully.
-
Freeze the container flat for even spin performance.

Recipe by
Sofia☕💖 A morning coffee lover who can’t resist melting chocolate into everything she bakes. Warm smiles and cocoa dreams! 🍩🌷
Get Delicious Recipes Weekly
Join 25,000+ home cooks getting our best recipes straight to their inbox.
Free forever • No spam • Unsubscribe anytime