
Vanilla ice cream traces its roots to 17th‑century France, where it was a luxurious treat for the aristocracy. Over time, the technique evolved, and by the early 1900s home cooks discovered a simple stovetop method that required no churners. This humble approach let families enjoy a smooth dessert even without specialized gear. The story of this recipe is a reminder that simplicity can create elegance—no need for gadgets, just patience and a vanilla bean’s fragrant kiss.
Why You'll Love It
-
- No ice‑cream maker needed, just a whisk
-
- Ready in under an hour, perfect for spontaneity
-
- Creamy texture thanks to a gentle custard base
-
- Classic vanilla flavor that lets add‑ins shine
This vanilla ice cream felt like a cloud melting on my tongue—so simple, so delightful.
Essential Ingredient Guide
- Heavy cream: Provides richness and a silk‑smooth mouthfeel; choose a cold, high‑fat variety.
- Whole milk: Balances the cream for a lighter texture; fresh, never ultra‑pasteurized.
- Granulated sugar: Sweetens without overpowering; dissolve fully to avoid grainy texture.
- Vanilla bean or extract: The star of the show—split the bean, scrape the seeds for deep aroma.
- Egg yolks (optional): Creates a custard‑like body; temper gently to avoid curdling.
- Pinch of salt: Enhances the vanilla’s sweetness and rounds the flavor.
 Breakfast & Brunch
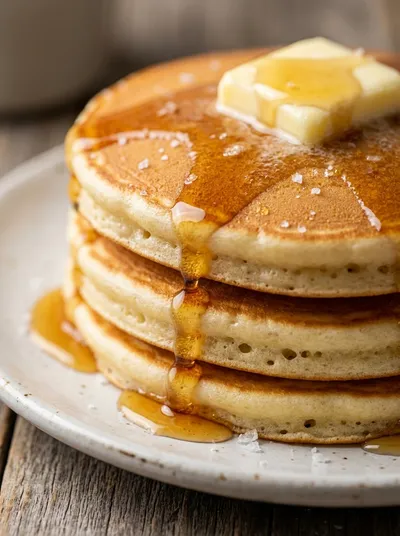
American Pancakes – Fluffy Breakfast Treat
Light, airy pancakes that drift like clouds on a plate, ideal for a relaxed morning.
Complete Cooking Process
-
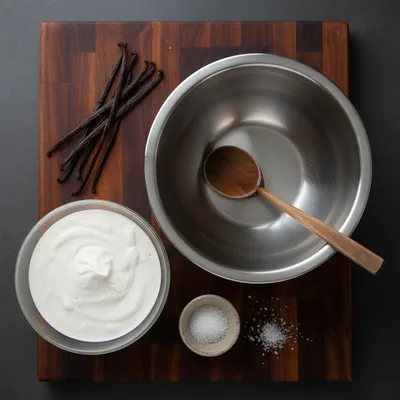
Ingredient Readiness:
Gather all dairy, sugar, and vanilla; chill the bowls and whisk before you start.
-
Flavor Development:
Warm the milk and cream with the vanilla, allowing the fragrance to infuse, then whisk in the sugar.
-
Texture Control:
If using yolks, temper them into the warm mixture and stir gently until the mixture coats the back of a spoon.
-
Finishing Touches:
Cool the custard quickly in an ice bath, then cover and refrigerate until very cold—at least 2 hours.
-
Serving Timing:
Whisk the chilled mixture again just before serving to revive any settled textures, then scoop.
-
Taste the base before chilling; adjust sugar or vanilla now.
-
Use a shallow pan for faster cooling and even texture.
-
Stir gently, not vigorously, to keep the mixture airy.
Pro Tips
When you’re ready to serve, a quick whisk breaks up any thin film that may have formed on top, restoring that silky mouthfeel. I often let the bowls sit at room temperature for five minutes before the final stir—just enough to loosen the edge without melting the ice cream. This little pause makes the scoop smoother and the experience even more rewarding.
 Breakfast & Brunch
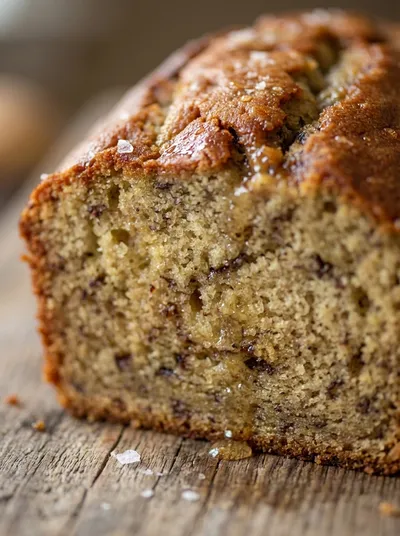
Classic Moist Banana Bread Recipe
Moist classic banana bread, ideal for a comforting breakfast or afternoon treat.
The essence of the dish:
A simple custard base that transforms into a velvety frozen treat, letting pure vanilla sing.
A fun fact or historical angle:
In the early 1800s, ice houses were the only way to keep ice cream frozen; today we achieve it with a fridge and patience.
Flavor or sensory focus:
The aroma of fresh vanilla beans, the smoothness of chilled cream, and a subtle sweetness that lingers.
You Must Know
-
Cold ingredients speed up setting
-
Do not boil the custard too hard
-
Cover tightly to avoid ice crystals
Frequently Asked Questions
→ Do I need an ice cream maker?
No, this recipe relies on a simple chill‑then‑whisk method that yields a smooth texture without a machine.
→ Can I use milk instead of cream?
You can substitute part of the cream with extra milk, but the texture will be lighter and less rich.
→ How long does it take to freeze?
After chilling the custard for at least 2 hours, the mixture sets in about 30‑45 minutes when whisked before serving.
→ Is it okay to add mix‑ins?
Yes—fold in chocolate chips, berries, or caramel after the base is fully chilled for extra flavor.
→ What if I don’t have a vanilla bean?
Pure vanilla extract works well; use one to one and a half teaspoons for the same depth.
→ Can I make this ahead of time?
Absolutely; store the chilled base in the freezer for up to a week, then whisk before serving.
Nutrition Facts
per serving
280
Calories
4g
Protein
21g
Carbs
19g
Fat
Taste Profile
Rich, sweet vanilla flavor with buttery creaminess
Ingredient Substitutions
Don't have an ingredient? Try these alternatives
Gives a dairy‑free version with a hint of coconut flavor.
Use 1 tablespoon cornstarch mixed with 2 tablespoons water for a vegan custard.
Recipe Variations
Try these delicious twists on the original
Coffee Infused
Add 2 teaspoons of instant coffee to the milk mixture for a mocha twist.
Coconut Dream
Swap half the heavy cream for full‑fat coconut milk for a subtle tropical note.
Common Mistakes to Avoid
Learn from others' mistakes for perfect results
- Over‑boiling the custard, which can cause grainy texture.
- Skipping the ice bath, leading to uneven cooling.
- Not whisking after chilling, resulting in a flat scoop.
Meal Prep & Storage
Make Ahead Tips
You can prepare the custard base up to 24 hours ahead; store it in the refrigerator, then whisk before serving.
Leftover Ideas
Re‑whisk frozen leftovers gently or let them soften at room temperature for a few minutes before scooping.
Perfect Pairings
Serve this with...
Cooking Timeline
Gather and measure all ingredients; split vanilla bean.
Heat cream, milk, sugar, and vanilla until steam rises.
Temper egg yolks, thicken custard, then cool in ice bath.
Refrigerate until very cold; whisk before serving.
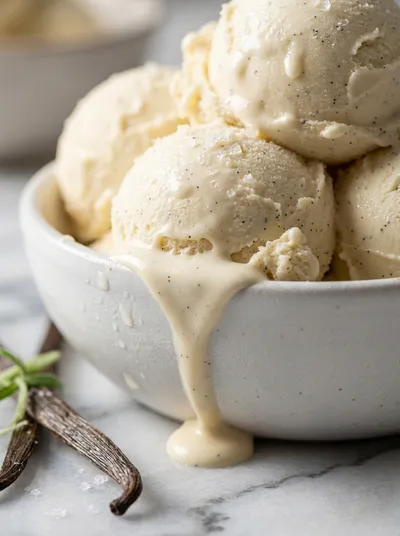
Vanilla Ice Cream – No‑Cook Homemade Treat
A creamy, dreamy vanilla ice cream you can whisk together at the kitchen table without any fancy equipment—just a few pantry staples, a pinch of patience, and a little love.
Timing
Prep Time
15 Minutes
Cook Time
10 Minutes
Total Time
2 Hours 30 Minutes
Recipe Details
Ingredients
Base
-
01
2 cups heavy cream, chilled
-
02
1 cup whole milk, chilled
-
03
½ cup granulated sugar
-
04
1 vanilla bean (or 2 tsp pure vanilla extract)
-
05
2 large egg yolks (optional for custard richness)
-
06
Pinch of sea salt
Optional Mix‑ins
-
01
¼ cup toasted almond slivers
-
02
½ cup fresh berries
-
03
¼ cup mini chocolate chips
Instructions
In a medium saucepan, combine the cream, milk, sugar, and the split vanilla bean with its seeds; warm over medium heat just until the sugar dissolves and steam rises.
If using yolks, whisk them lightly in a bowl, then slowly pour a ladle of the warm mixture into the yolks to temper, whisking constantly.
Return the yolk mixture to the saucepan, stirring gently until it thickens enough to coat the back of a spoon—about 5 minutes; do not let it boil.
Remove from heat, stir in the vanilla extract if using, and add a pinch of salt. Cool quickly by setting the pan in an ice bath, stirring occasionally.
Cover the custard, refrigerate until very cold (at least 2 hours). Once chilled, whisk vigorously for 1‑2 minutes to create a light, airy texture.
Fold in any optional mix‑ins, scoop into bowls, and serve immediately or refreeze for firmer slices.
Notes & Tips
-
1
For an extra vanilla boost, split a second bean and add its seeds just before serving.
-
2
If the mixture looks a bit grainy, whisk it longer after chilling; the texture will smooth out.
-
3
Store leftovers in an airtight container; they stay creamy for up to three days.
 Desserts
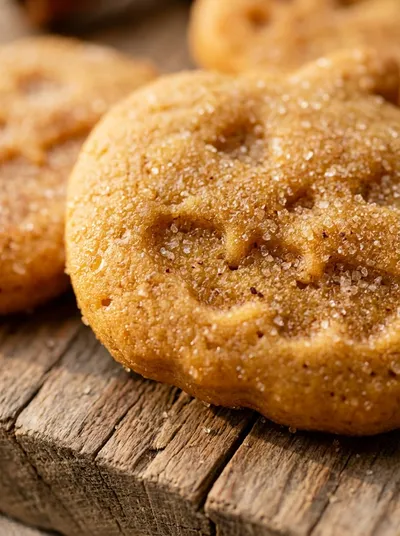
No-Bake Cheesecake Bites: Easy Recipe
A quick, creamy no‑bake cheesecake bite perfect for any occasion.
Tools You'll Need
-
Medium saucepan
-
Whisk
-
Heat‑proof bowl
-
Ice bath container
-
Measuring cups
-
Spatula
Must-Know Tips
-
Keep all dairy ingredients cold before starting; it speeds up setting.
-
Temper egg yolks carefully to avoid scrambling.
-
Stir constantly when thickening to prevent a skin from forming.
Professional Secrets
-
Use a stainless steel pan for even heat distribution.
-
Add a splash of vanilla extract after cooling to preserve aromatic compounds.
-
Freeze the bowl before whisking for an extra‑smooth finish.

Recipe by
Sofia☕💖 A morning coffee lover who can’t resist melting chocolate into everything she bakes. Warm smiles and cocoa dreams! 🍩🌷
Get Delicious Recipes Weekly
Join 25,000+ home cooks getting our best recipes straight to their inbox.
Free forever • No spam • Unsubscribe anytime